Last week me and Teddy had full focus on getting the house building tools up and running, and I’m happy to say the patch is ready and has been uploaded!! Finally you’ll be able to be more creative with your house, adding new rooms and editing their shape or size in more detail.
The full patch notes can be seen here, and as always, we’d LOVE to hear your feedback on these new tools, anything that may be confusing with them, improvements to be made etc. Let us know! You can comment either here or in the thread above (or make a new suggestions post on the forums).
Last week, Fred was also gone on vacation, and since he returns tonight and the build tools are done (aside from some polishing and anything we learn from your feedback), our next move will be to get together and discuss the support skills! Yes, finally! We’ve put them off for so long, but with the game drawing ever closer to a finished state I guess it’s best we finally get to adding them before there’s no reason to use them anymore, right?!
We’d like to thank all of you for your input and suggestions in regards to them up to this point, and we’ll consider each of them as we move on to iron out in which direction we want to take these spells. Again, though, it’s unlikely there will be any kind of healing skills, but most of you are used to the thought of that by now! It’s a cool skill to have, but we’ve made the decision it won’t be available in Grindea (unless you’re a certain NPC) for a variety of reasons I don’t think we need to rehash once more.
What we DO end up implementing we’ll only know after tomorrow’s meeting, and will be disclosed in a future post!
Since I don’t get to do much for the support spells (it’s mainly Teddy implementing mechanics and Fred doing animations for them), I’ll return to focusing on the Arcadia rework and its new floors until the skills are properly decided and I can make icons for them (likely after some prototyping as been made). We’ll keep you updated!
FOR NOW THOUGH, let’s take a look at last week and the path to creating the tools you now have in your game:
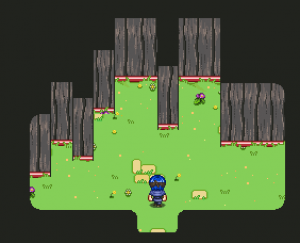
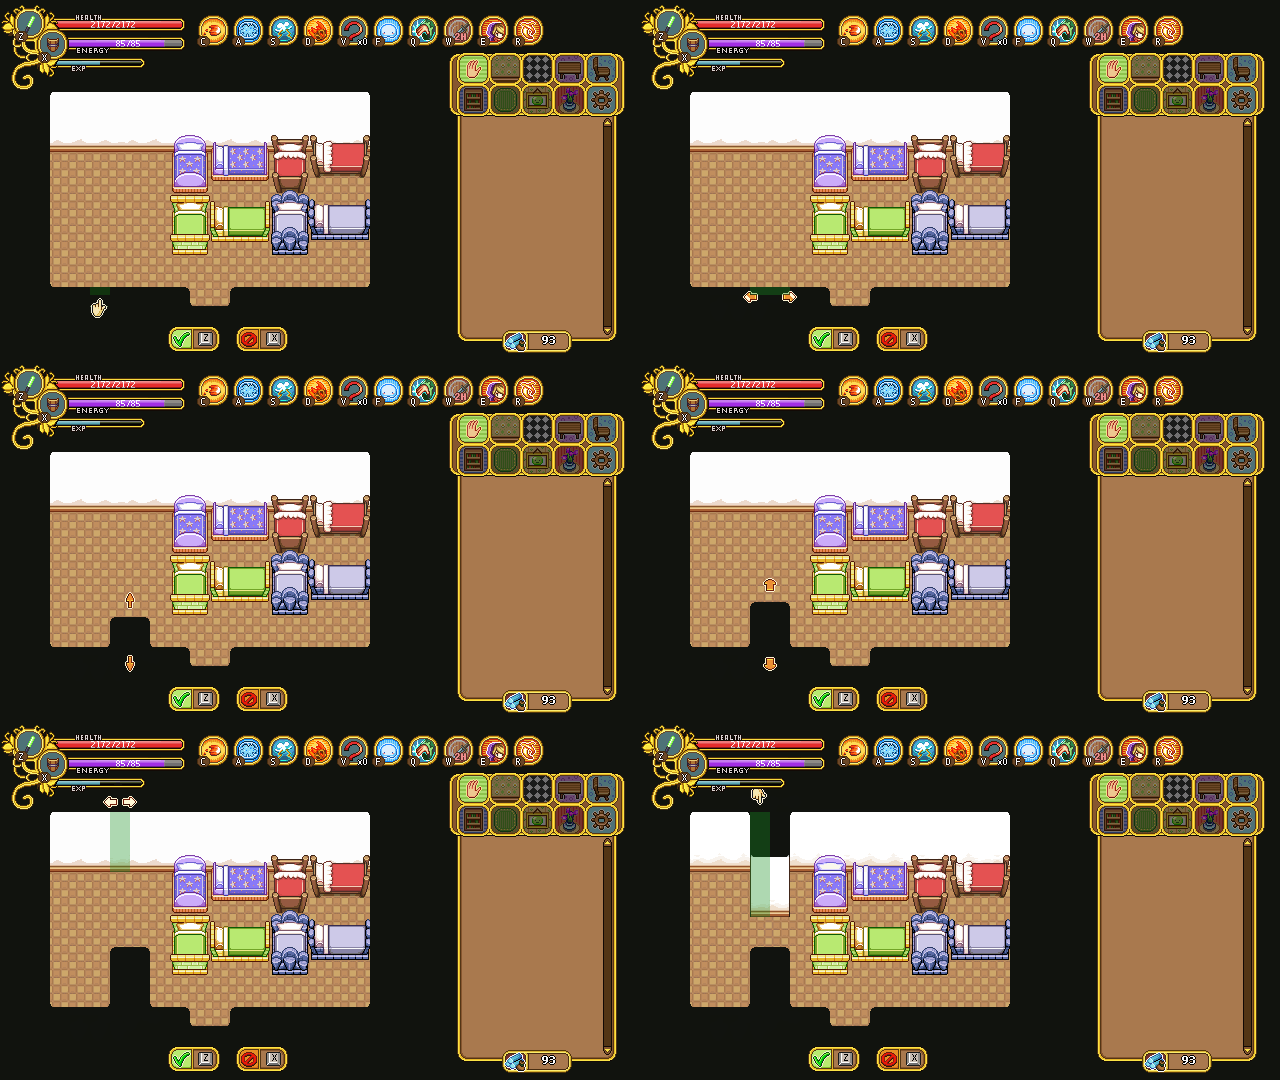
In the first screenshot (above), we added a very simple way of being able to drag each wall tile down however far you need. At the point of this screen, it’s a very basic way of handling things: the darkness above each wall tile looks very square and unpolished, and the black outlines have actually been added manually in Photoshop as a visual test.
Since we don’t want the outlines to be completely black in the final game – it will look jarring next to some of the wallpapers – what we’ll do is have me make a 1 pixel wide line for each wallpaper, using a much darker version of its own color. This way we can also manually account for the lower part of the wallpaper being a different color. For the particular wallpaper above, this would mean the outline will be dark gray and dark red.
As a next step, we polished the darkness, and added a way to pull wall tiles upwards as well, as seen below:
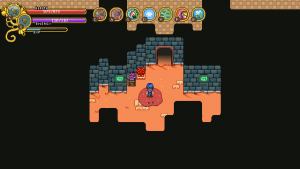
If you’ve an eye for details, you’ll notice the corners aren’t as rounded as in the previous screen. The reason for this is that rooms with multiple extra corners (such as the one above) looked super weird with the smooth corners attached everywhere – it looked less like a house, and more like an organic shape. Even now, the edges might look a little bit too rounded, but I think this is a lot better, and I feel completely square corners would end up looking too flat.
Next step: attaching doors that connect your rooms. Each wallpaper will have its own door, and unfortunately as of now you won’t be able to mix and match between them.
When making the doors, we had two options regarding sizing: either making them 40 pixels wide, equaling 2 floor tiles – which honestly is rather small compared to most doors in the game – or going for 60 pixels / 3 floor tiles, which is rather huge compared to most doors in the game.
SO, I made a bunch of suggestions, the left ones being 40 pixels / 2 floor tiles and the bigger ones on the right equaling 3 floor tiles of width:
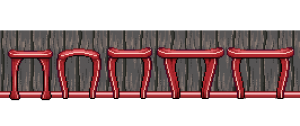
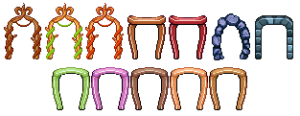
In the end, we decided to go for the smaller doors, as they don’t look quite as gigantic and it seems easier to fit in doors that are 2 tiles wide inside your house. It’s going to be a challenge keeping each door this tiny, but that’s what makes it fun too, right? Continuing on, I made one door for each wallpaper, both facing upwards and to the sides:

And now that those are out of the way, it’s time to return to something we haven’t touched in a rather long while… User interfaces! First, we need to get some stuff together so you can purchase the lumber that allows you to extend the size of your house and rooms!
And it all begins with a basic item sprite (you will be carrying the lumber in your inventory, after all), and a modified version for the shop menu:


Next, we begin sketching what the lumber purchasing interface could look like. Since lumber is a very different item compared to furniture, we wanted to keep them separate. Therefore, rather than being part of the regular sales, lumber purchasing will have a special interface, loosely based on the Nurse in Arcade Mode:
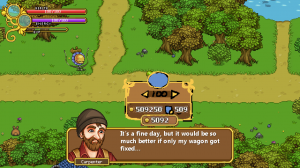
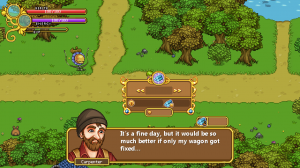
The main things of importance in this interface is how much lumber you wish to purchase (and how much it costs), how much gold you have, and how much each lumber costs at this level. We decided that after you’ve purchased a number of lumber, the overall price per lumber will go up. This way it’ll take some extra work (or rather gold), to get those huge mansion type buildings!
Once we were satisfied with the sketch I went ahead and made the rendered version, also featuring how much lumber you currently own, which we realized might be interesting to see as well:
Next up, the build tools menu! Gotta access those tool some way, right?
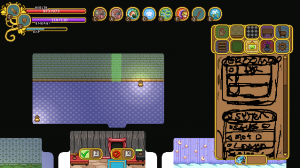
Every menu we design starts with a basic sketch, and in this case a messier one than usual! In the above screen, we were discussing various ways of making the tools available to the player, sketching as we went on. Our first idea was to merge the build tools with the hand tool, but we quickly changed it to be its own focused menu in the settings tab, where we could fit all of them – including the light settings, which would be slightly out of place otherwise.

Similarly to the shop menus, this menu will use buttons that allow you to enter each tool. In the above screen, I added some of the already made shop menu buttons to see what it’d look like if we used them as a base for the new bunch. Since the size in length fits well with the background and it’s edited to fit all font types in height, we decided to stick with these and just swap out the icons to represent each tool.
Next I began editing the background to make the buttons stand out more, as well as making room for the menu title (which as of now will be”Room”). The icons on each side of the band (on which the title text will be) will move with the text, so no matter the length of the title they will be a pixel or two away. We made it this way to make sure it’ll look as good as possible in the translations:

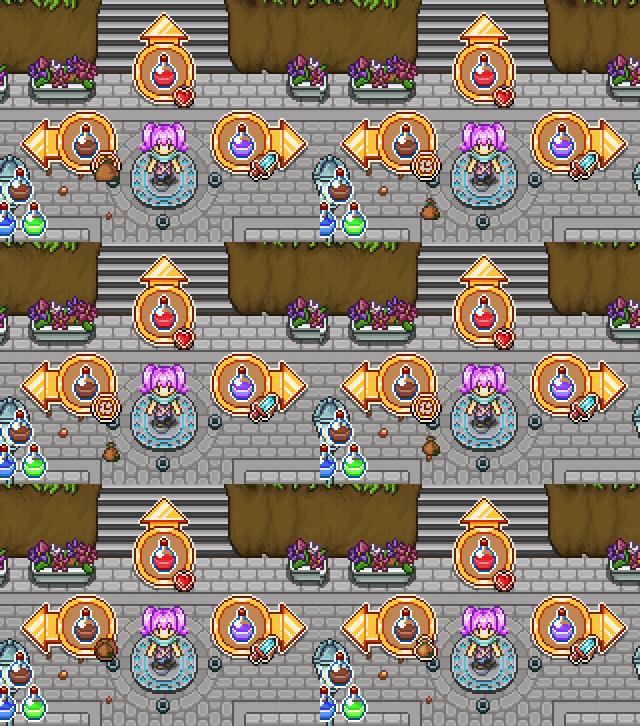
Then it’s all about making those icons, and doing our best to come up with images that fit with the tool and make them easier to understand. Can you guess what each tool means below?

The correct answer is, from top to bottom: Add New (room), Resize, Reshape, Light Settings, Clear and Delete!
Add room will create a ready room with a door that you’ll be able to place on the wall in the room you’re currently in. Resize will replace the current resize system and allows you to pull at any of the walls, making the room longer in that direction. In Reshape you can pull down (or up) walls to change the shape of the room, and Light Settings will replace the current light setting – after you press the button, it’ll allow you to change the percentage. Clear will clear all furniture from the room, and Delete will, naturally, delete it.
Since this will be the new settings menu, you might wonder what will happen to the Save and Load options. They will remain in their own box, beneath the above Room settings (you might have to scroll down to access them). These are designed much in the same way, and will work just like the Light Settings button: after you press their buttons you’ll be able to edit which slot you want to save/load into, just like before:

And now, some work in progress gifs showing the early stages of the build tools:

First up, the add new (room) tool, seen above! The cost of the room will be shown in the middle, and you use the arrow keys to decide where to place the entrance.
Below, you can see the prototype for the resize tool, where you use arrows to first select which wall you want to make bigger, and then keep pressing the arrow key in the direction you want it to increase. As you do this, the amount of lumber needed to complete the action is shown. Right now it displays with a minus sign, while the add new room does not, but in the end they’ll both use the same format.
You’ll be able to pull at the walls however long you wish even if you cannot afford it, but you won’t be able to confirm your edit unless you have enough lumber. The reason for this is so that you can try making the room the size you want it and see how much lumber you’d need to make it that big before you go purchase more at the Carpenter.
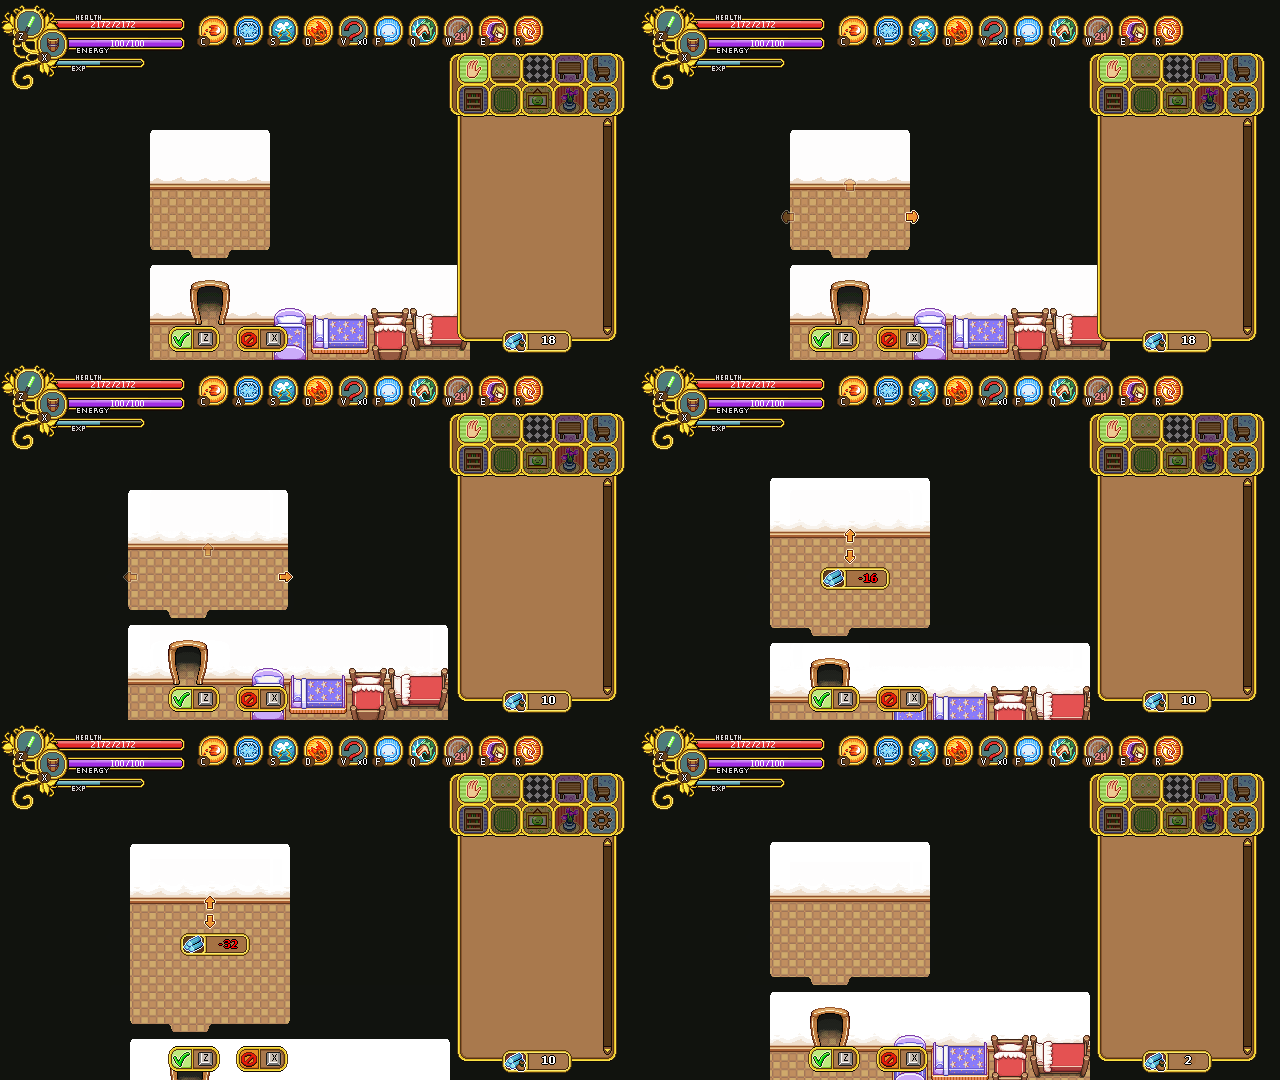
Finally, there’s the reshape tool, where you can edit the inside of the room. Pulling down (or up) these walls don’t cost anything, so you can redesign the shape of your room freely!
