Finally, the second zone’s on Frontline! It only took about 4 months guys!! ;) However, if my (Vilya’s) playthrough of the area is any indication (1 hour 20 minutes), it’s a decent amount of playtime for that amount of work, at least compared to our previous areas.

I know it’s hard to believe, but our workspeed per playtime has actually increased with this dungeon, though it’s pretty huge and ends up taking a long time to finish anyway ;P

Anyway! We’d love to hear how long it takes you to play the area, if you got stuck anywhere, what you liked/disliked and, of course, any bugs you found! Please spam away, we’d love to hear everything (and feel free to link us any cool Let’s Plays of the area, as seeing how people think and try to interact is extra important in this area).

Here’s a bunch of the stuff we made for the second zone, before we released it this weekend:

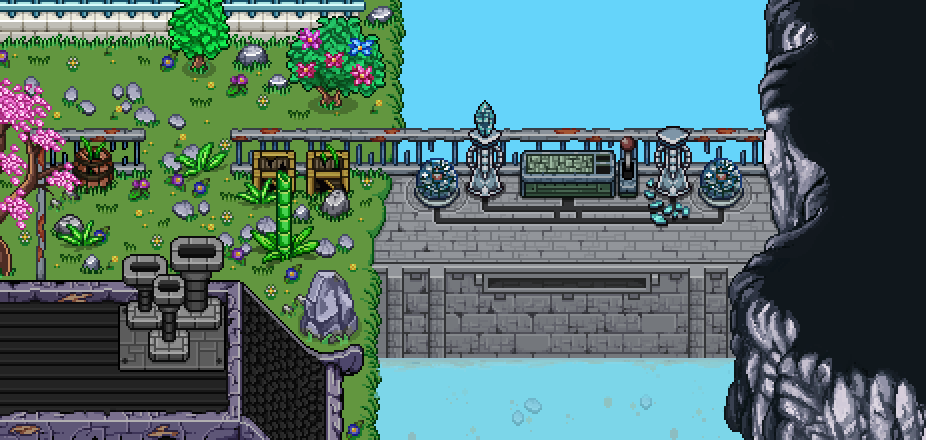
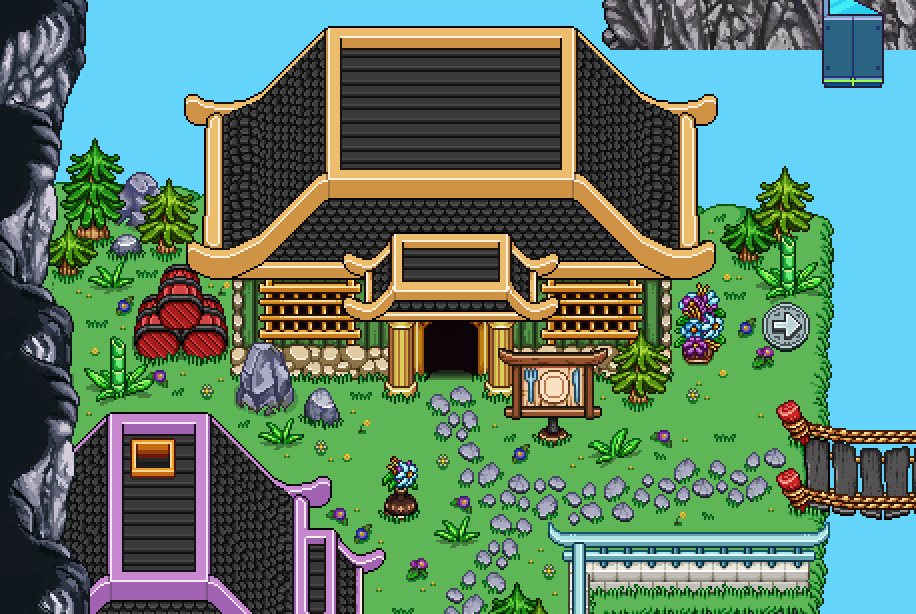
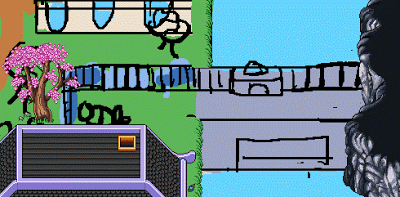
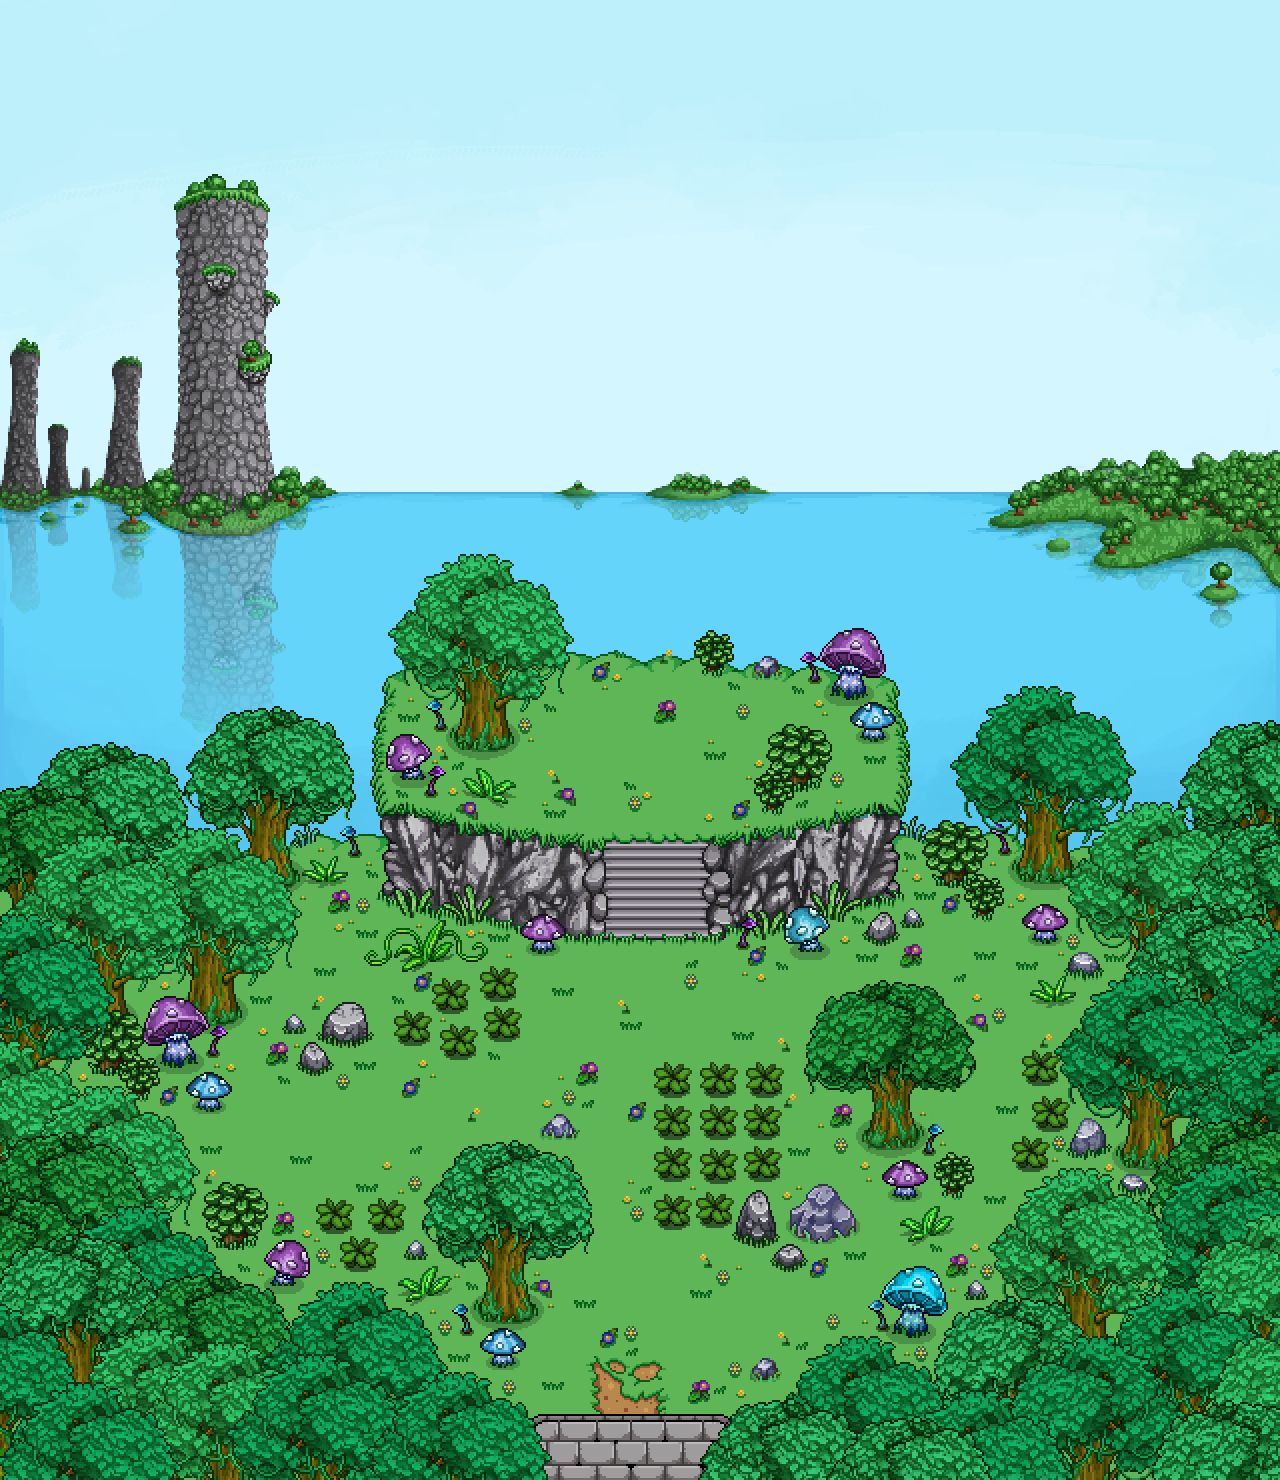
First up, the final room of Puzzle World! Part of this area will be looking over the sea, with the Pillar Mountains (among other things) in the background. Because of how incredibly long it took to paint the backdrop, the video I recorded got super long, so I decided to divide it in parts:

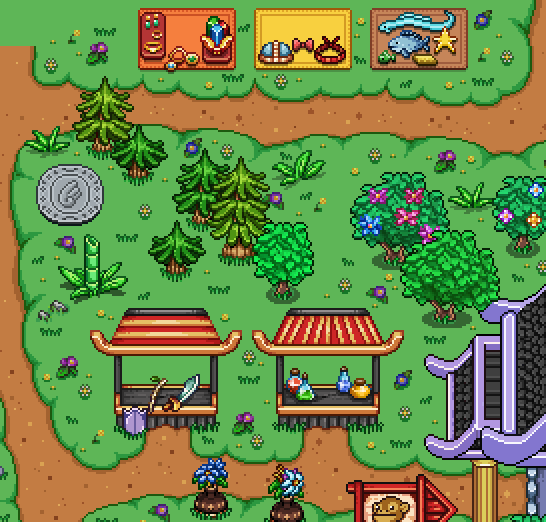
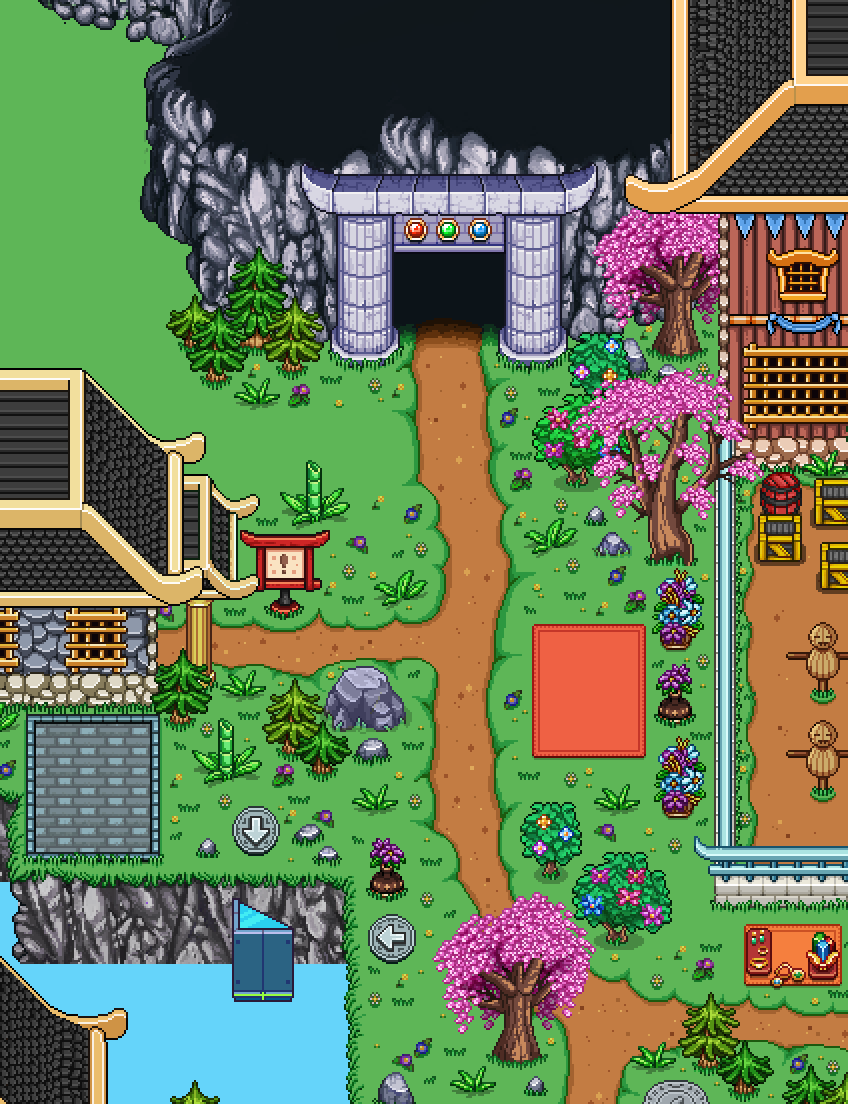
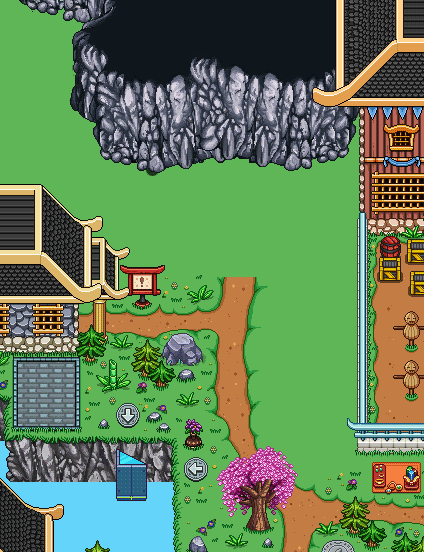
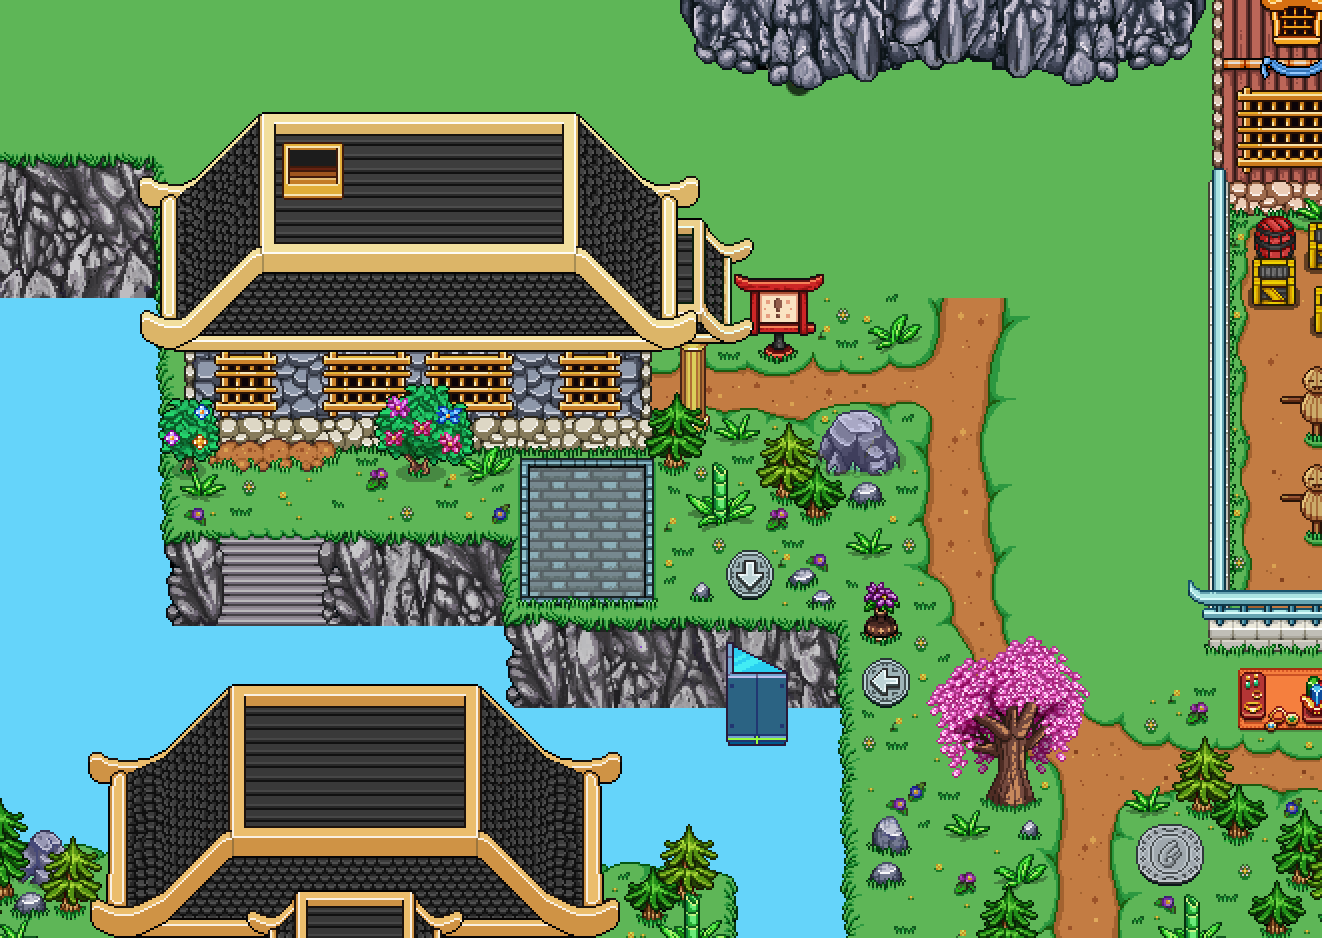
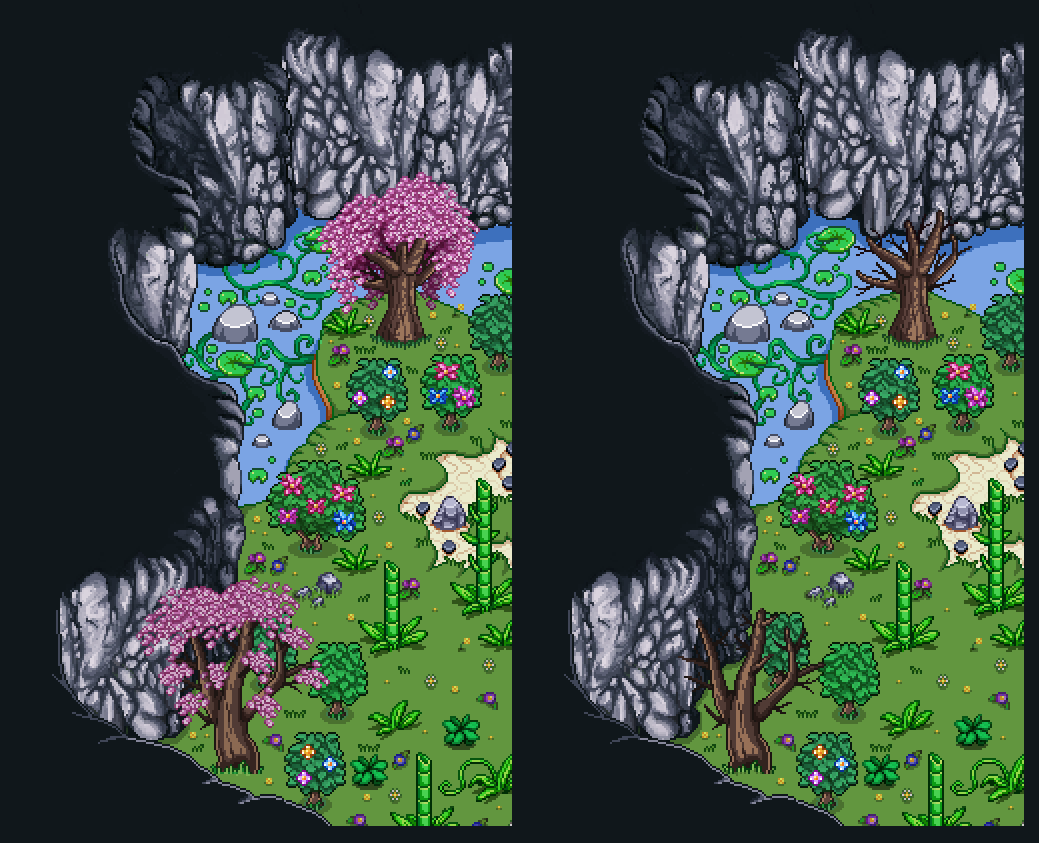
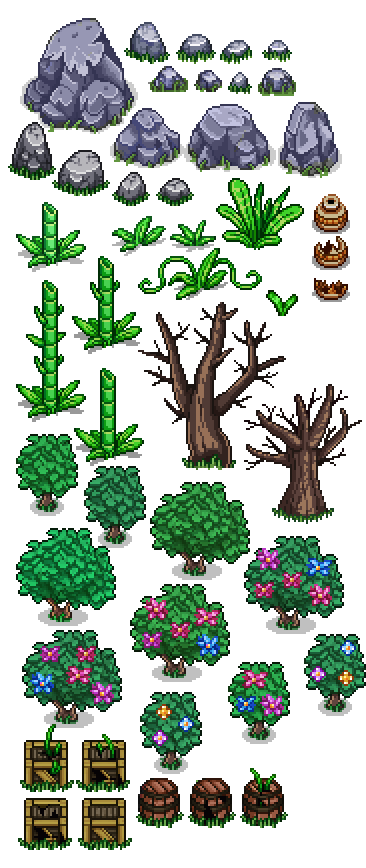
This first part is all about the actual area your character will be able to move around in. It consists of the same type of environmental decorations as the Mount Bloom outskirts, with the addition of some rocks and details from Evergrind Fields and Tai Ming.

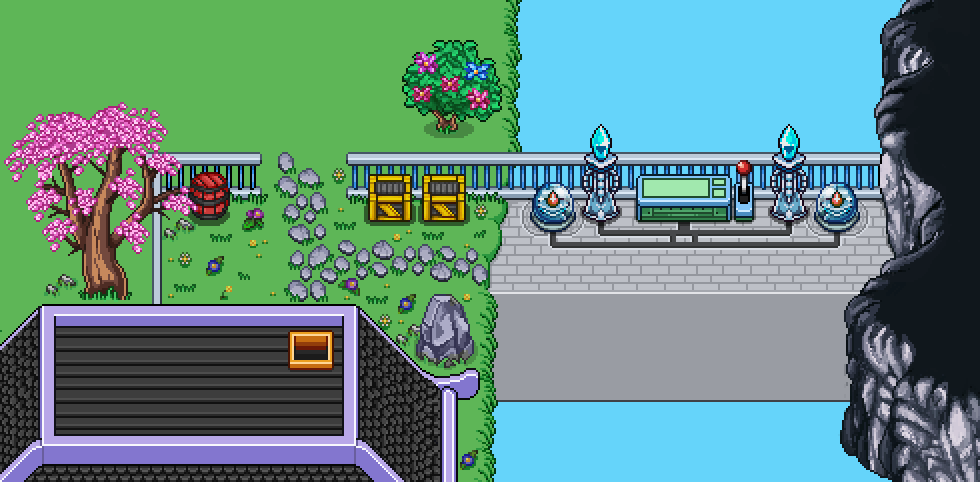
Second part of this scene is all about the backdrop! And what else would it contain, but your old home, the Pillar Mountains?

Painting this took a long while, much longer than I’d hoped, seeing as it’s mostly water and a few islands! But since I’m used to painting smaller props rather than distant backgrounds, it took some time to get used to the change :)

Once this was finished, we added a bunch of birds and some clouds floating in the background as well:

outside02

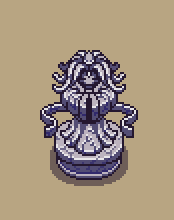
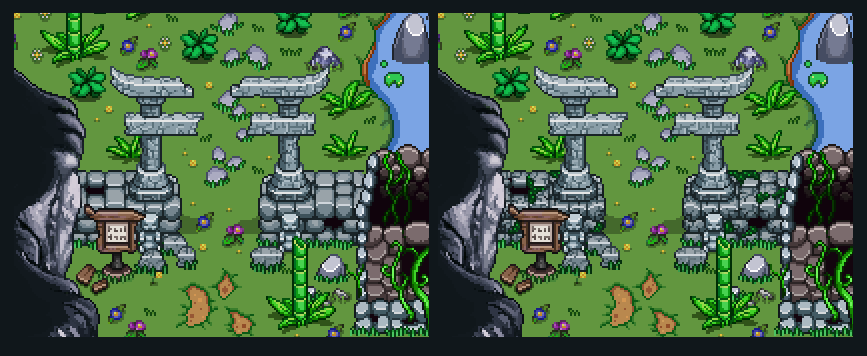
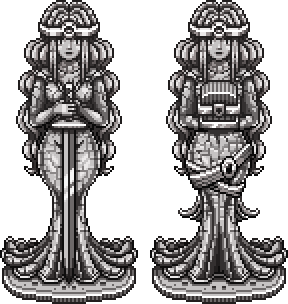
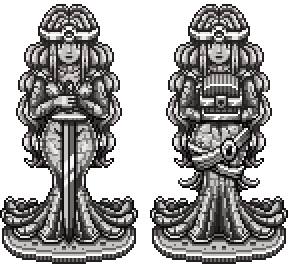
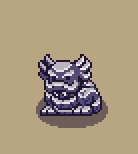
I mentioned before that I was gonna make standing versions of the old and worn statues. This is pretty much to make it easier on us, as we don’t want to worry about where to put which statue if two would fall on top of each other. Instead, they’ll remain upright:

01-presentstatuesv2

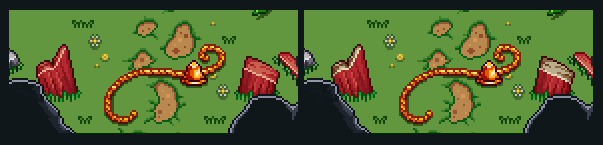
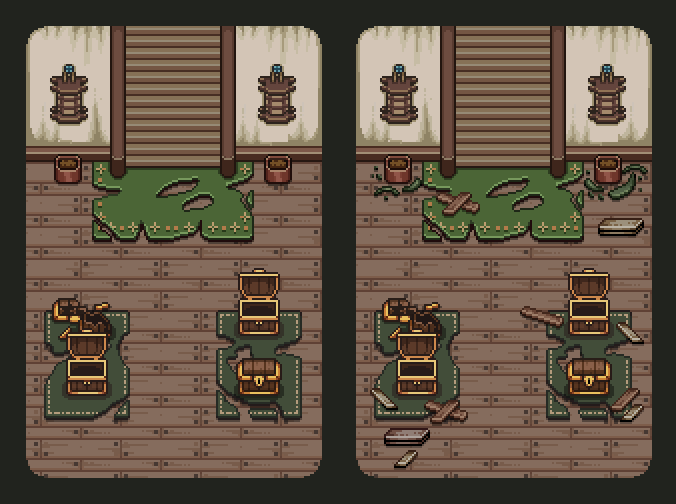
One key part of the puzzle is to deal with the glass box somehow, and so I had to make a version of it that’s completely smashed as well! Some pretty fun stuff, lots of glass pieces :)

02-glass

This grave has a bunch of flowers that stand out from the rest, and it’s for good reason, relating to a quest:

03-daisya

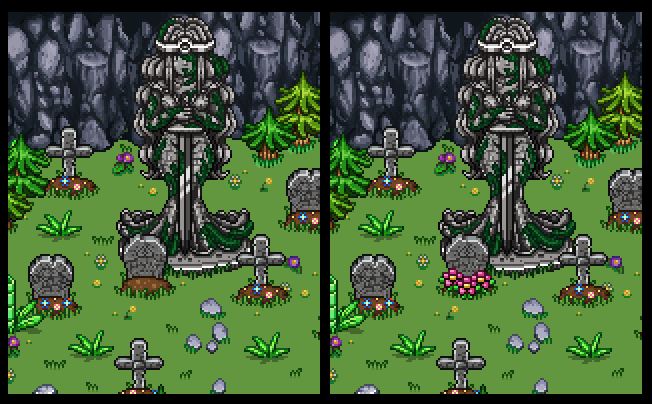
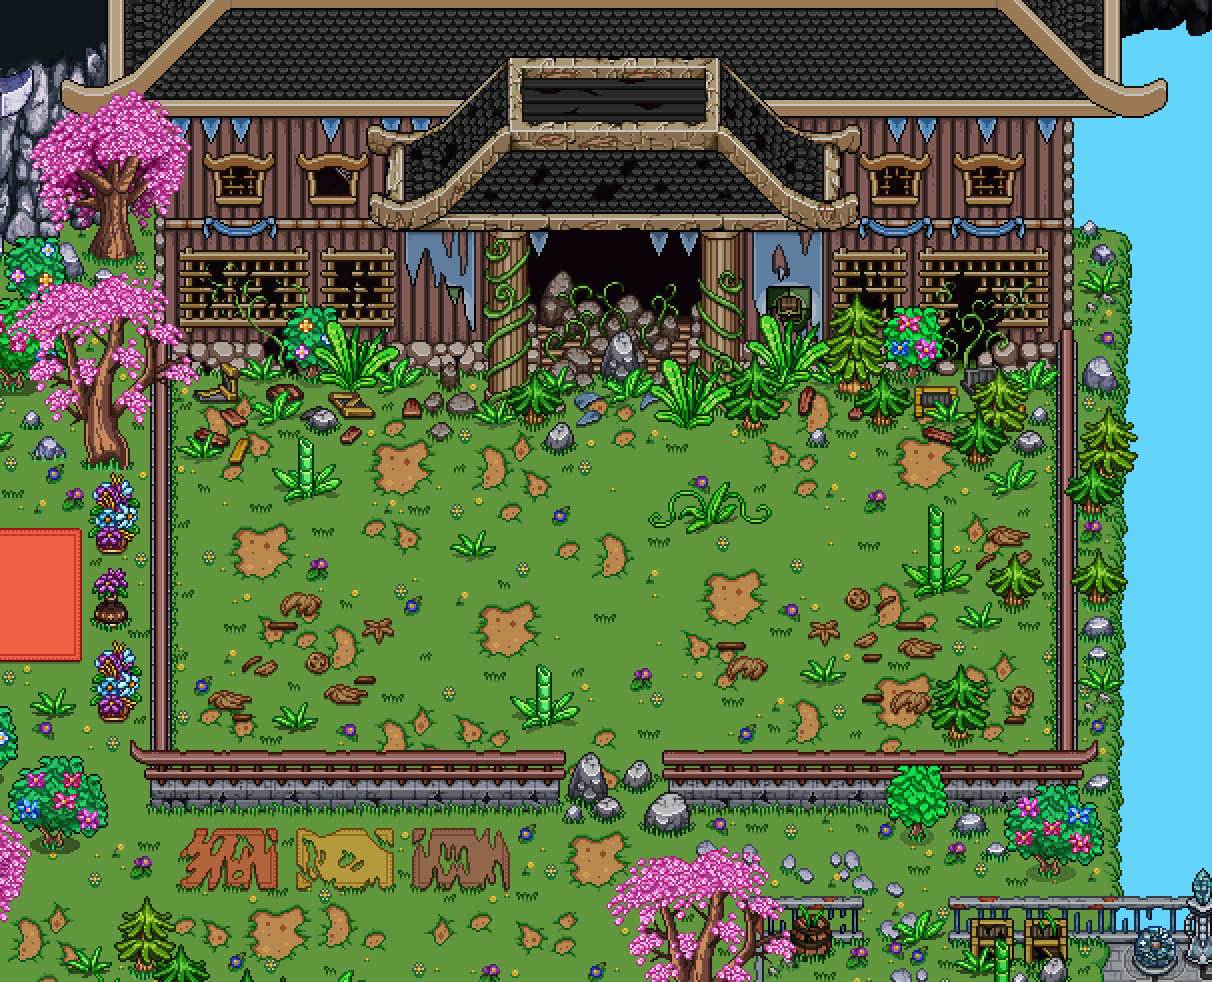
This room felt a little too clean, so I went back to it and added a bunch of planks and the remains of the poor old flowers. Likely nothing would remain of the plant this long since it died, but as long as it looks better this way, I’m all for it ;)

10-governmenta

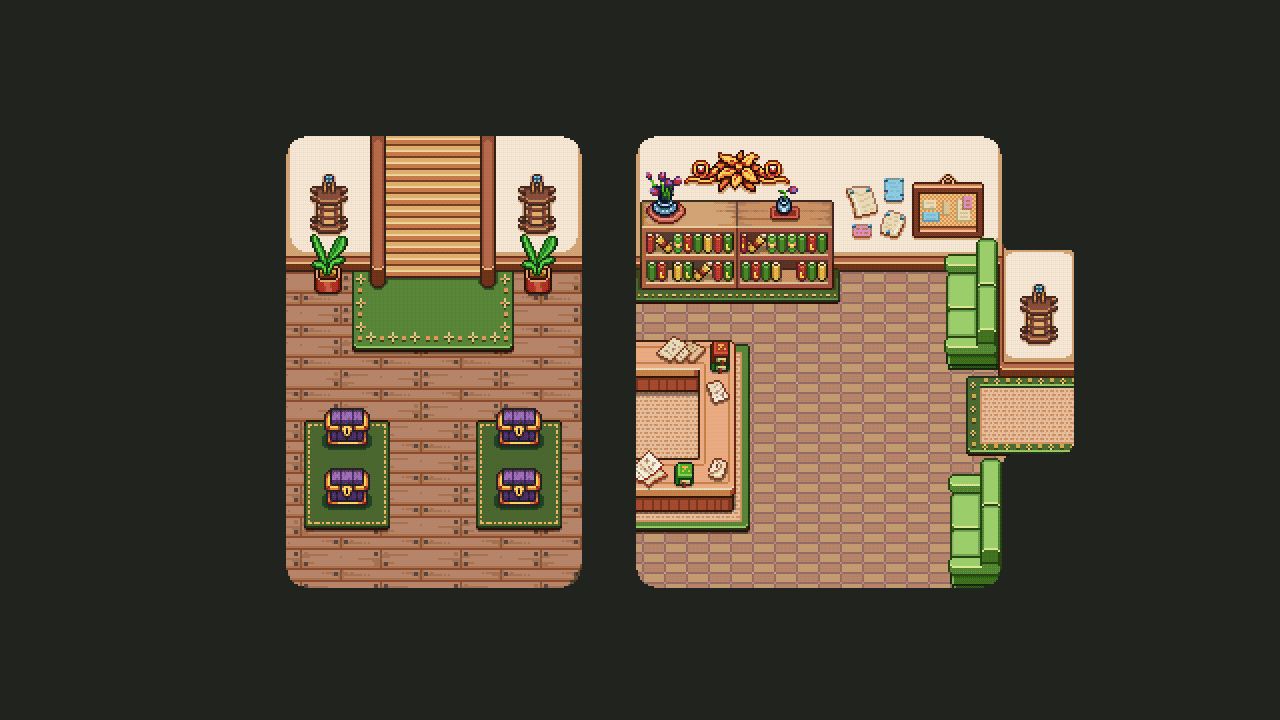
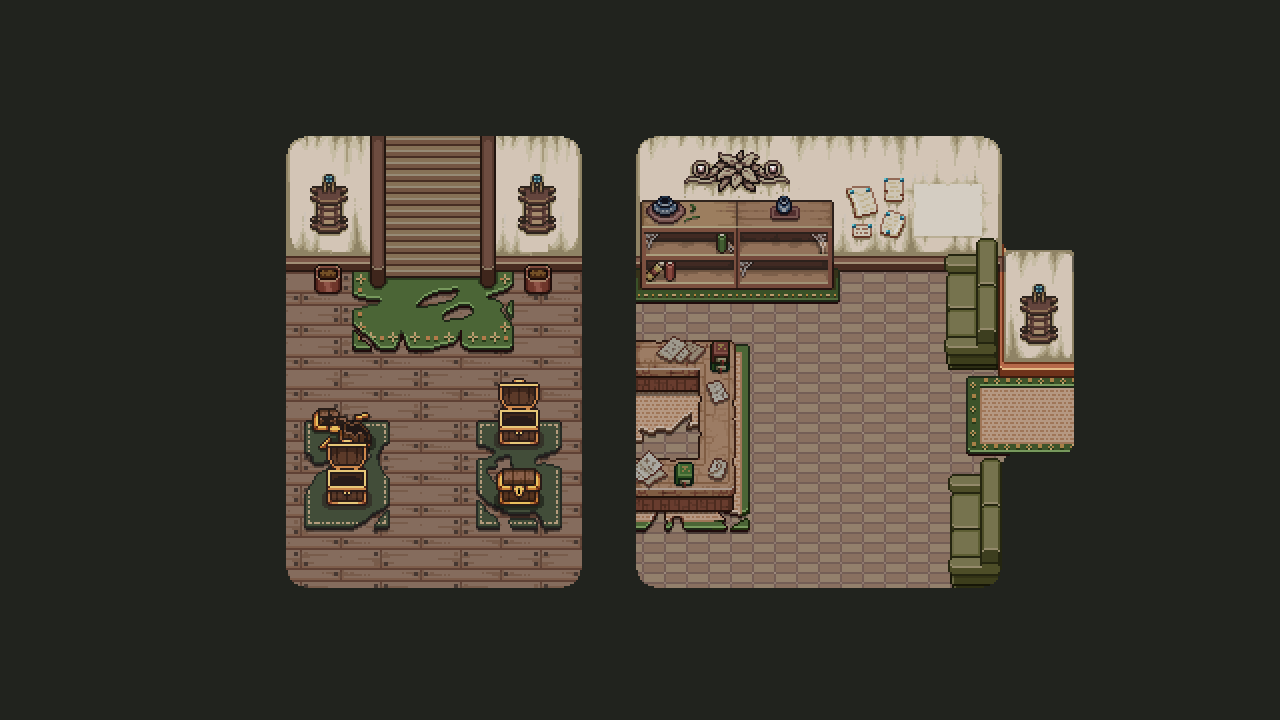
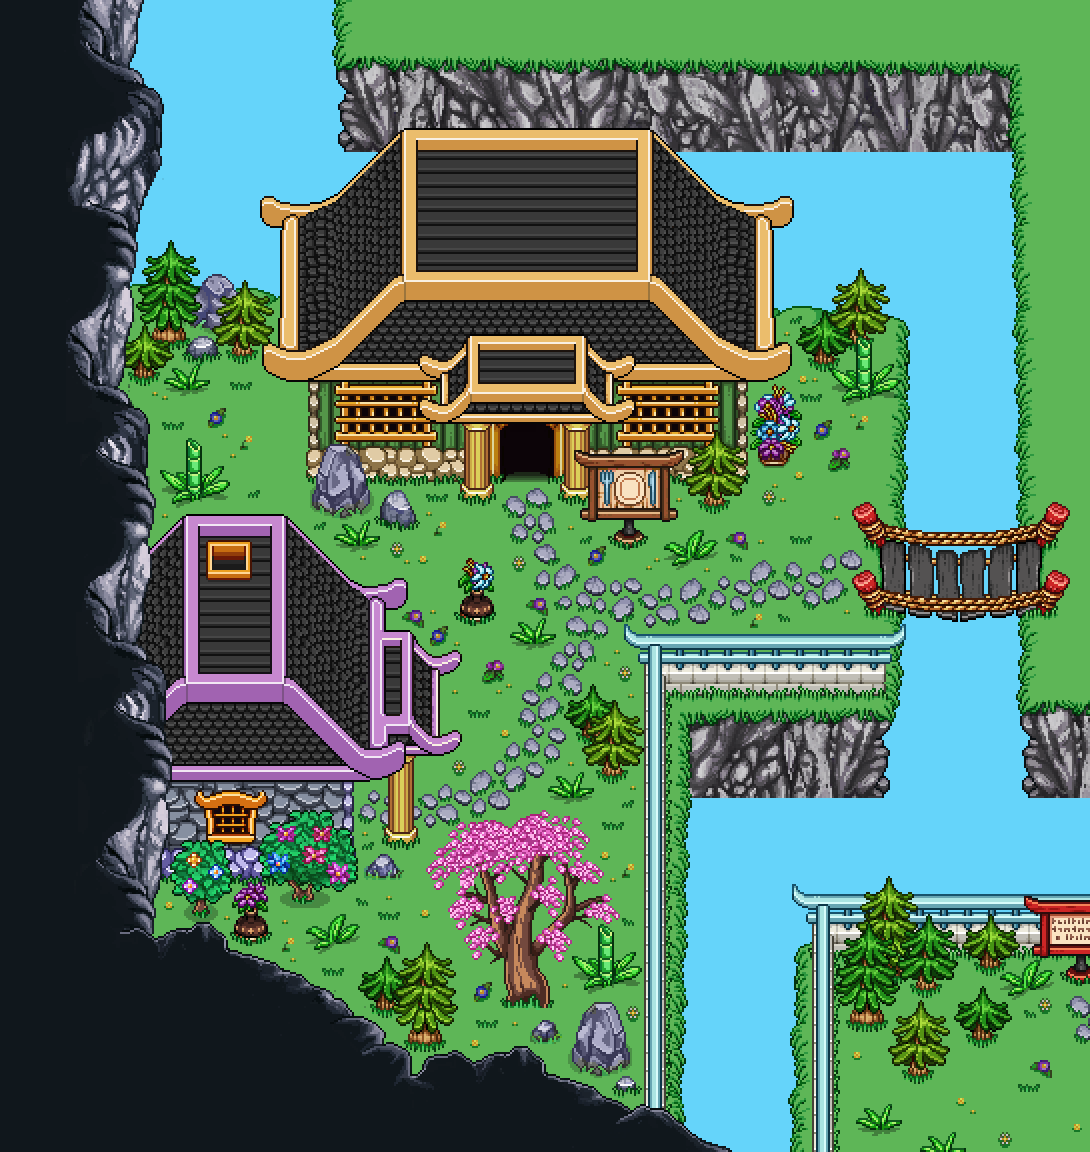
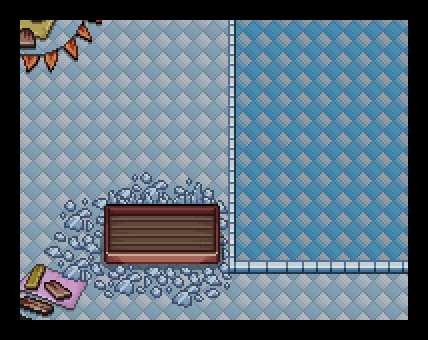
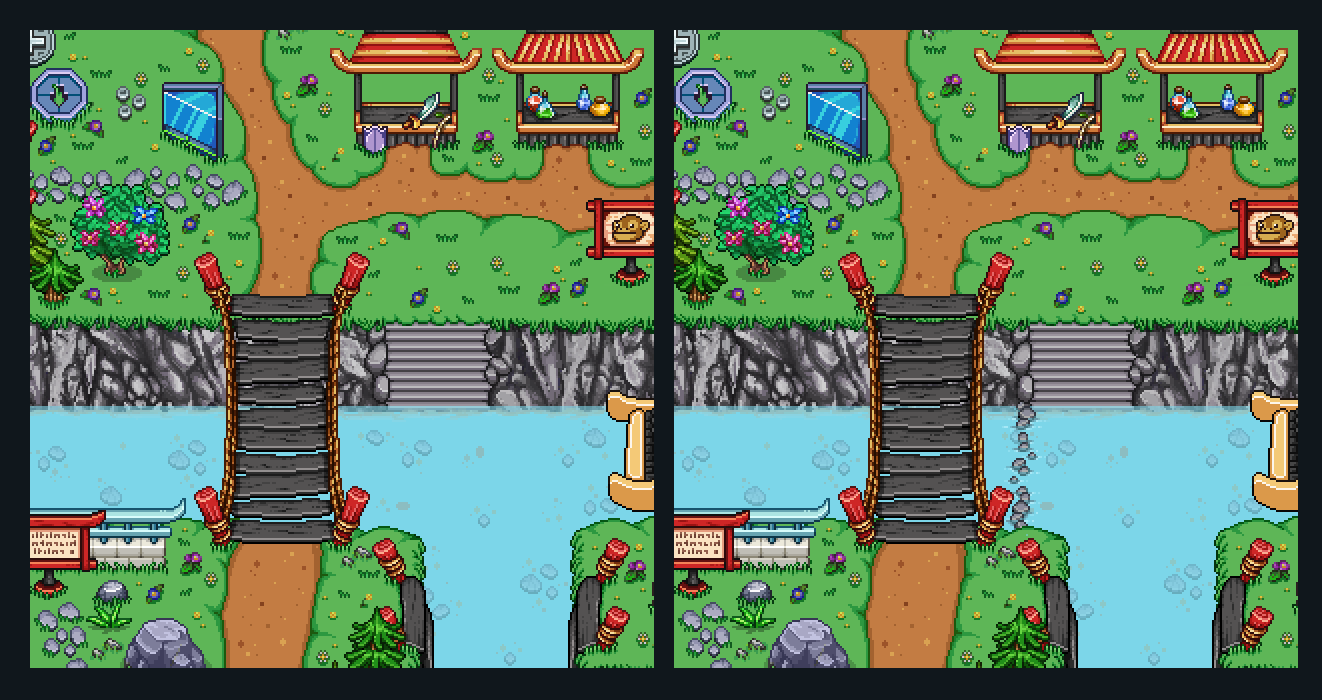
I also added a bunch of rocks surrounding a box in the water next to what we call “Granny’s house”. This is to signify that you cannot move this box (while you can move a bunch of others):

05-boxa

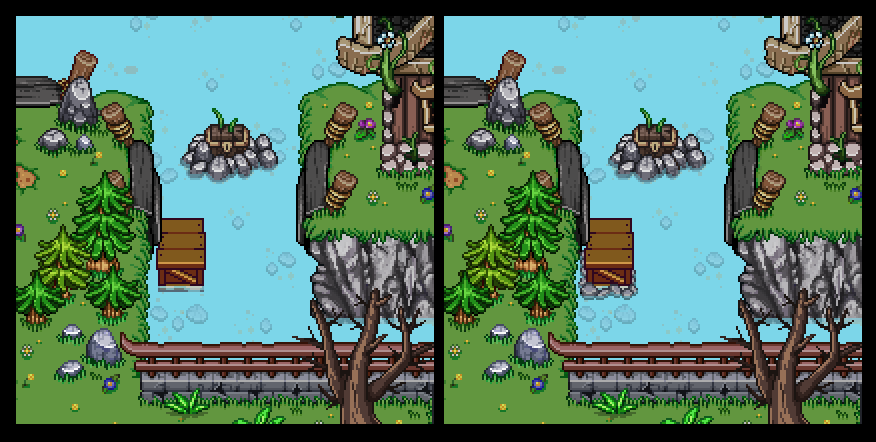
The current box also looked a bit too fresh and clean for the present version, so I made another version of the box(es) to suit the time jump better:

06-boxa

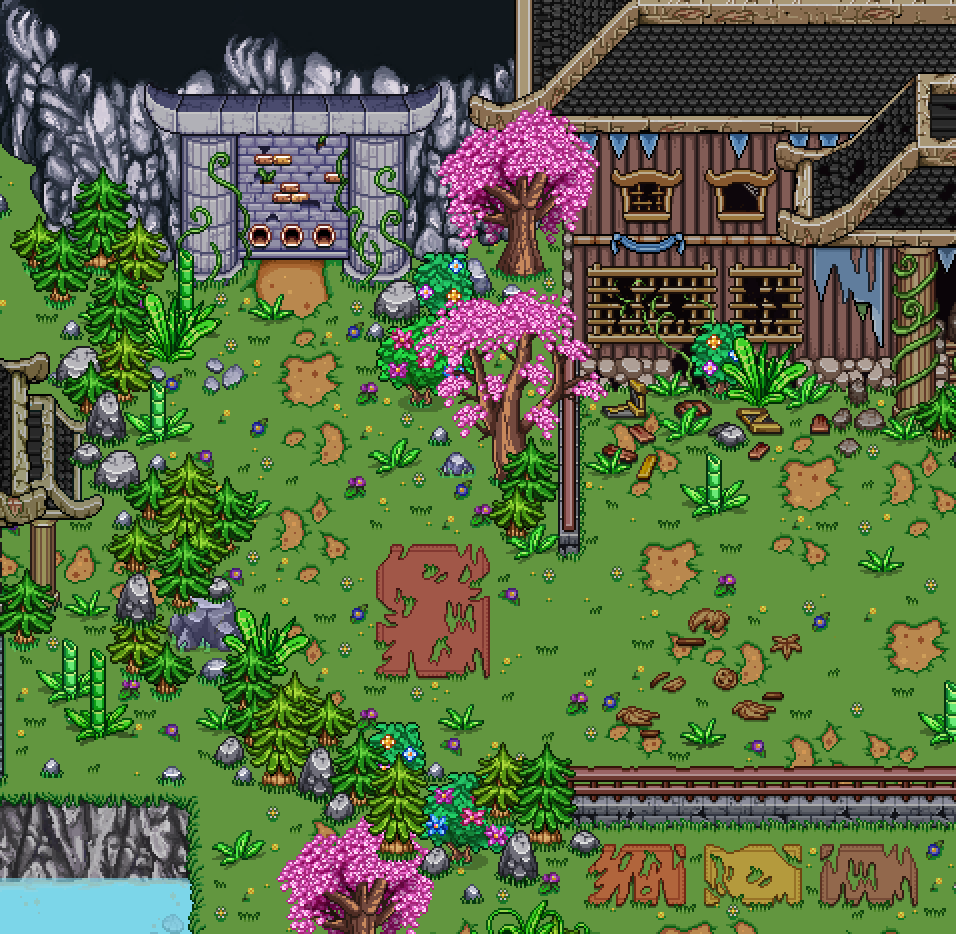
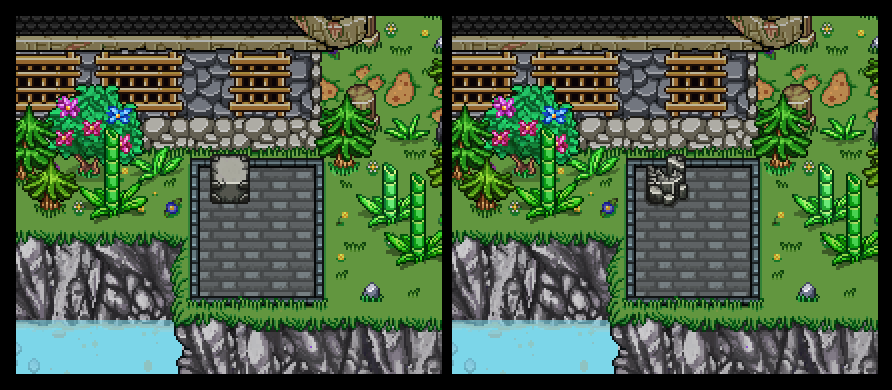
There’s a strange puzzle in the upper parts of this map (which isn’t completely shown in this picture), and one part to the puzzle is that you cannot move things around in the present. As such, I made a version of the puzzle block that wasn’t able to withstand the test of time, and has crumbled too much for you to be able to push it around (video game logic)!

07-puzzlea

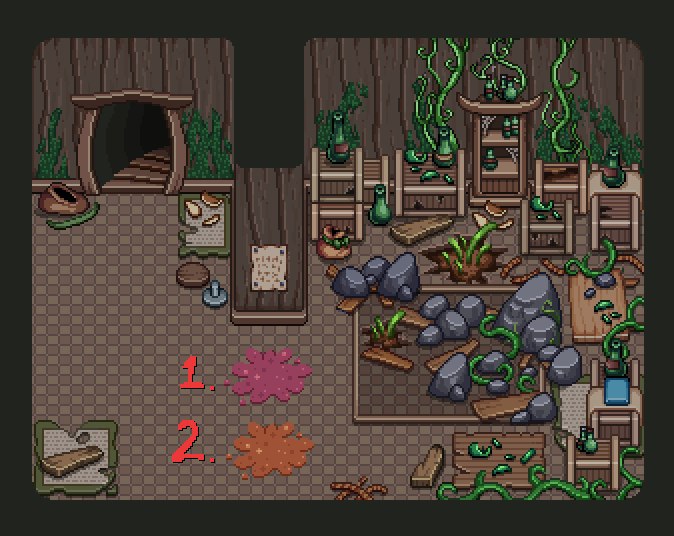
Seeing as the alcoholic beverage hidden in this room was turned into an ale rather than a wine, the color was changed to better suit the drink in question!

08-wine-vs-brandy

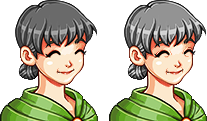
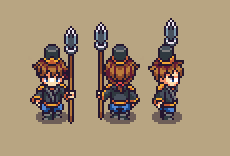
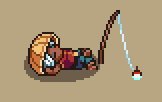
While Bag has made do with the same faces for a long, long time, it was finally time to add another couple of expression! Well, in fact, we just needed the one, but due to some miscommunication I misunderstood the mood asked for, and we ended up with two instead! Maybe the other one will have some use in the future… :)

13-bag

This lady isn’t too happy about her daughter being interested in the strange Flying Fortress people visiting town, so she had to get a more displeased expression as well:

14-mountainlady

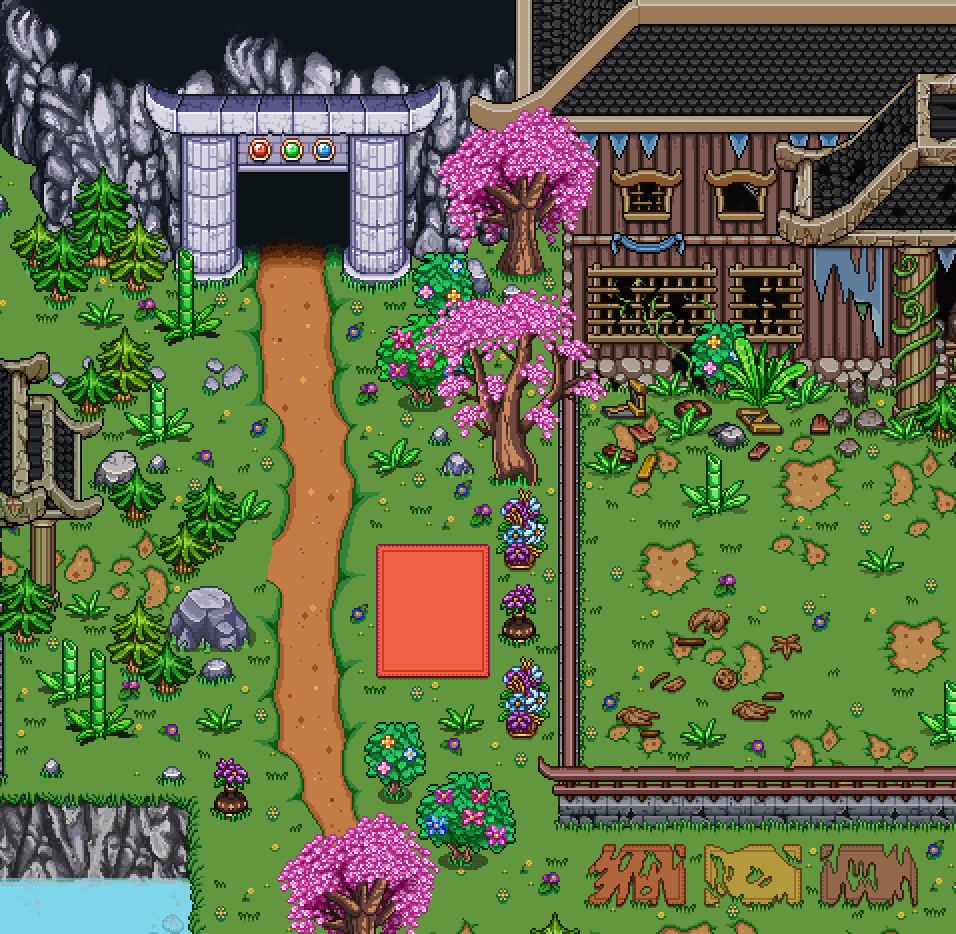
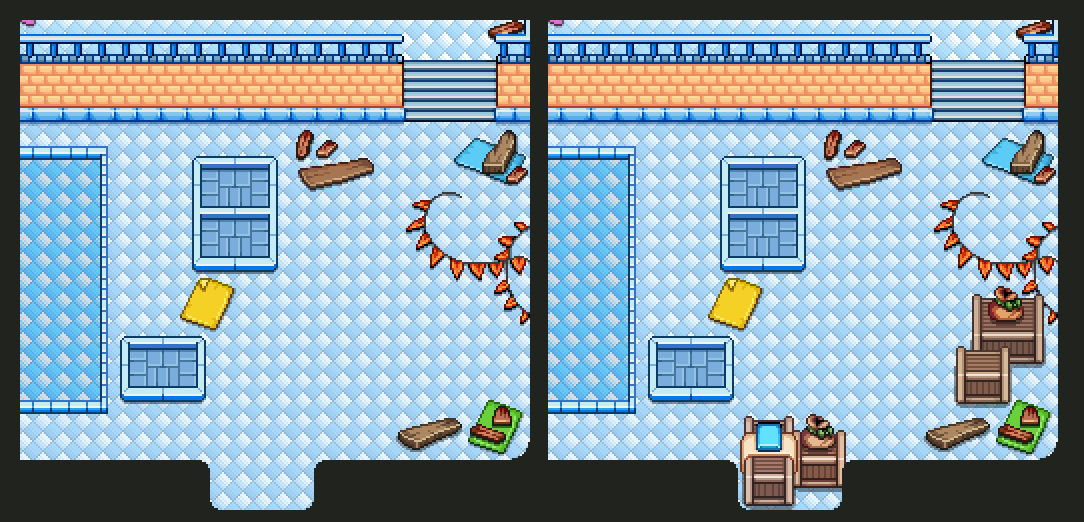
We also realized we needed to block the way south in the Path Puzzle’s past state! This was done by adding a bunch of boxes:

boxes

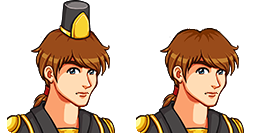
Whatever happened to this guard’s hat?! I guess you’ll have to find out by playing through the zone! In either case, he needed a portrait without the hat, so I made one:

guardportrait

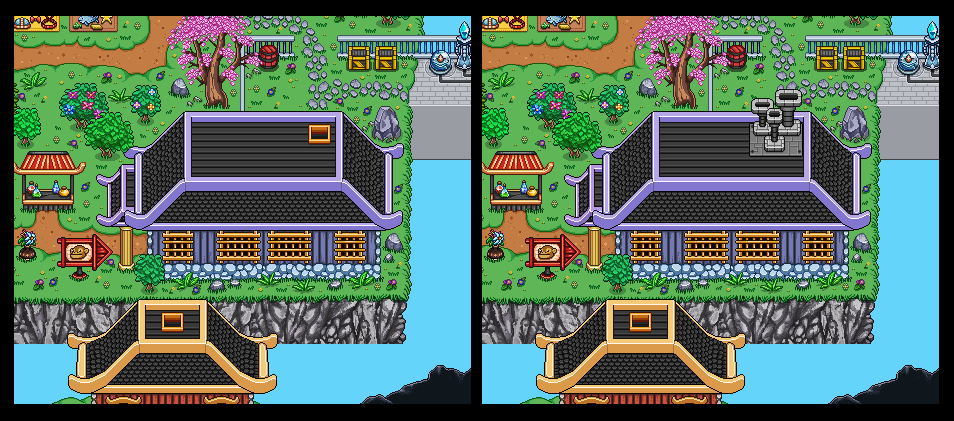
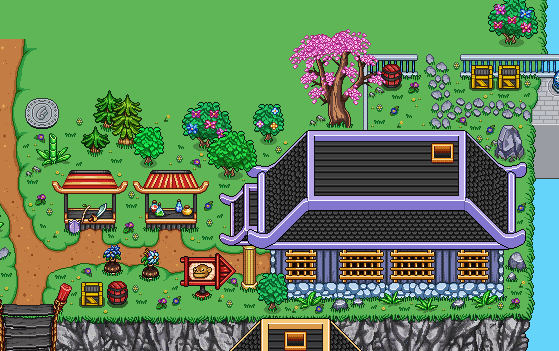
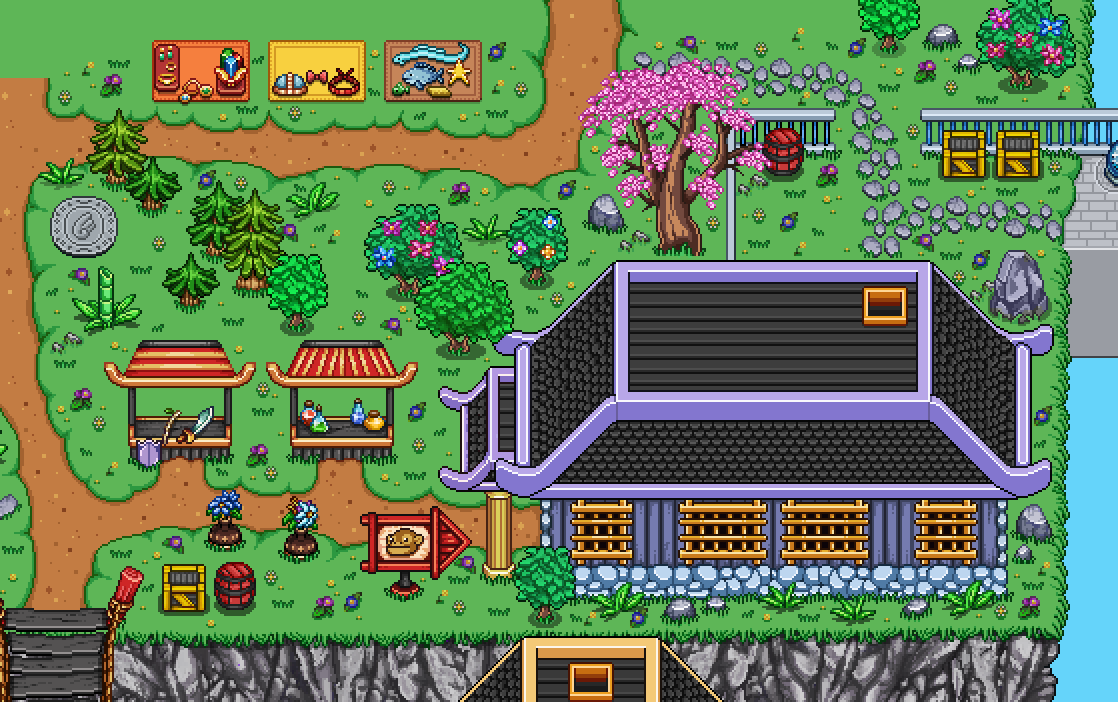
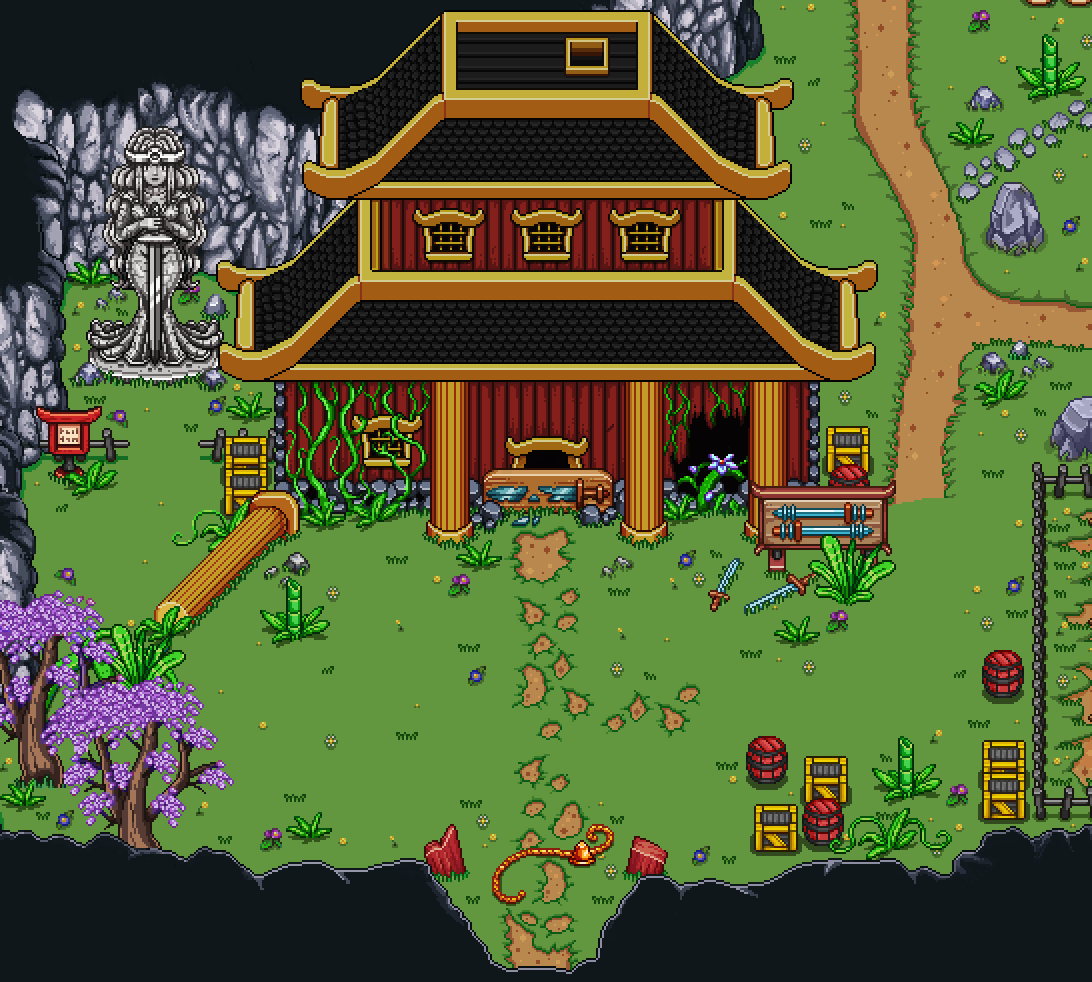
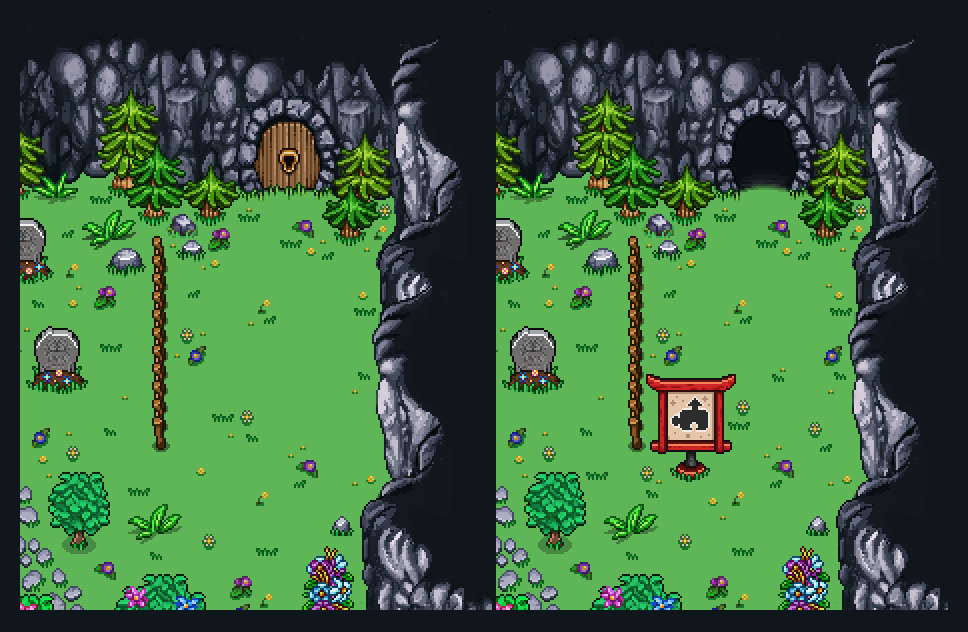
Due to a slight rewrite, we decided to open up the door to the Puzzle World WIP, and add a small sign letting you know that something is ahead:

sign

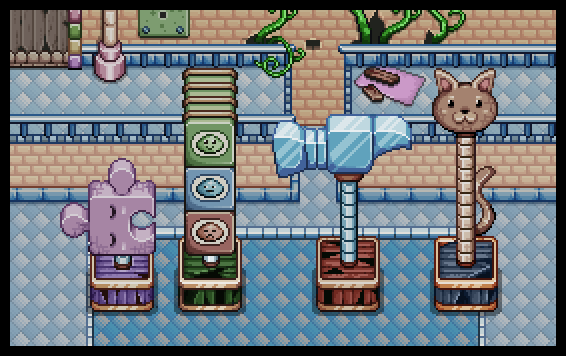
Previously for the Monkey mini game we used a placeholder key, which was actually a much smaller one that was resized in Photoshop. Good thing we remembered to swap it out for this new sprite:

monkeykey

A line of rocks were added to show you where you cannot push certain blocks that can be found on the lower level of this zone. You can (and should) still run past the rocks yourself though:

stoneedge

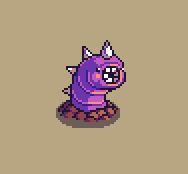
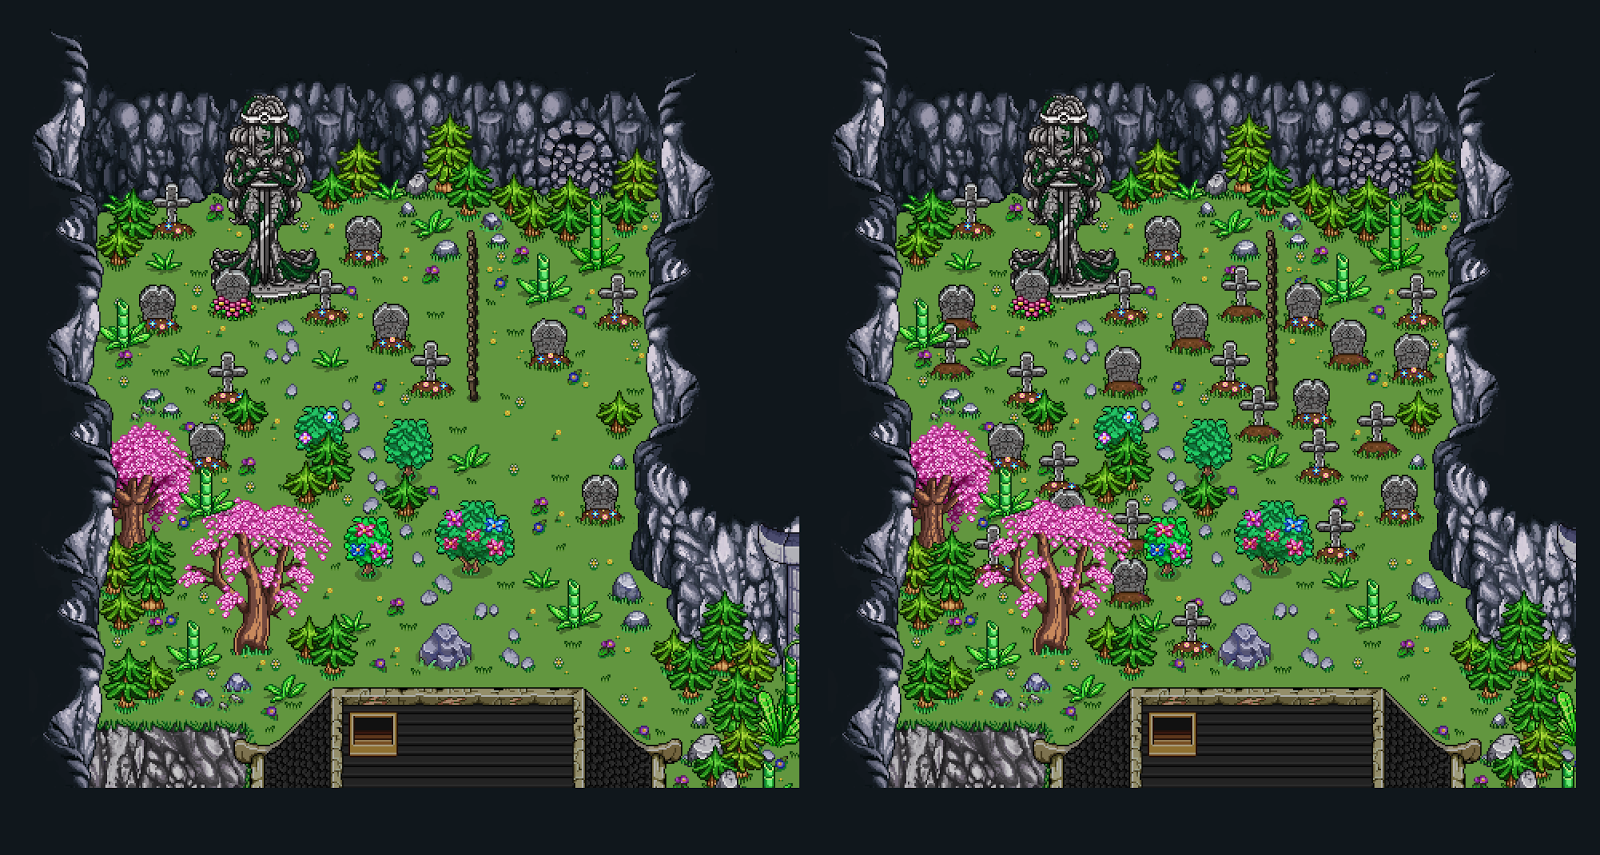
Due to some grim times up ahead in Tai Ming, we decided it was time to increase the number of tombstones in the cemetery greatly, too… Whatever could be happening? The answer awaits you in the third zone!

graves

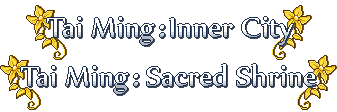
Finally, two new zone titles: one for the second zone and one for the third (which I, as I write this post, have actually started working on already! Wohoo!)

16-zonetitles

…Actually, there was another portrait added, as well! :)

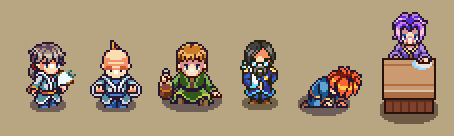
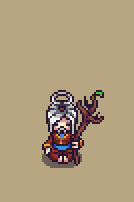
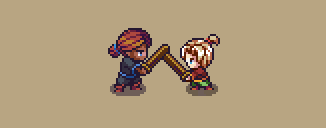
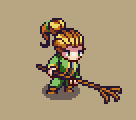
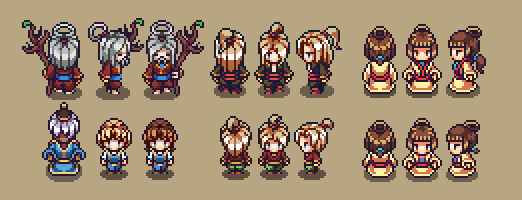
This is Nolea, a character that’s a homage to the main character of CrossCode:

nolea

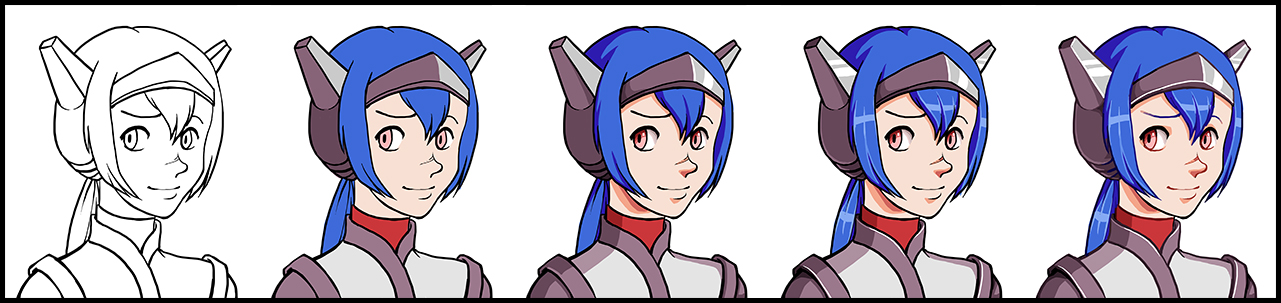
While being based on Lea visually, this character is quite different from her CrossCode counterpart. In fact, she’s a cyborg built built by the Flying Fortress crew with multiple personality and vocabulary settings. How advanced!

She’ll be hanging out with the other Flying Fortress guys in zone02, demonstrating the newly invented Phase Shift techniques.

sprite

For Nolea, I had to make two different expressions, but as I was creating them I had a hard time picking between a couple of variations, so I ended up making 4 instead. I’m still not sure which 2 actually appears in the game, as I told Teddy decide as he implemented them, and I haven’t talked to in-game Nolea since then…

expressions

lea
This week, we’ll likely take care of any bugs that appear through the frontline testing, as well as add another bunch of polish. I’ll also continue working on the third zone of Tai Ming, which will conclude your adventures in this mountain. How exciting!

Until next week! :)

Hello guys! Tai Ming’s second zone is finally coming together: this week I (Vilya) have finally finished up the last backgrounds (except for the Puzzle Cave, which we’ll talk a bit later in the post)! Aside from a few fixes here and there, the backgrounds are now officially done for this area, and “all” that needs to be added now are a ton of NPCs, and of course, the cutscenes.. :)

Let’s take a look at this week’s main tasks:

I quit making the second zone’s outdoor transition from past to present around the HQ, as we hadn’t decided if the area needed to become bigger to properly house the Giant Thorn-Worm battle. Since we decided to keep things as they are, it was finally time to get a move on and finish things up!

First up is the area around the dam, where you can adjust the water levels of Tai Ming’s second zone. As with all other present versions, it’s time to demolish everything:

01-damb

Next, the HQ itself, along with the yard in front! At this point it’s actually not 100% finished – I’m gonna break the wall up a bit so you can move through the left side in the next step (and in the future I might break the right corner a bit for visual effect as well:

02-hqb

Finally, the area near the exit to the third zone! The main focus on this part of the job was the doorway to the third zone. In the past version, the door is open: here it needs to be closed, until you’ve gathered 3 emblems that activates the door opening mechanism. So, the emblems of the past needed to be removed, the door lowered, and some kind of ruin added to the whole thing:

05-exitb

In the end, I also had to add a ton of stuff in the editor to serve as colliders: this part of the area will be blocked unless you get here from the right time rift. Right not some of the items aren’t correctly sorted, but they will be once the game engine does its work!

It’s likely I’ll add more stuff here later if we feel like the blockade is too thin, but that will be in a future mixed bag update, in that case :)

Here’s the final result, for now:

05-exitc

Meanwhile, Fred has been busy filling this area with the NPCs living here! Tai Ming has attracted all kinds of people, ranging from collectors, priests, merchants and bar owners! Some might resemble characters from the present: distant relatives, perhaps?

npcs

Now that I’m finished with my share of the Tai Ming 2nd zone backgrounds, it’s time to move on to something different: the puzzle cave in the north part of the map! We’ve actually made a very basic sketch of the area, which includes all the rooms and what you’ll face there.

Be aware of spoilers if you look at the map below or it’s explanation, if you prefer to explore the amusement park on your own:

04-puzzleworlddesign

I already mentioned the rooms in a previous post, but now we’ve actually designed the rooms! The sketches above are very messy and basic, but they show in which order the rooms will appear, as well as and approximation of how they’ll look.

Room 1 is an introduction room where you’ll meet the owner of the amusement park and his workers.

Room 2 is the Ancient Statue Puzzle, where you’ll have to use statues get to Room 3, where regular battles will take place.

Room 4 is sponsored by Flying Fortress and features a Phase Shift puzzle (shown here), Room 5 is where the Monkey Madness takes place, and Room 6 is the “Path Puzzle” shown in the same post as the Phase Shift puzzle.

Room 7 is where you’ll find your mysterious treasure, as well as a hopefully fancy view! I both look forward to and dread making this map. Good thing I can make the other 6 first ;)

Next week I’ll start making the above rooms, while Teddy and Fred work on adding more NPCs and cutscenes to the village! In the next post we’ll take a sneak peek at what our plans are for the third zone as well, since we’re drawing ever closer to finishing this second part of the temple. Stay tuned! :)

Over the course of the development of Secrets of Grindea, which has gone on for five (5!) years now, we’ve had many different ways of keeping track of decisions made in the past and where to head in the future.

Unfortunately they’ve varied in usefulness – turns out, simply talking about something in the group and then expecting everyone to remember the outcome of that conversation doesn’t work quite that well. In fact, more than once we’ve had the exact same conversation several times, with different outcomes, where people have changed their opinion over time, or we simply don’t remember which idea we thought was best.

To solve this we’ve used a variety of documentation methods – we’ve kept our meetings documented physically through a notebook I’ve (Vilya) brought to them, and sometimes we’ve used our “agenda” document (basically a to-talk-about list for each upcoming meeting) to document what we talked about and what it resulted in. There’s also been attempts to have a Upcoming Quests document, an Arcade Mode document (with future arcade mode mechanics), and a Story Mode document with random bits and pieces about the game written down randomly.

After trying to navigate through these documents for a while, searching for the answer to another one of our eternal “what did we say about subject x?” questions, I decided it was time to clean things up.

So, over the last few days I’ve been merging all of our documentation – the quest documents, the contents of my notebook, the Story Mode- and Arcade Mode- documents and ordered them properly in a single Google Docs document:

Documentation

In order to keep things easy to find, we decided to sort this new all-powerful list area by area in chronological order, starting with a “General” section for things affecting general gameplay (such as visible healthbars for co-op), and ending with all things Arcade Mode. Thanks to their “new” (at least, I hadn’t seen it before) outline feature, it became very easy to navigate through the content once I was done, but if the feature wasn’t available I’d probably created something similar in a regular text document, adding a table of contents in the beginning.

We’re very glad to have this new documentation method, which hopefully will save us some time when looking up what exactly we decided after having discussions, and why we came to that conclusion. It is likely we’ll still have to talk about some things again, of course, as we do tend to change our minds around – but at least now we don’t have to take it all from the beginning again!

Now, this week hasn’t been all about documentation, of course. We’ve also continued work on Tai Ming’s second zone (which is drawing closer and closer to completion, art asset wise anyway). In order to prepare for the Giant Thorn-worm battle, we’ve made a battle-worn version of the HQ outdoors:

HQBattle

We also continued on the government/administration building from last week, creating it’s present state as well:

Administration

Administration

..and finally, yet another character joins the fray! When I made this guy (yes, it’s a he – or it’s supposed to be, anyway), I had some a vision of some kind of mix between Remedi the alchemist in Evergrind City, and a vampire. Yeah I know, don’t ask where these ideas come from. I have no idea! Anyway, he’s supposed to sell potion in Tai Ming’s second zone, and here he is:

Portrait02

Portrait

That’s all for this week! Next week will most likely be an animation special, as I’ll be taking a couple days off (first vacation days this year!! wohoo) and probably won’t be around to write the next post :)

See you!

This week we’ve started getting back into the groove after being away for so long.

After checking things out again after such a long while, we noticed a few things that needed changing or improvement, so as I (Vilya) went back to work I dove straight into that.

First up, one of the NPCs that will play a kind-of important role in the dungeon. We felt she looked too young in the first version, and needed another, even older version for a later map where some time have passed:

nanny01

nanny02

For the first rework I just grayed out her hair and added a hint of wrinkle at her mouth, while the second, older version has lighter gray hair and wrinkles both near her mouth and around her eyes.

Next up, we wanted the ape house to look a bit stranger than the rest of the houses, so as a first step I added a bunch of different-looking chimneys, indicating this house is a little more advanced than the rest. We also have plans for Fred to add some cool stuff to the house, such as a water wheel or something similar (plus he might animate the chimneys as well), so I think it’ll look pretty cool in the end:

chimneys

I also made another prop to decorate Tai Ming’s second zone, a stack of barrels:

Barrel01

Barrel02

Since me and Teddy went to Stockholm unexpectedly and left Fred to his own devices for a bit more than a week, it was high time to get together at our favorite fast food place and make a new plan for some upcoming Tai Ming things, including the next upcoming BOSS fight!

06-EnemyWormIdle

This boss is based on the enemy seen above, a cave worm of sorts. Only it’ll be a loooot bigger!

The worm will have 3 main attacks, which are detailed in Swedish (and masterfully illustrated) in the image below:

wormboss

Attack #1: The worm dives underground, leaving part of his body visible while he digs his way ahead. He’ll then surface and dive again, kind of like a dolphin, only every time he surfaces more of his body will be visible. You’ll take damage both from the worm diving onto you, but also from his spiked body if you touch it. However, you can still hit him while he does this, so if you’re careful you can get some nice damage in during this attack!

Attack #2: The worm surfaces head first, and spits a bunch of the regular enemy worms at you. These will damage you on impact, and will bounce once on the floor before they resume the regular enemy worm-pattern and become an additional obstacle on the playfield.

Attack #3: The worm uses his tail to whip you, dealing damage if you get hit!

Special: We’re not 100% sure about this yet, but hopefully it’ll be cool! So, after you’ve dealt enough damage, the worm will summon another worm to the playfield, making the challenge twice as hard! Double the boss, double the fun, right…? :)

Some people have suggested instead of adding another worm to the mix, we should split the current worm into two. I definitely like the idea myself, but we haven’t discussed the suggestion as a team yet. Would be cool to make it happen, though! :)

———————————————

Now, these recaps aren’t the same without ending with a bunch of Fred’s stuff, so here’s the guard(s) that will patrol Tai Ming, as well as an old man doing a fancy jump:

Guards

Jump

Hey guys! It’s me, Vilya, again! I’m the one who usually writes these blog posts, but as I’ve been gone for a little more than a week taking care of a critically sick cat, Fred took care of the last two recaps.

Since we all used to live together (me, Teddy, Fred and the two cats), and we still get together in the same apartment for work every day, the cats are very dear to all of us, meaning it’s been a tough couple of weeks. BUT, good news, Link the cat seems to have stabilized for now after a super serious and seemingly random bout of severe anemia, which had him hospitalized for over 5 days at one of Sweden’s biggest animal hospitals. He’s still eating a ton of medicine but he seems to get more and more energetic every day, so let’s hope he makes a full recovery!!

We’re officially back in the office and have been working as usual for a couple of days, so things should hopefully be back to normal unless something else happens! For this post, let’s take a look at some of the things we did before going away, which didn’t make it to a recap yet!

First up, continuing on Zone02 we have been adding the ancient version of the collector’s HQ:

BG-HQ

Here you’ll get a quest or two that need to be finished before you can continue your adventured deeper into this mountain village! There will be a bunch of ancient collectors sparring here as well, which should help making the area feel alive :)

Oh yeah, and those shops below the HQ?

Shops01

We decided to make them actual shops so you don’t have to travel all the way back to Evergrind in case you missed buying something there! Here’s their interface graphics:

Shops02

I also went ahead and connected the road leading from the HQ and the building to the left with the exit to the third and final Tai Ming map, meaning the only major thing left to finish on this map is a gravesite in the northwest:

BGExit

BGExitGIF

We also decided we wanted the bamboo decorations to be destructible, and in a pretty fun way at that! Instead of destroying the whole thing at once, you’ll have to whack ’em down, piece by piece. As such, they are now made of several parts:

Bamboo

And when you decide to destroy them, this is what it’ll look like:

BambooGIF

Although we might add some additional effects, such as shaking of the sprite!

Finally, to mix things up, a portrait:

portrait

It was such a long time since I made portraits, but I have to get used to it quickly again! There will be a lot of NPCs in this village, after all :)

OK, that’s all for now, time to get back to work with full speed!!! Please stay healthy little cat, we have a game to finish! :D

Hey guys!

This week has been all over the place. Vilya and Teddy have been out of commission the entire week due to one of their cats becoming sick. They had to leave Gotland and travel to an animal hospital in Stockholm. Vilya’s written a lengthy post about it over at her personal blog, be sure to send her some love.

Because of this we don’t have that much to showcase this week. Fred has been staying behind, acting cat sitter to Vilya and Teddys other cat, while continuing to work on NPCs for Tai Ming.

Besides interacting with the NPCs through out the dungeon, Tai Ming features a pretty hefty amount of cutscenes as well. Below are some animations from one of the scenes we are working on at the moment!

Combo

Walk

Sword


This week, things have been moving along smoothly in the boss department. Teddy has pushed the prototype to a more or less finished state, adding a bunch of new attacks and patterns both for normal and hard mode. There’s still some fine tuning to be done, but the battle is fully playable at this stage. All that is left now is some graphical polish and of course, player feedback!

Below are some of the new attacks Teddy have been messing around with. We can’t wait to see all the “Let’s plays” of people getting wrecked by this one!

Boss-BulletHell2

A hard mode/low HP version of an attack we showed the other week. Every attack, even in normal mode, will have a harder version that the boss will use when she reaches a certain amount of HP.

Boss-FloorDodge

Even with the place holder ice graphics, this one is pretty self explanatory. On its own it’s rather simple to avoid, but once the boss herself starts moving around it becomes another story!

Boss-Pendulum

This attack was suggested by Own over at the forums (thanks buddy!). Once again, this is the normal version. Don’t let the soothing motion fool you, things will get nastier as time progresses!

Besides boss stuff, Vilya has kept working on the second zone of the dungeon. Below is the “Government building”, where a lot of the administrative tasks of Tai Ming gets handled.

StepByStep

House

Fred has been busy with NPC and cutscene stuff, which will be a common commodity in Tai Ming through out the dungeon!

Granny Practice Statuee

A new week and – you guessed it – more Tai Ming!

Among the things added to the village last week was an Inn (which pretty much would be Grindea’s first real Inn – at least in Story Mode)!

TaiMing01 - Inn

The beginning of a dam (it will also have a “mouth” that will open or close depending on how you use it, but Fred will add that later cause it needs to be animated):

TaiMing03 - Dam

TaiMing03 - Dam

And an… ape house(?!) with its surrounding area, which includes some market stands that will sell familiar items:

TaiMing04 - Market

TaiMing04 - Market

Fred has also been busy adding NPCs to the village, so here’s a few more:

Broom

Doggy

Fisherman

Lookie! A dog! It’s the very first dog in Grindea!! How exciting as that?

As for Teddy, as you can guess, he has continued working on the boss and added the first area’s background & it’s props to the game! Phew!

Now, on to even more Tai Ming things! See you next week :D

Finally, we’ve all completely moved on to Tai Ming!

Vilya continues working on the backgrounds, ending the from-past-to-present transformation of the first map by ruining the exit to the next level:

TaiMingFinal

After that was done, a bunch of small fixes and changes were made:

TaiMingCleanup01

TaiMingCleanup02

TaiMingCleanup03

And now, we can finally start adding all the props to the editor so it’s easier to add them and their colliders to the upcoming maps:

TaiMingProps01

TaiMingProps02

Meanwhile, Fred is creating a ton of NPCs for the village:

NPCs

…and Teddy is prototyping the first boss! How exciting is that?! We’ll take a look at how that works in next week’s recap! See you then :D

This week we’ve moved on to working on the time travel temple until Teddy is home and ready to patch the Mount Bloom sidequests into the game!

First up though, something important we forgot in the mountain: fishing opportunities! Of course you’ll be able to fish in the mountain as well, so there had to be some fishes created:

Fishies

So the top one is the Anglerfish, hidden deep beneath the waves where it eats unsuspecting smaller fishes, such as the Wimp! Like some of the rare fishes, it has two icons, which allows us to use a larger one when the character holds it above his/her head, and a smaller one that fits inside the inventory circle.

The blue one is actually not made for Mount Bloom. Instead, we’re swapping the Rock Fish from pillar mountains for this one (which is supposed to be a Salmon, btw). The Rock fishie will instead be moved into Mount Bloom, where we feel it fits a bit better.

The purple one is a little crystal fish, and the gold one… a gold fish!

Then we have the slimy Mossfish, and a message in a bottle! Which may or may not contain a side quest…. ;)

As Vilya moved back to the temple, she decided to upgrade the old Grindea statue and make another version of it, featuring a sword, for the ancient village:

Statues01

Statues02

These new statues will at some point be replacing the old Grindea statues scattered across the land, for now though we continue to focus on Tai Ming (the time travel village)!

Vilya actually started transforming the past version of the first village map (which she created long ago) into its present, ruined version! Here’s the first step:

TimeTravelPresent01

There’s still a long way to go, but it’s a start! Here’s a list of some of the things still to be added/changed:

* Tone down the colors of the house a bit – paint tend to fade, after all
* Destroy one of more of the pillars
* Add more vines to the building
* Ruin the roof & create a hole from one of the windows
* Add moss to everything!
* Destroy & add moss to the statue
* Bigger bushes & plants here and there
* Add more rocks that have fallen from the walls/cave roof (if there’s one?!)
* Make the containers (barrels & crates) overgrown & broken

…..and the list goes on! As you can see, this will be quite a project, so there will be quite a few videos like this of the transformation. Hope you like it!

And to end this post, after being in Germany for a week, Fred is back in the office and ready to pump out a bunch of new animations! Two of them can be seen here:

Mushroom

Statue

See you next week!