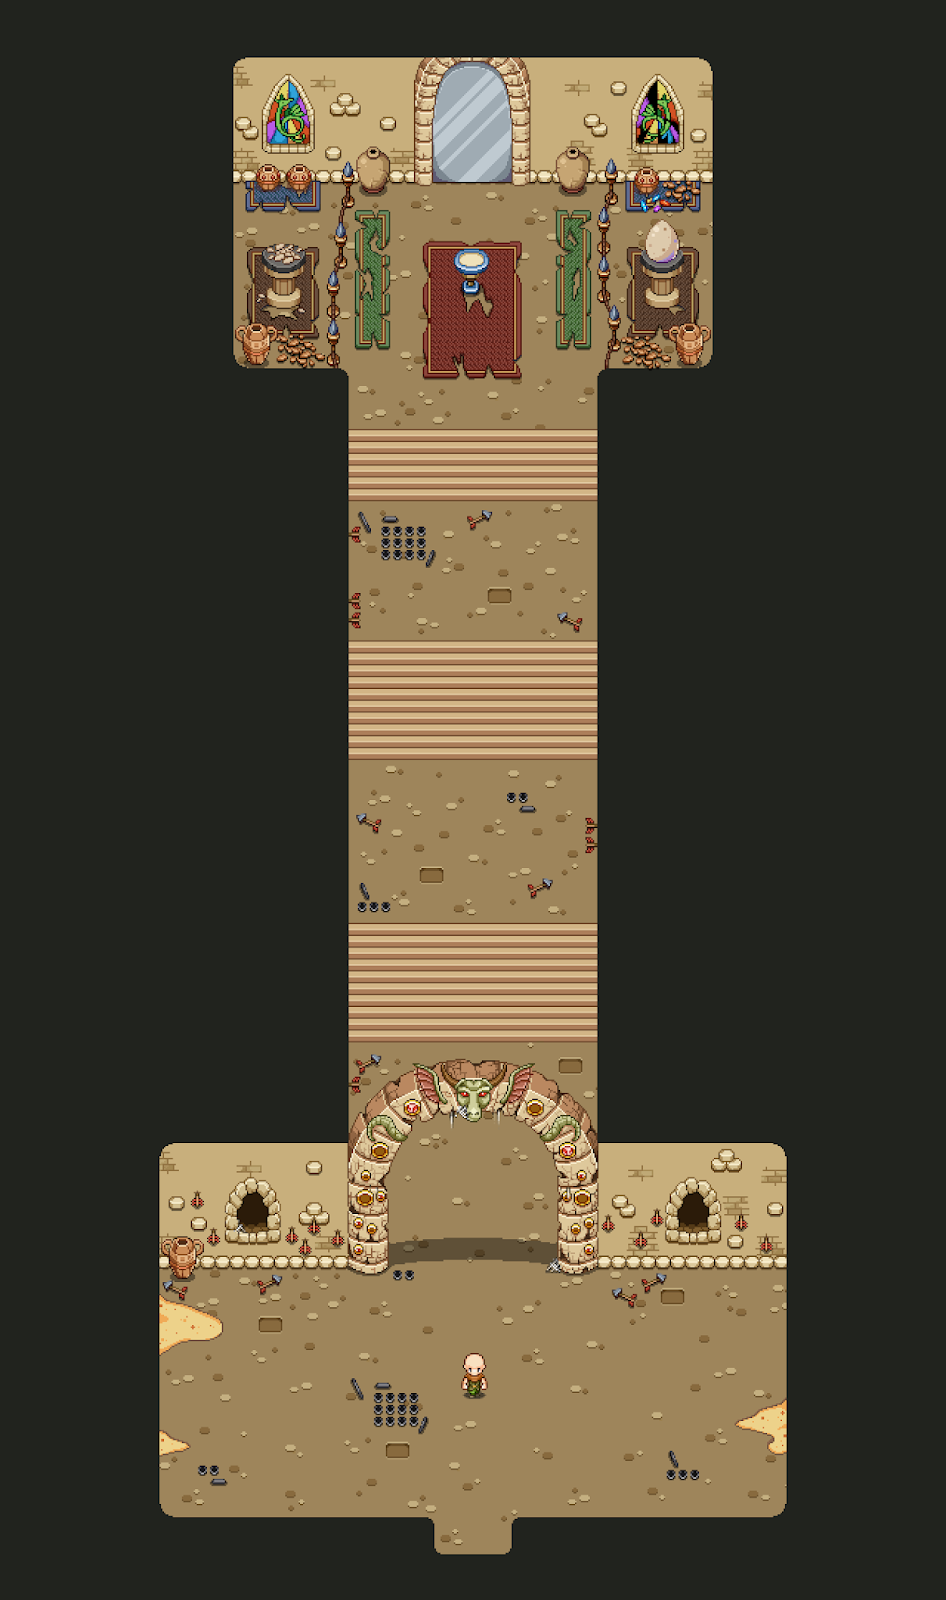
Moving on to lesser priority NPCs that may or may not make it into the patch, we have a priest that will be available in the church in Port Monnaie! In the beginning we wanted the church to belong to Bishop, but in the end we decided to leave him in the desert instead, letting this church be a remnant of the ancient religion you saw once in the past of Tai Ming instead.
As such, she’ll wear the same style of hat as the priests back in the day wore, though her overall garb is inspired by modern day priest outfits rather than the ancient robes worn by the priests of Tai Ming’s past:

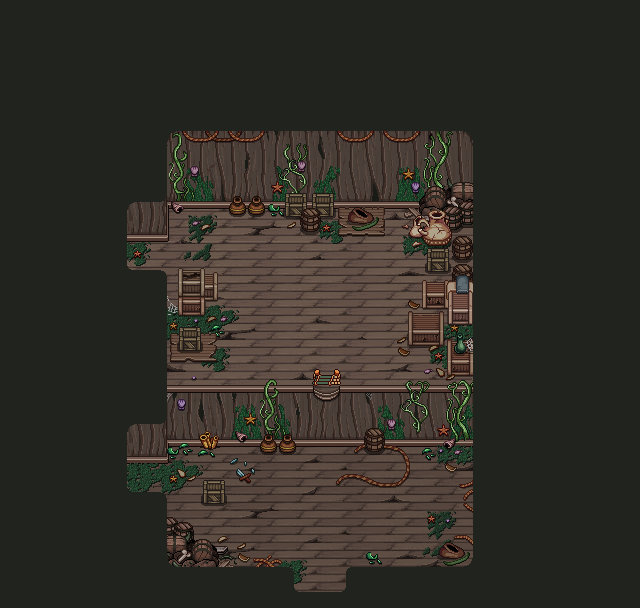
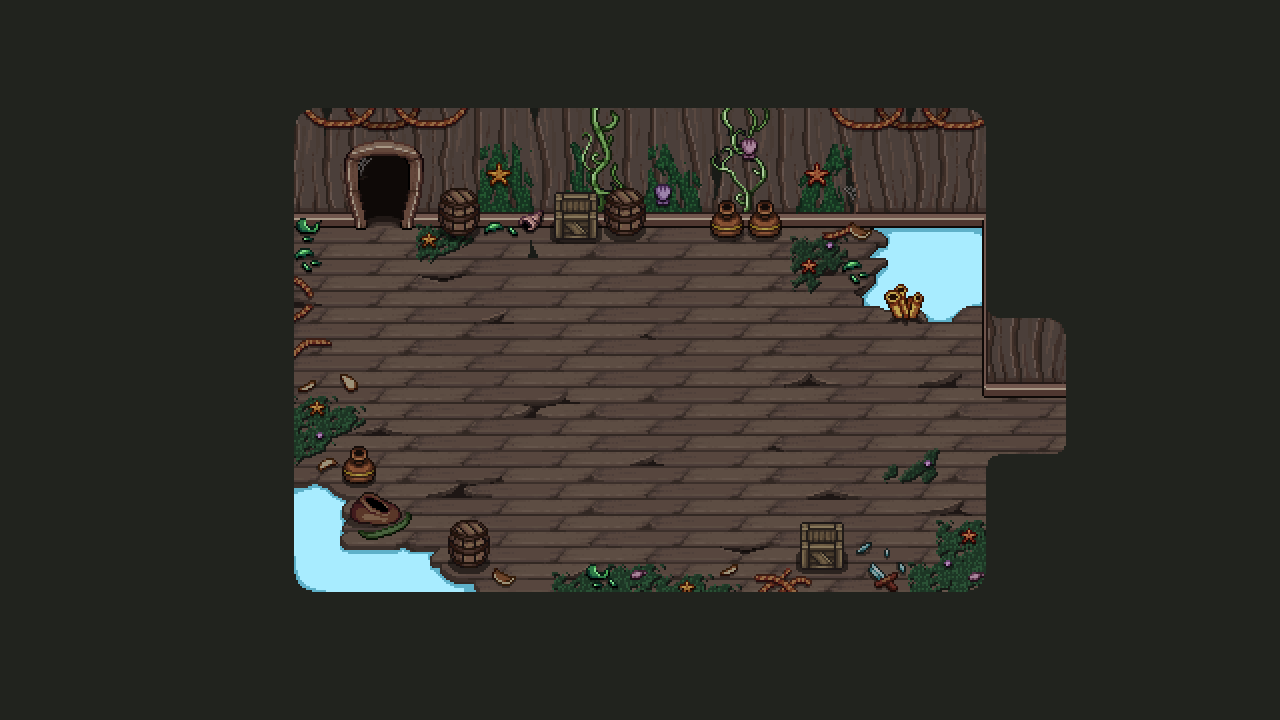
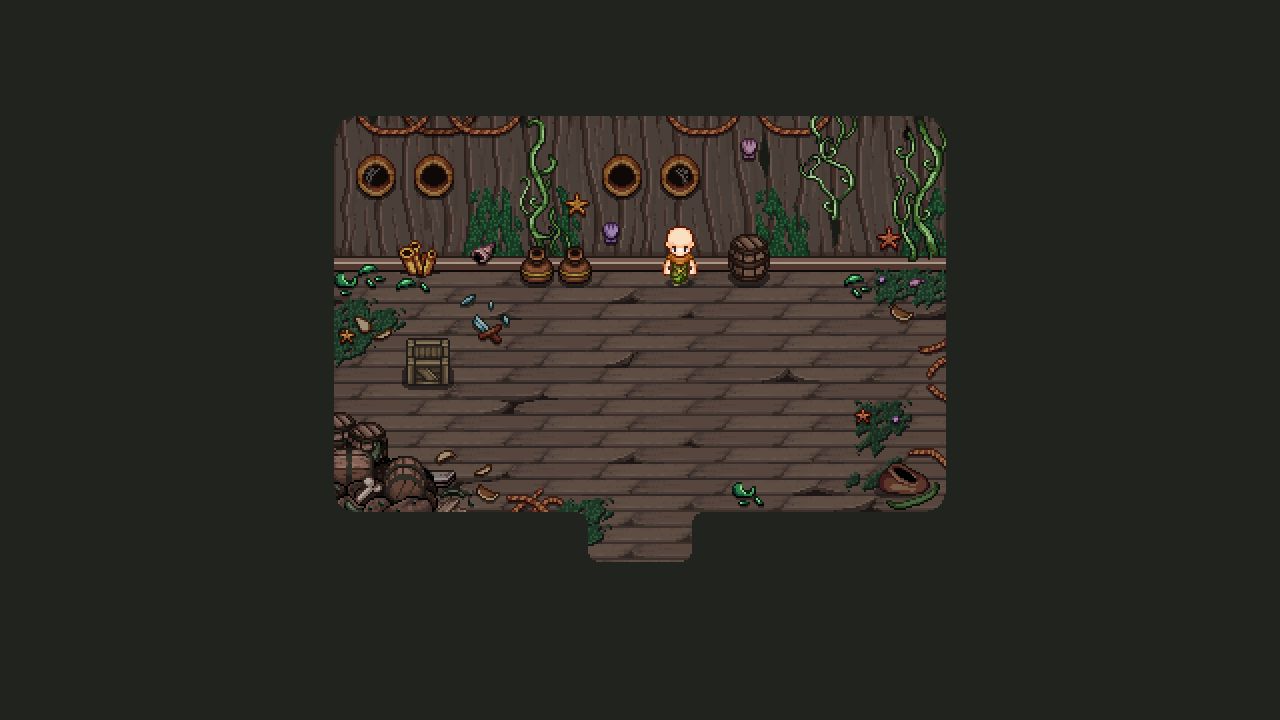
As for the Ghost Ship, since I made the only two rooms for the first floor that I can make before prototypes of the rest have been made, I’ve decided to move on to do things for the second and third floor instead.
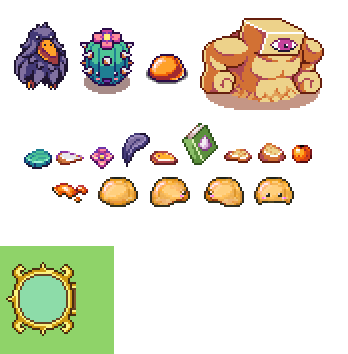
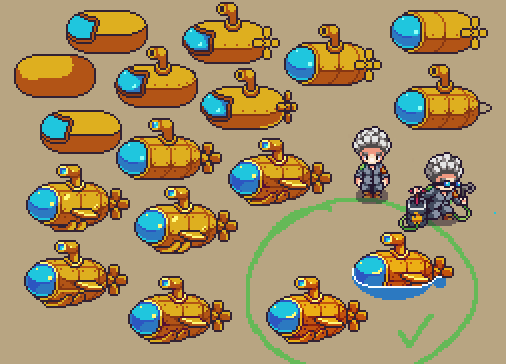
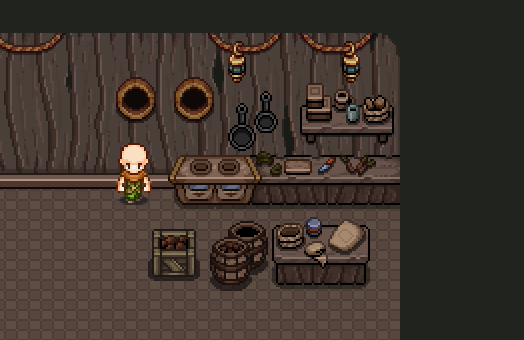
While the design of these floors haven’t been properly established, there are a bunch of rooms we know we want to include. One such room is a kitchen, so in preparations for making the room, I’ve spent some time making a ton of props for the room. Perhaps not all of these will be used, and perhaps I’ll need to make some more once we actually design the room, but this is a good base to have – and in worst case, I’m sure we’ll be able to use some of these props in other parts of the ship (or, in other parts of the world)!
Here’s a video of the progress:
Aaand the props in their finished state:
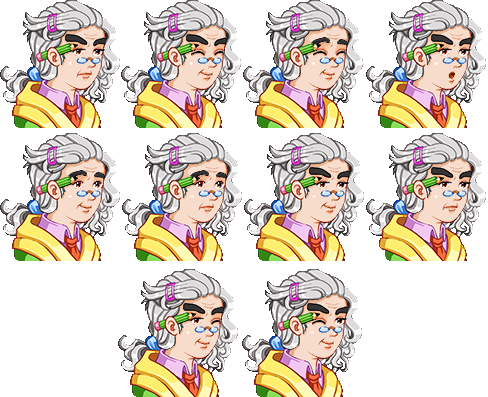
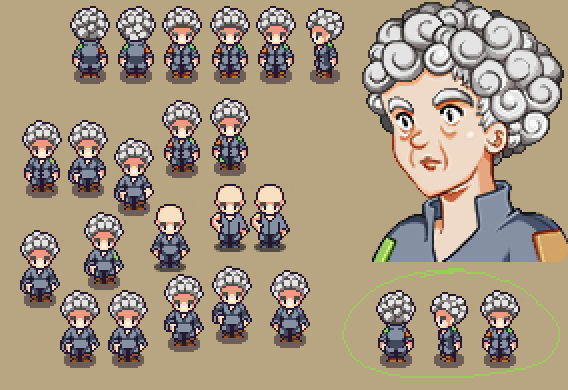
One portrait we weren’t quite happy with was that of the mayor, which can be seen below:

Not only is the style a bit off compared to the other portraits in the game, we didn’t feel the overall quality of it was quite up to par, so we decided I should remake it. Using Fred’s newly made NPC sprite as the inspiration, I began the remake:
And here’s the new version! I know the anatomy of her head is a bit off – don’t worry, it’ll be fixed in an upcoming edit :)

Now, this week is rather portrait heavy, as more last minute characters are added! This boy is a receptionist in a building where the mayor’s husband exhibits his expensive collection of ancient findings – some which originate from the ancient Tai Ming!

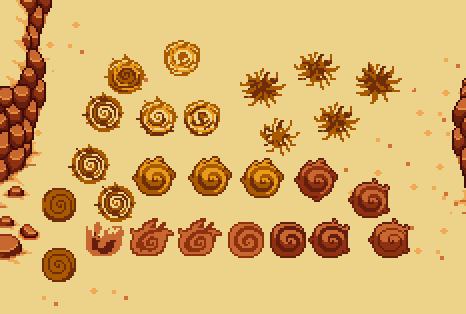
As for Fred’s progress: remember those vegetable enemies Fred made a while ago? Wouldn’t be much of an enemy if there’s no way for them to appear, or to defeat them, so of course each of them need a spawn and death animation.
Are you ready to eat your vegetables?


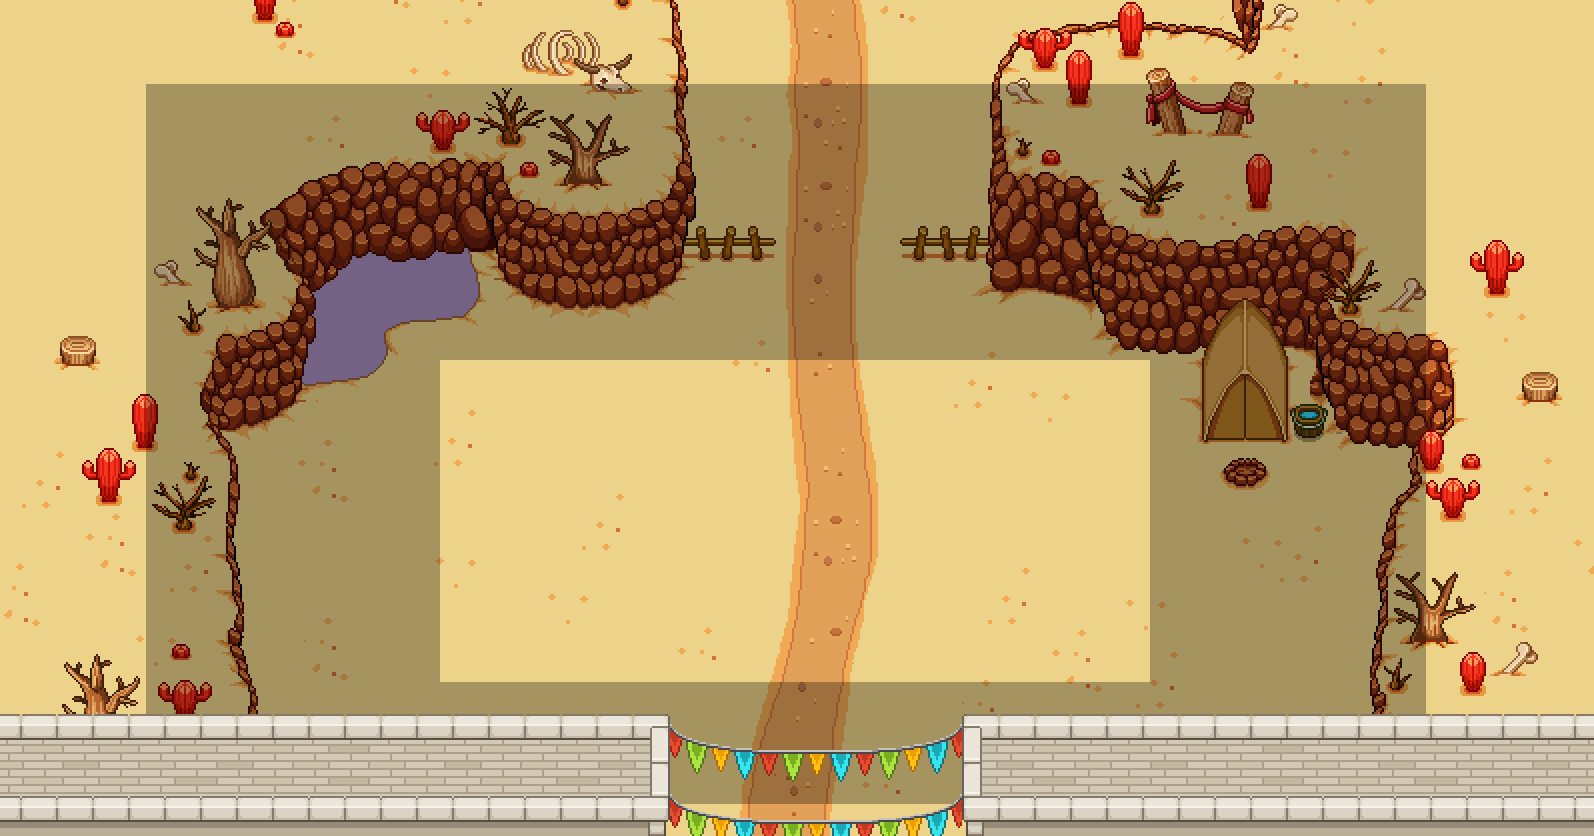
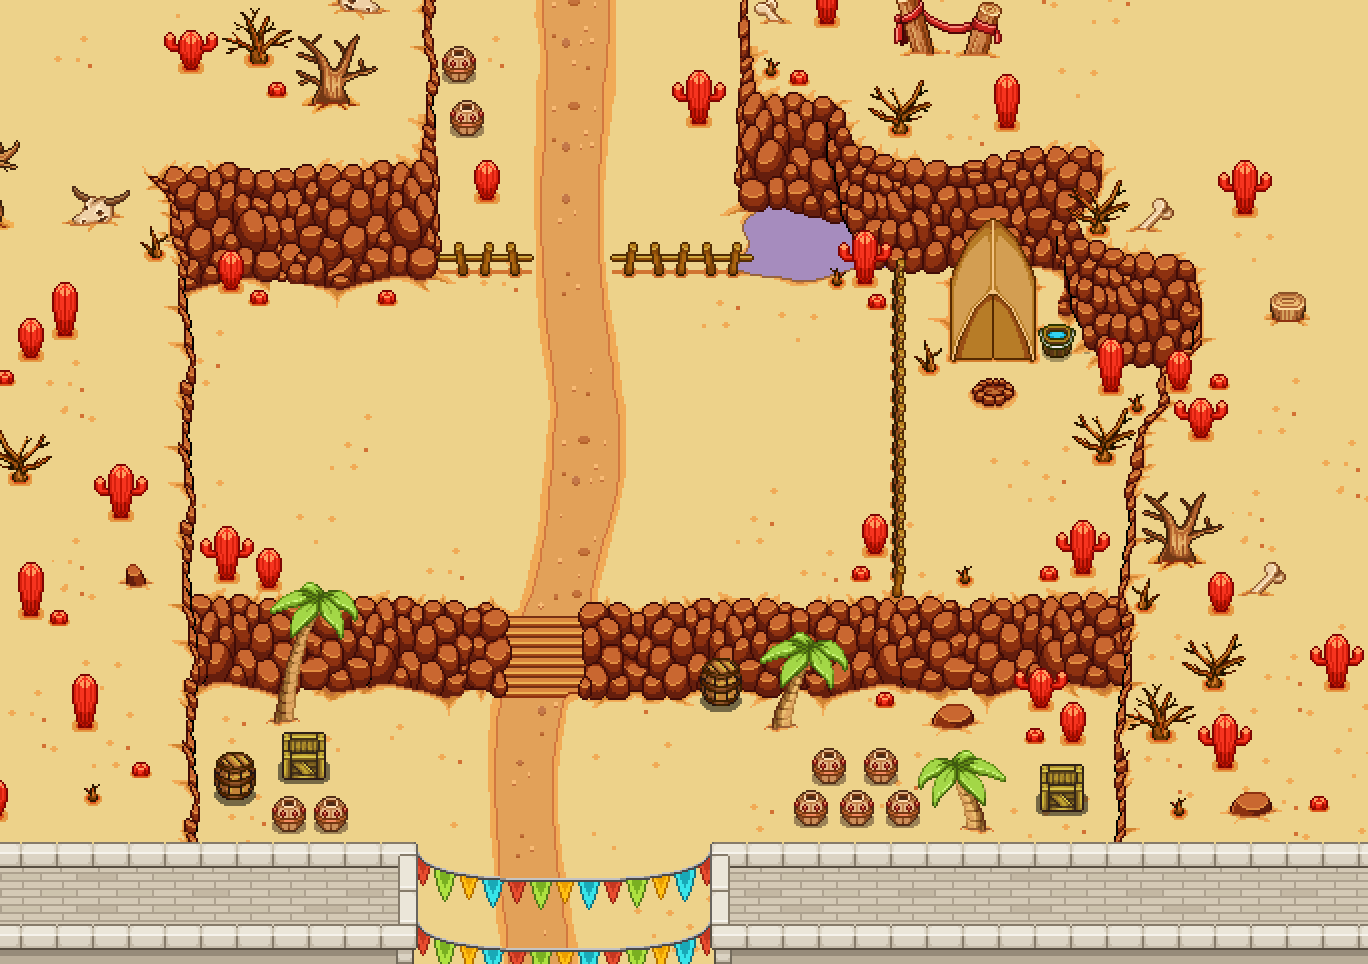
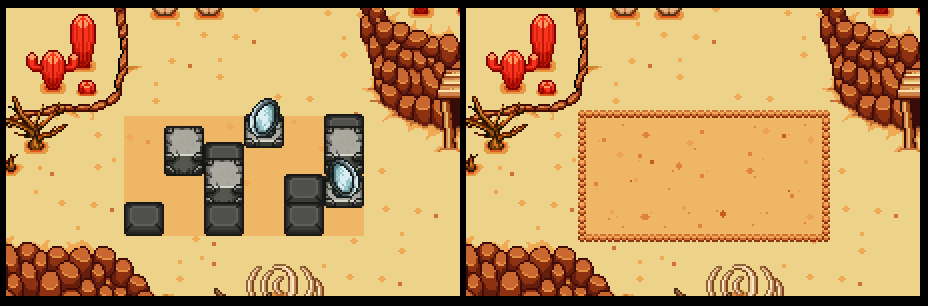
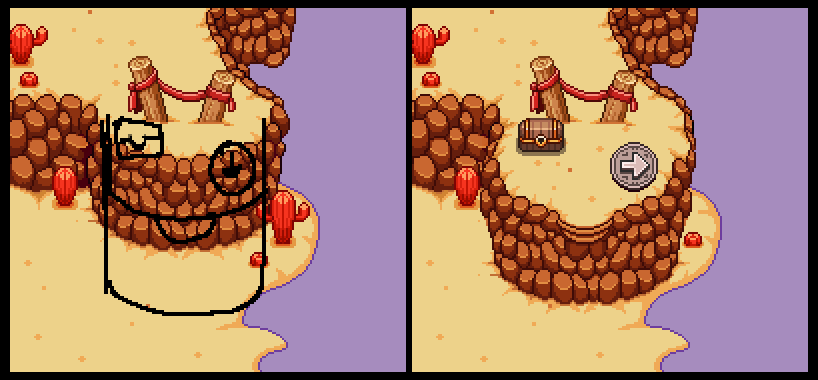
A few weeks ago we had a discussion about whether we’d include these in the frontline patch or not, since you’ve been waiting so long and this is “merely” part of a side quest relating to the desert. However, because of the desert taking so long, we decided it’s more fun to include a couple of these side quests as well, since they won’t take that much extra time to add (we already prepared the graphics anyway).
Our estimate is to have the patch up and running either late this week or in the beginning of the next, so unless something unforeseen happens, get ready to battle these cuties very soon!