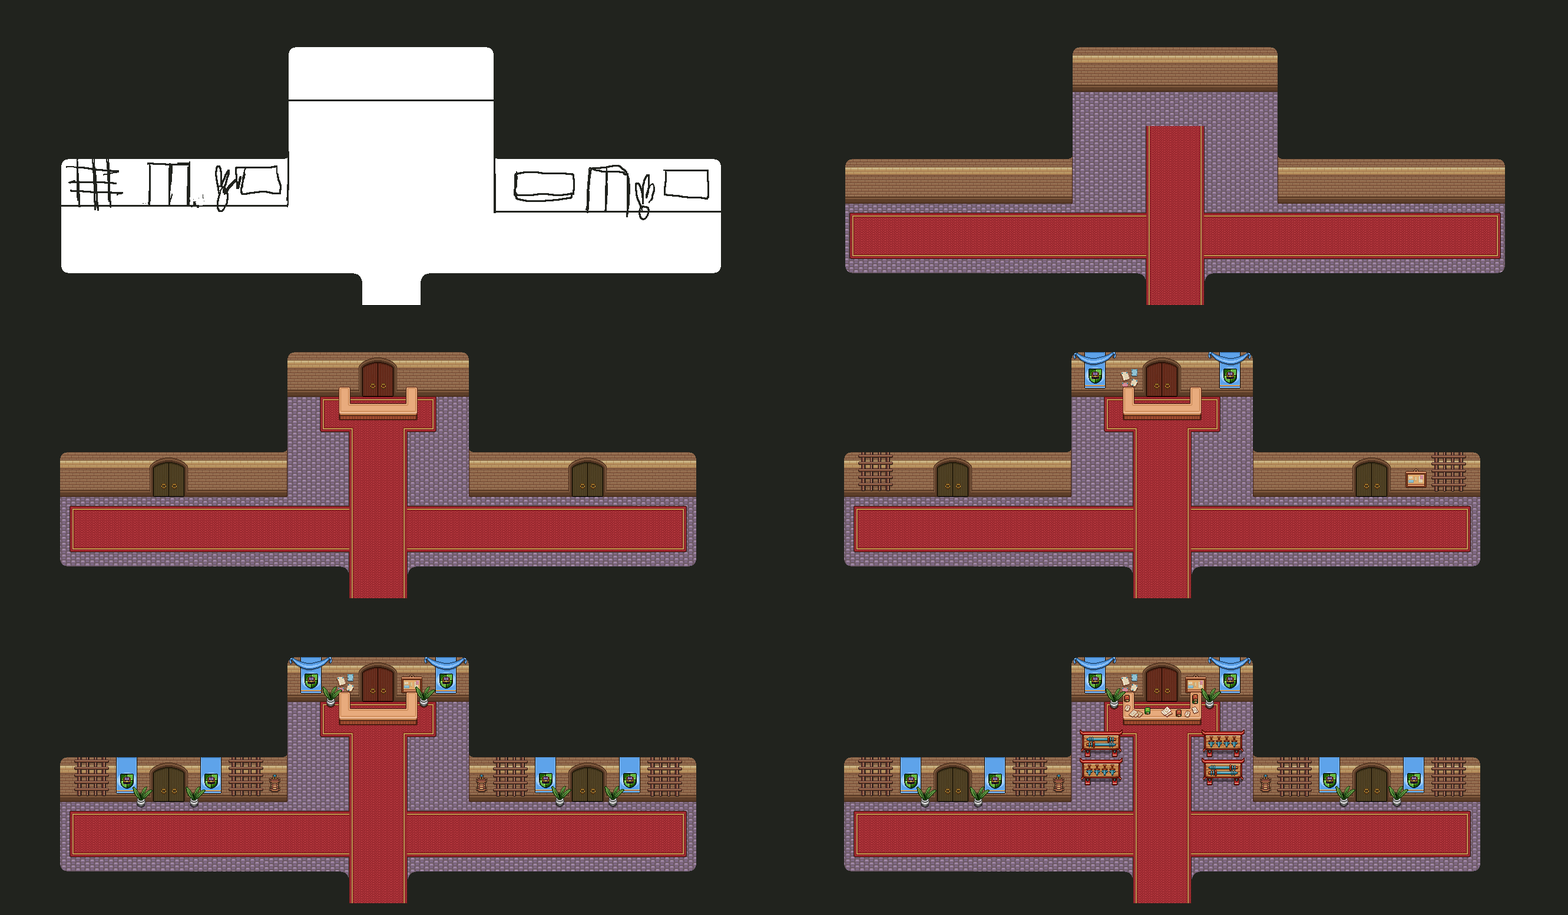
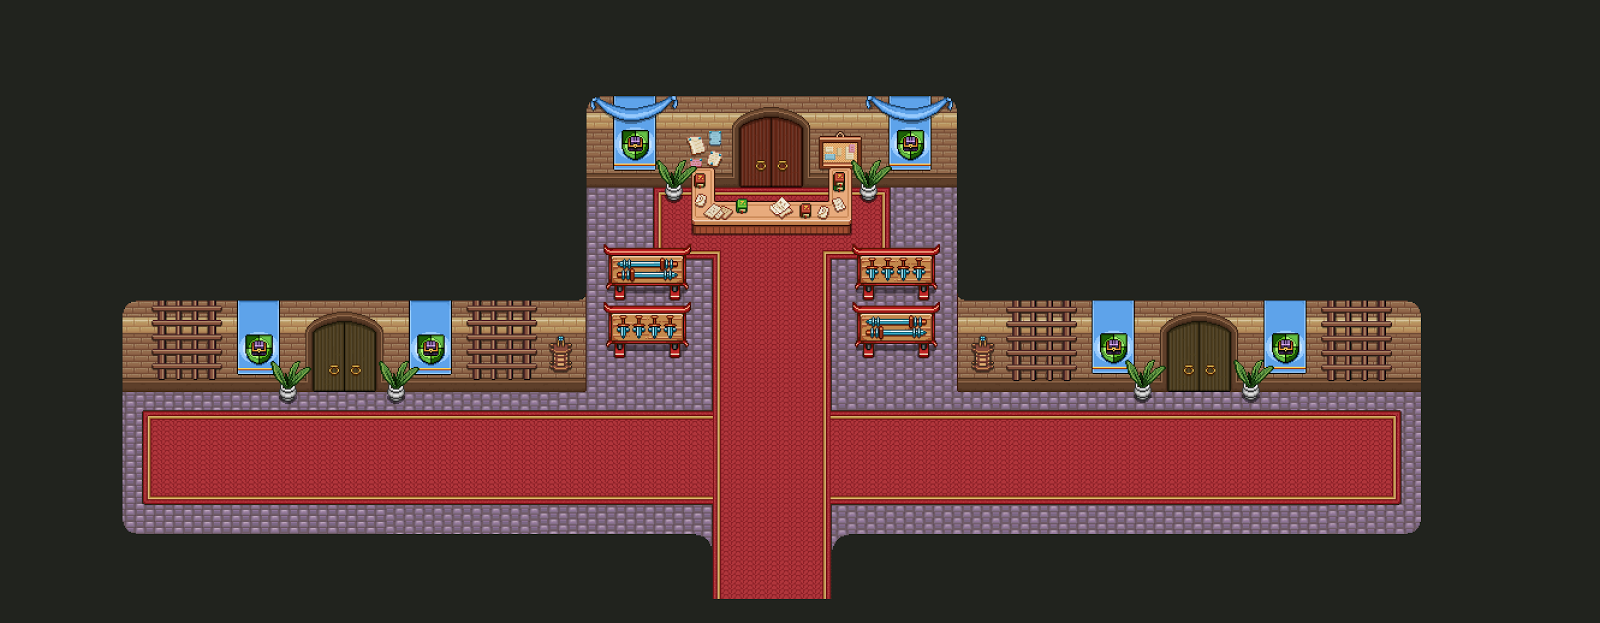
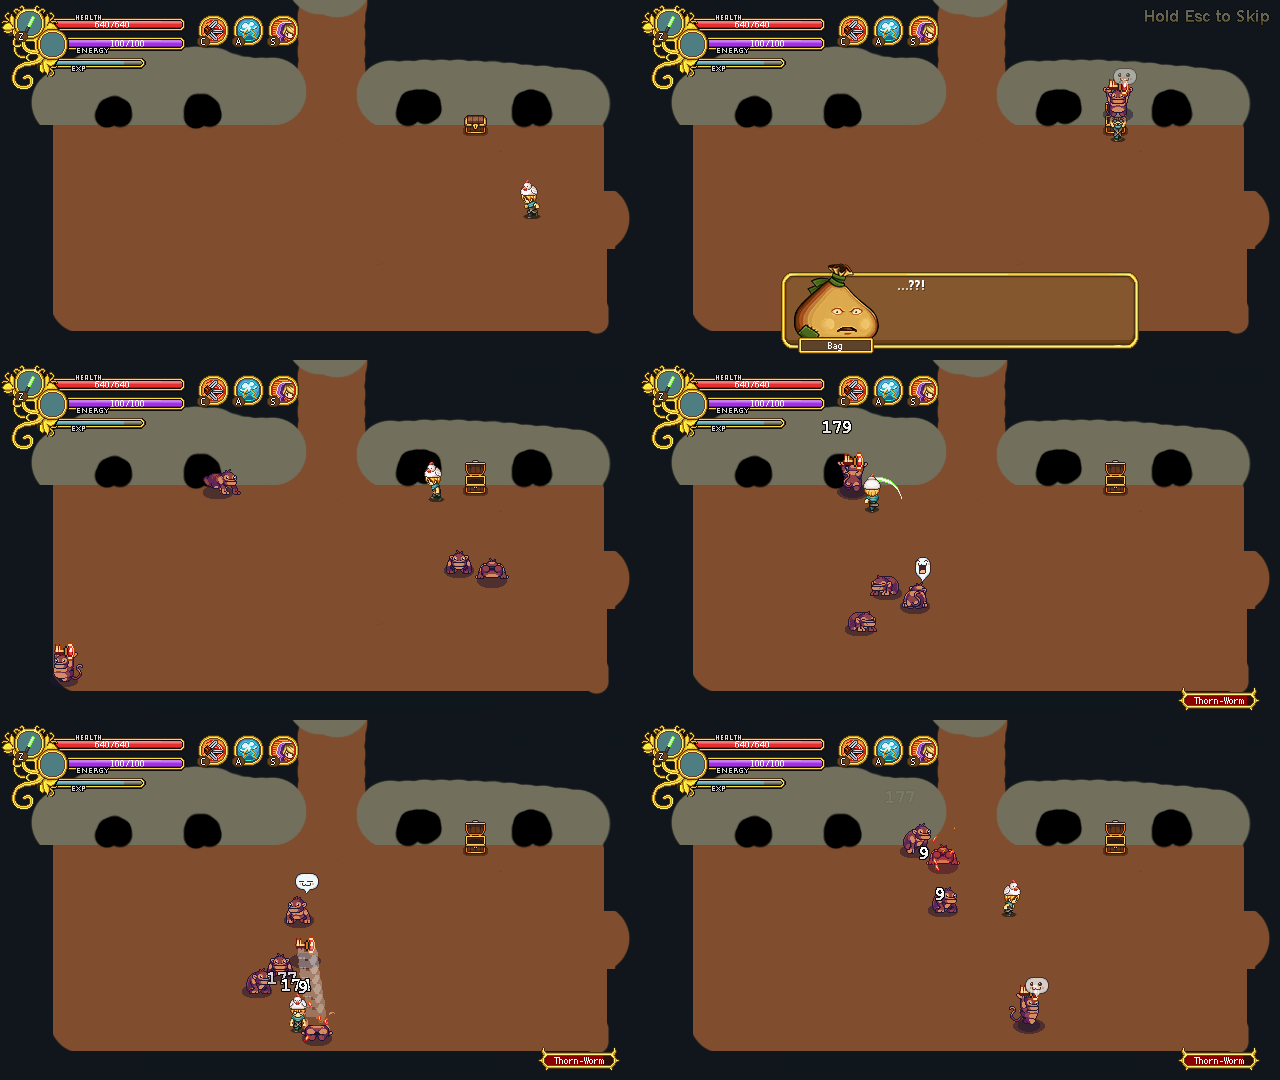
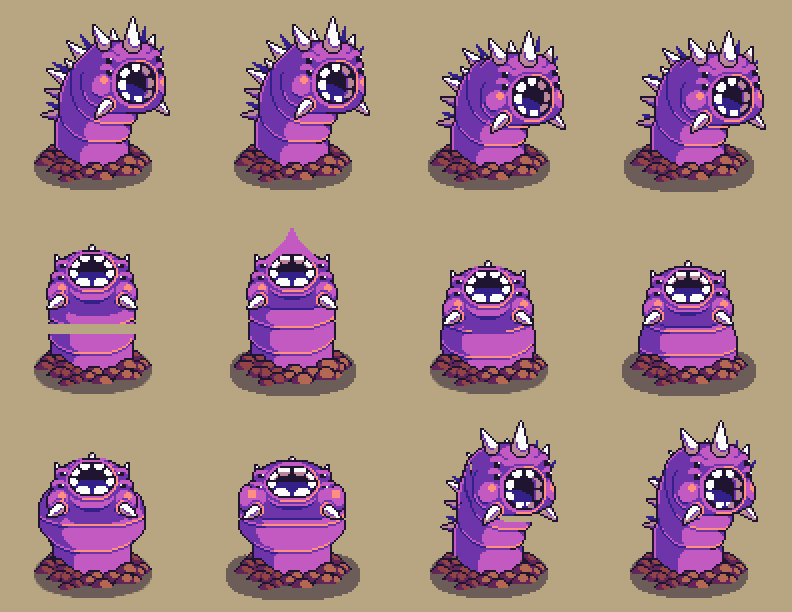
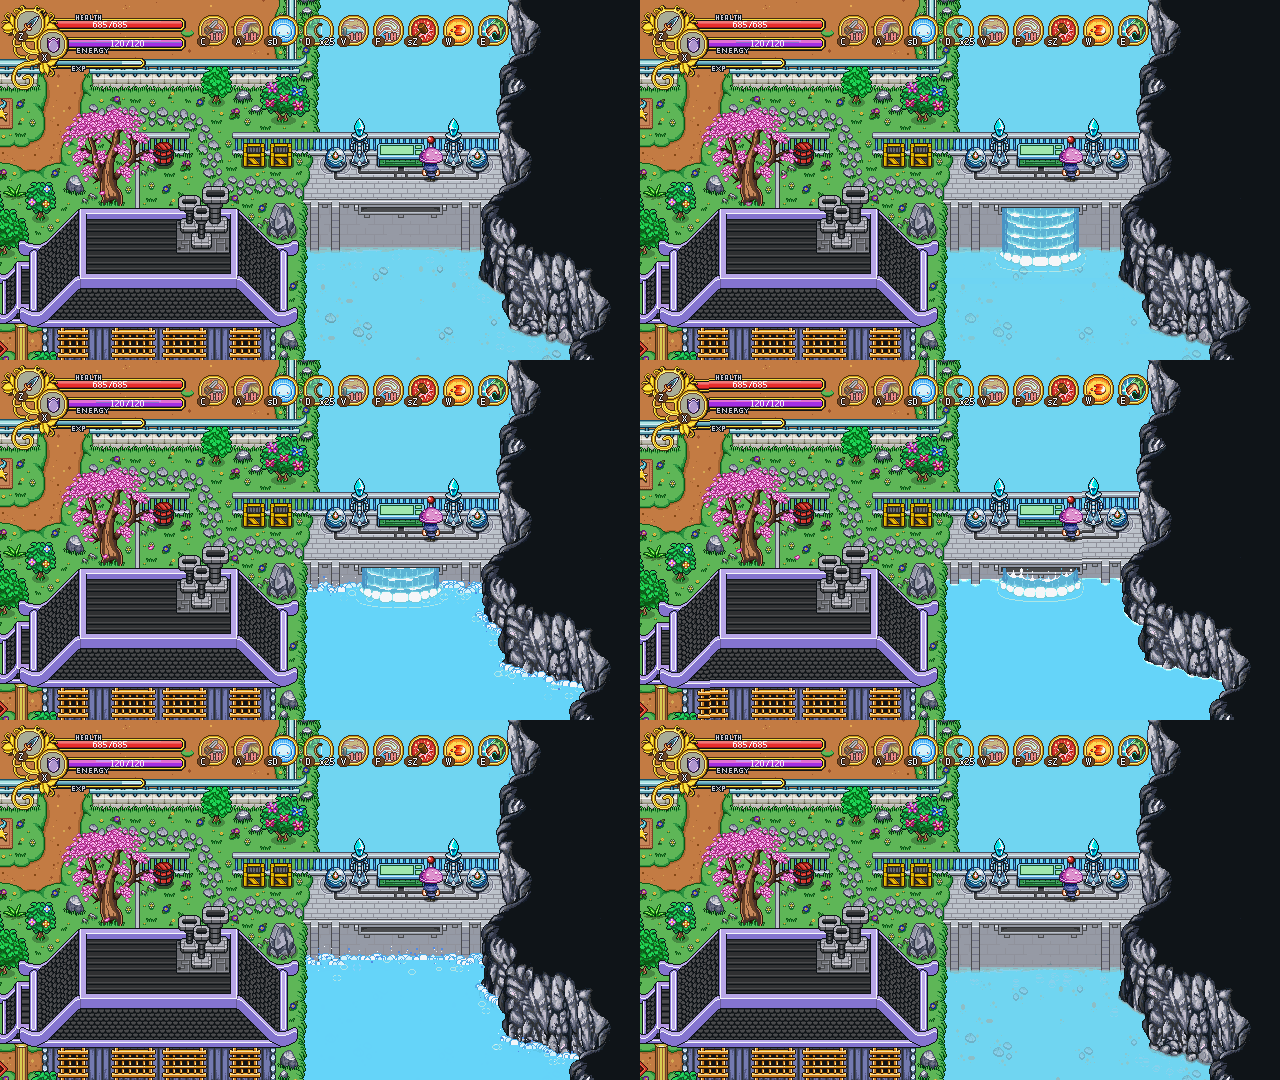
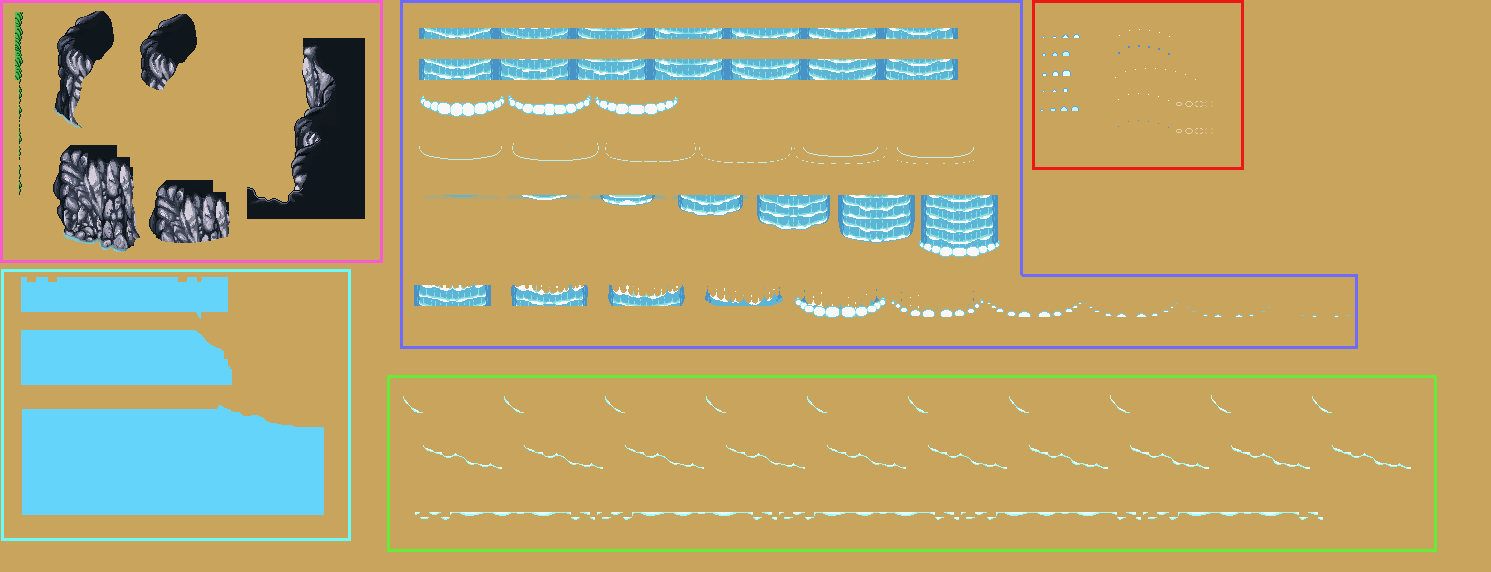
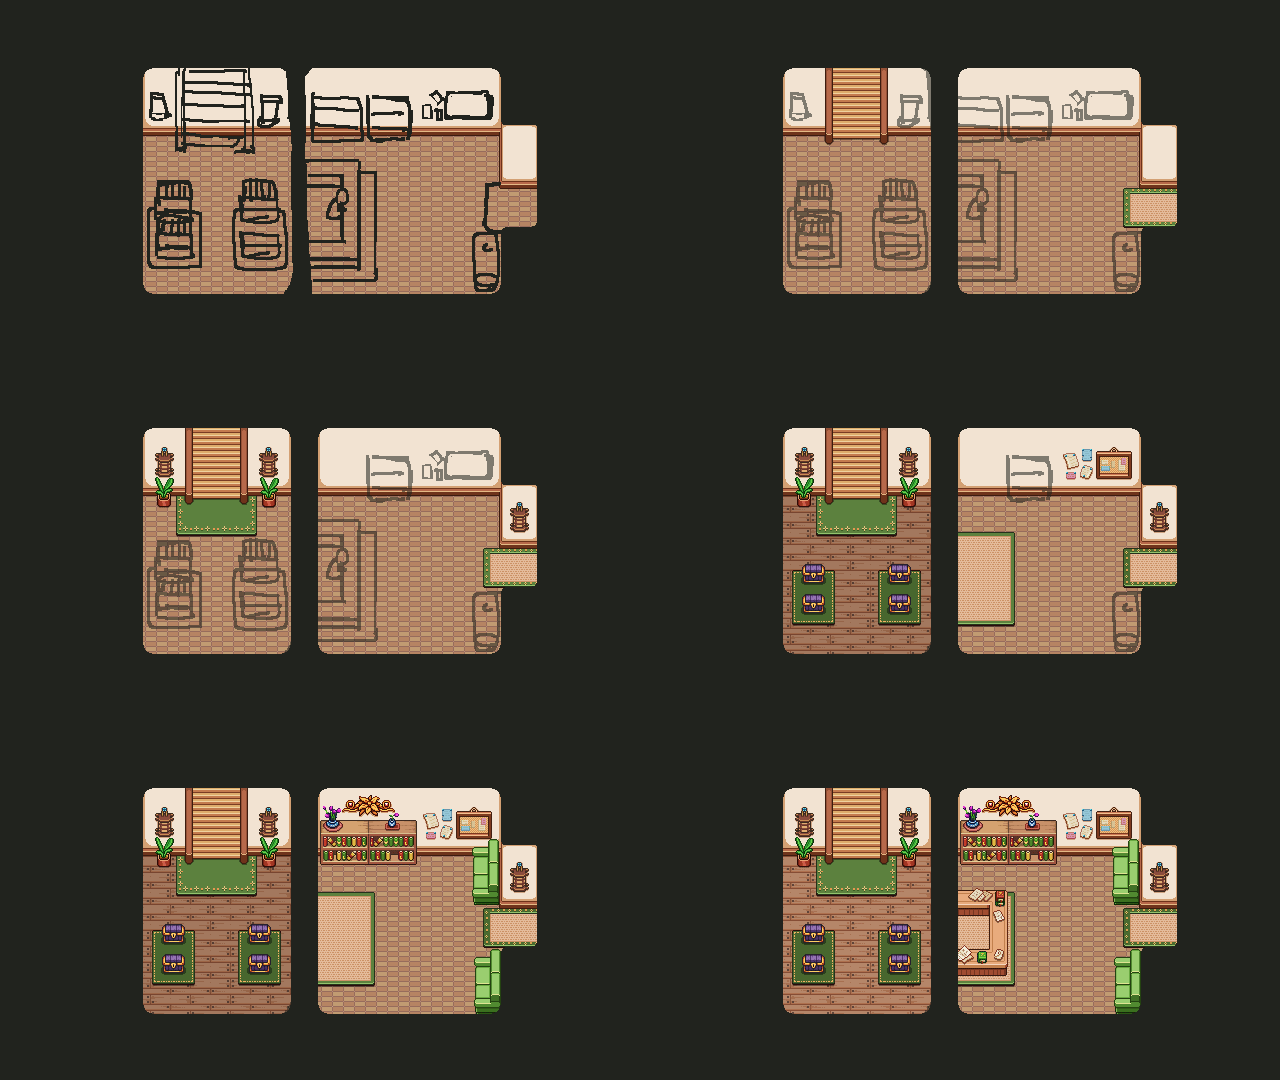
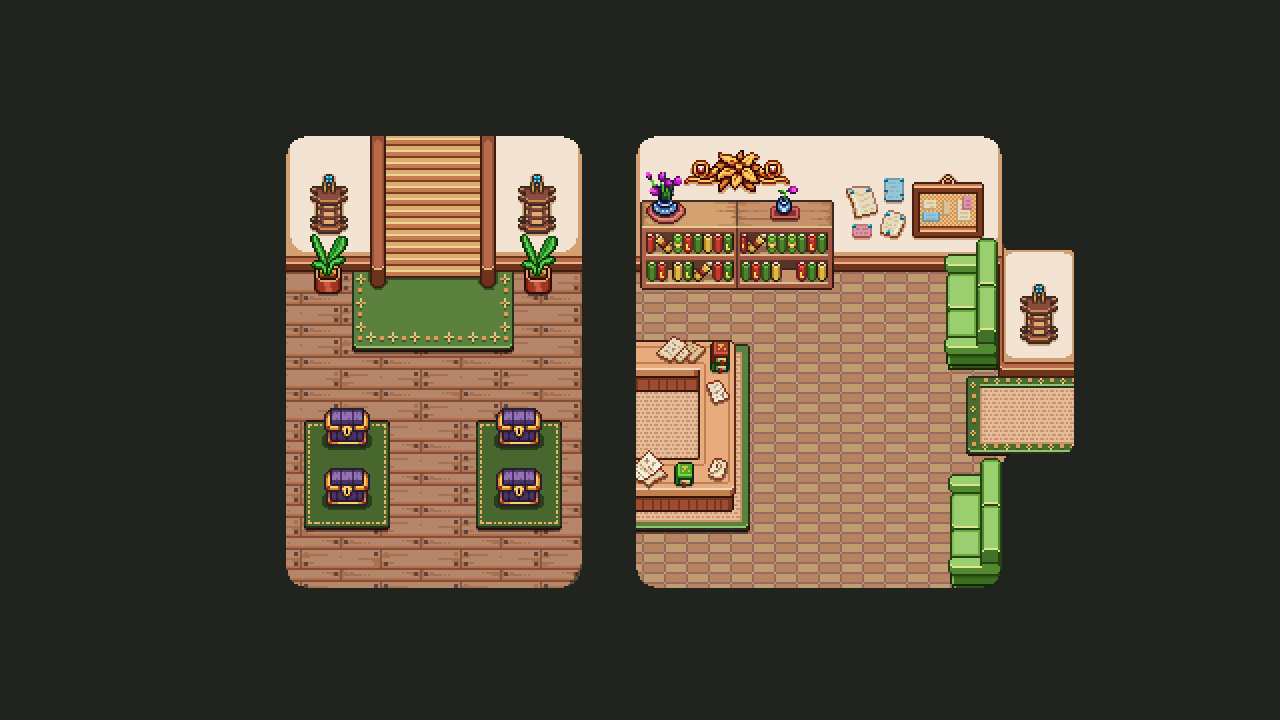
Another week, and more Puzzle World!
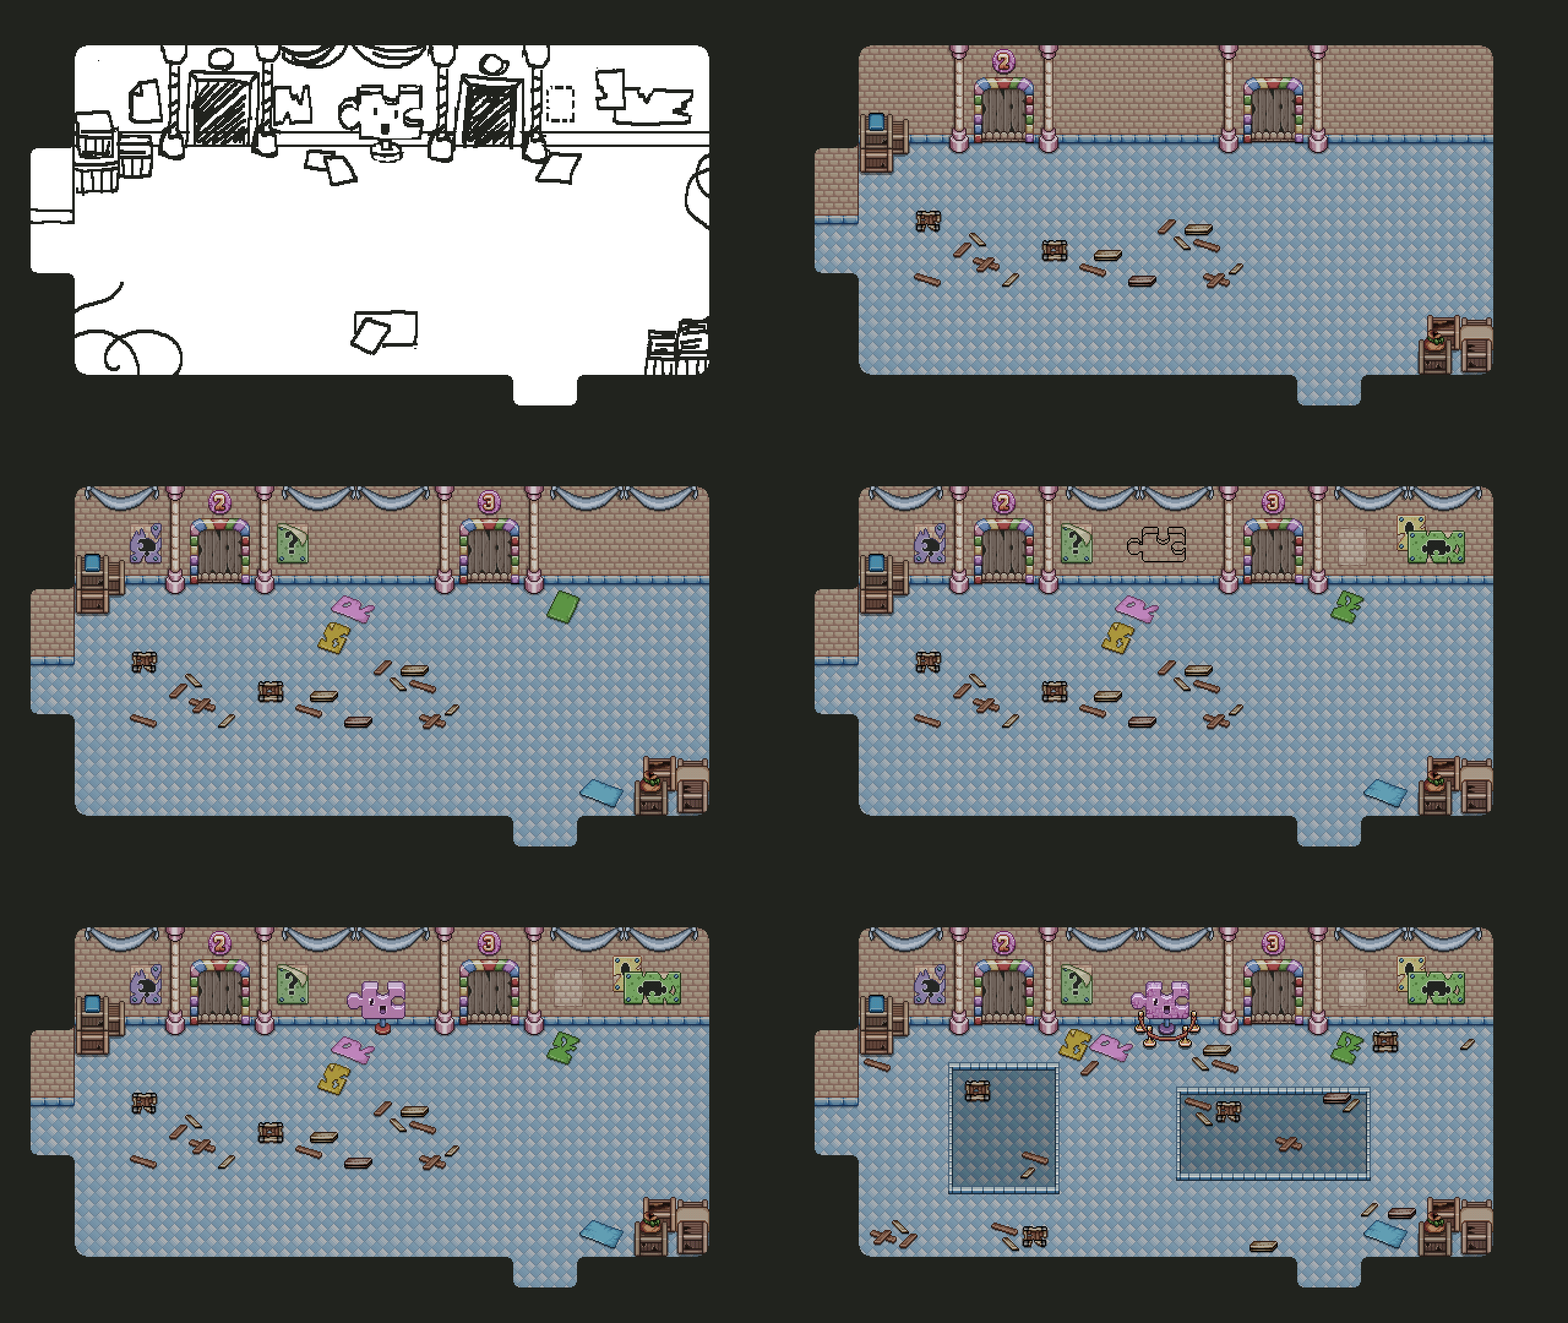
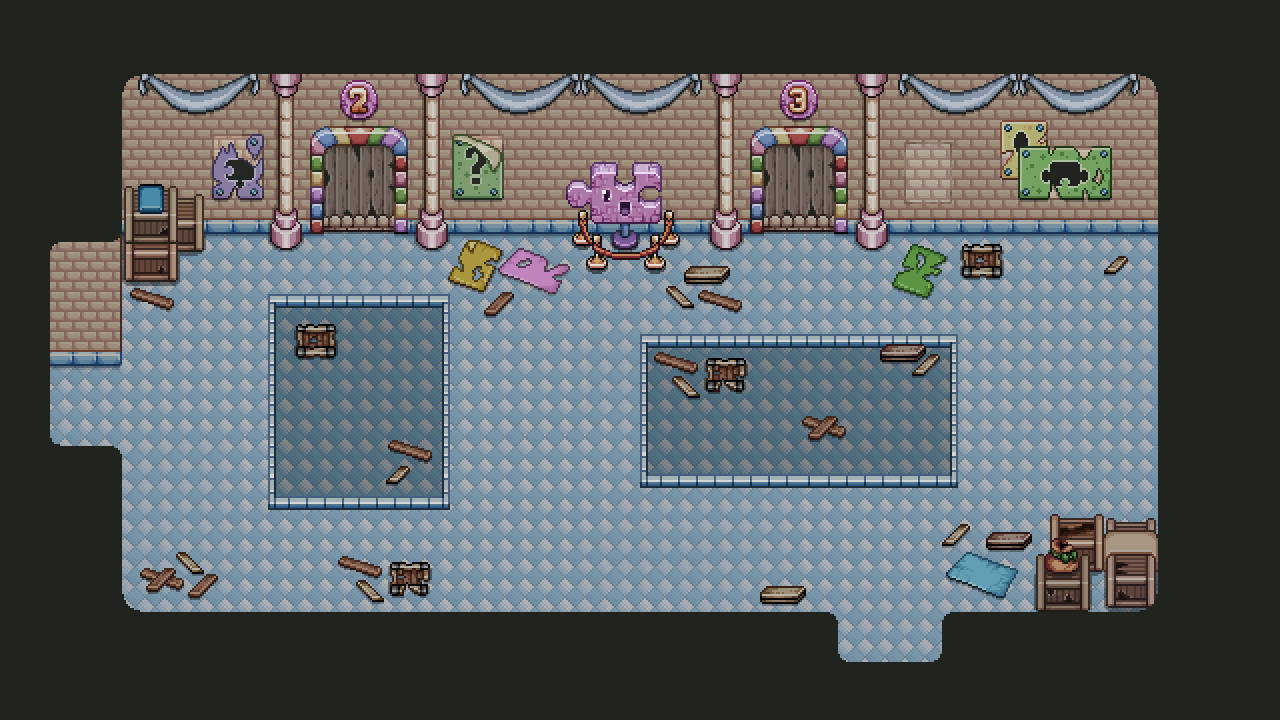
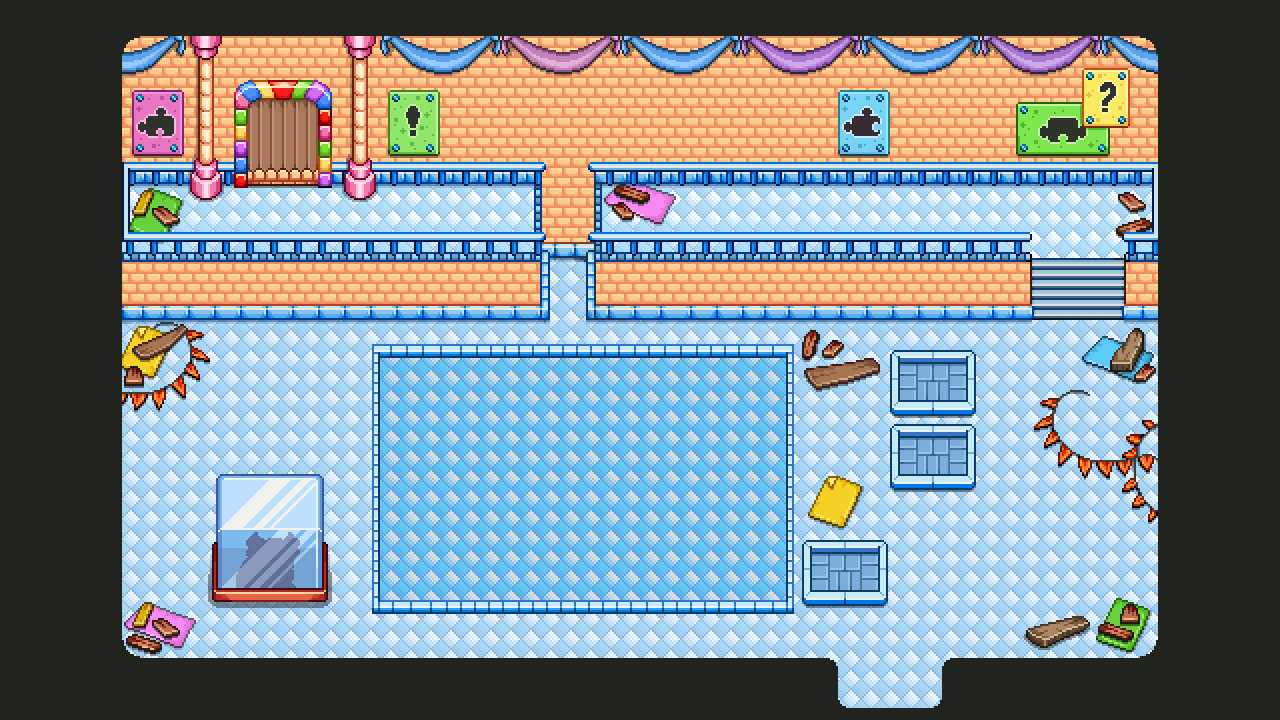
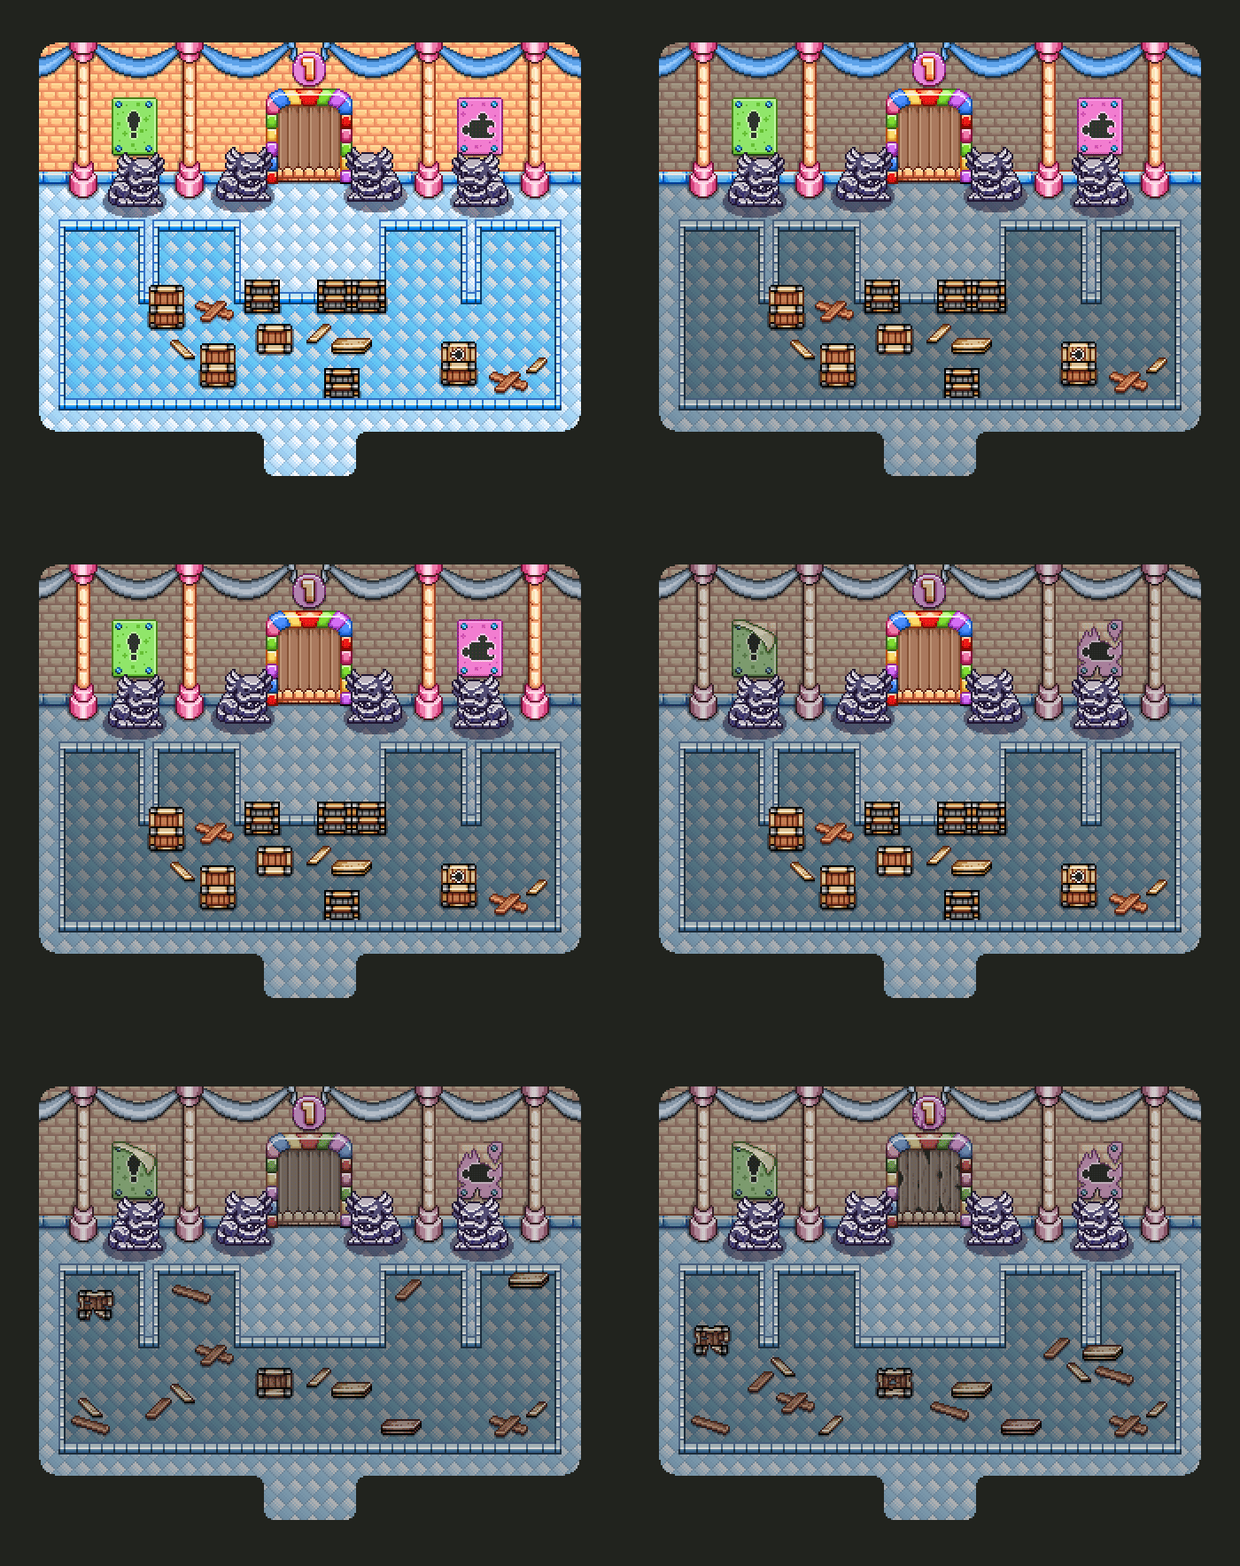
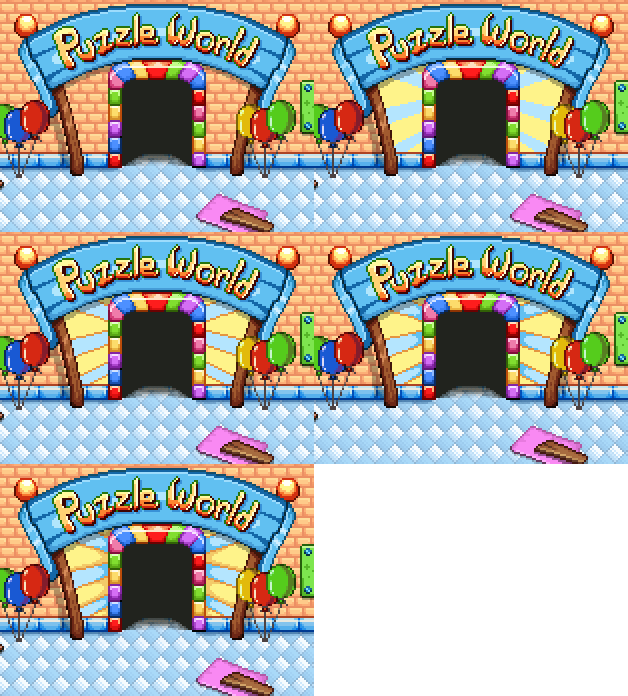
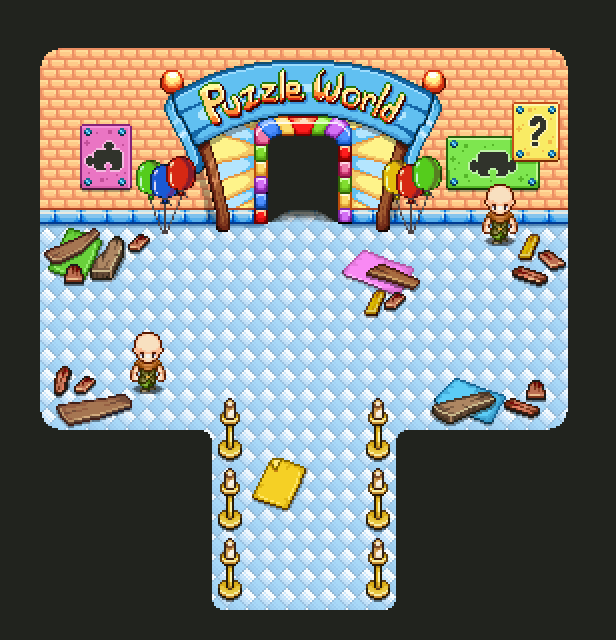
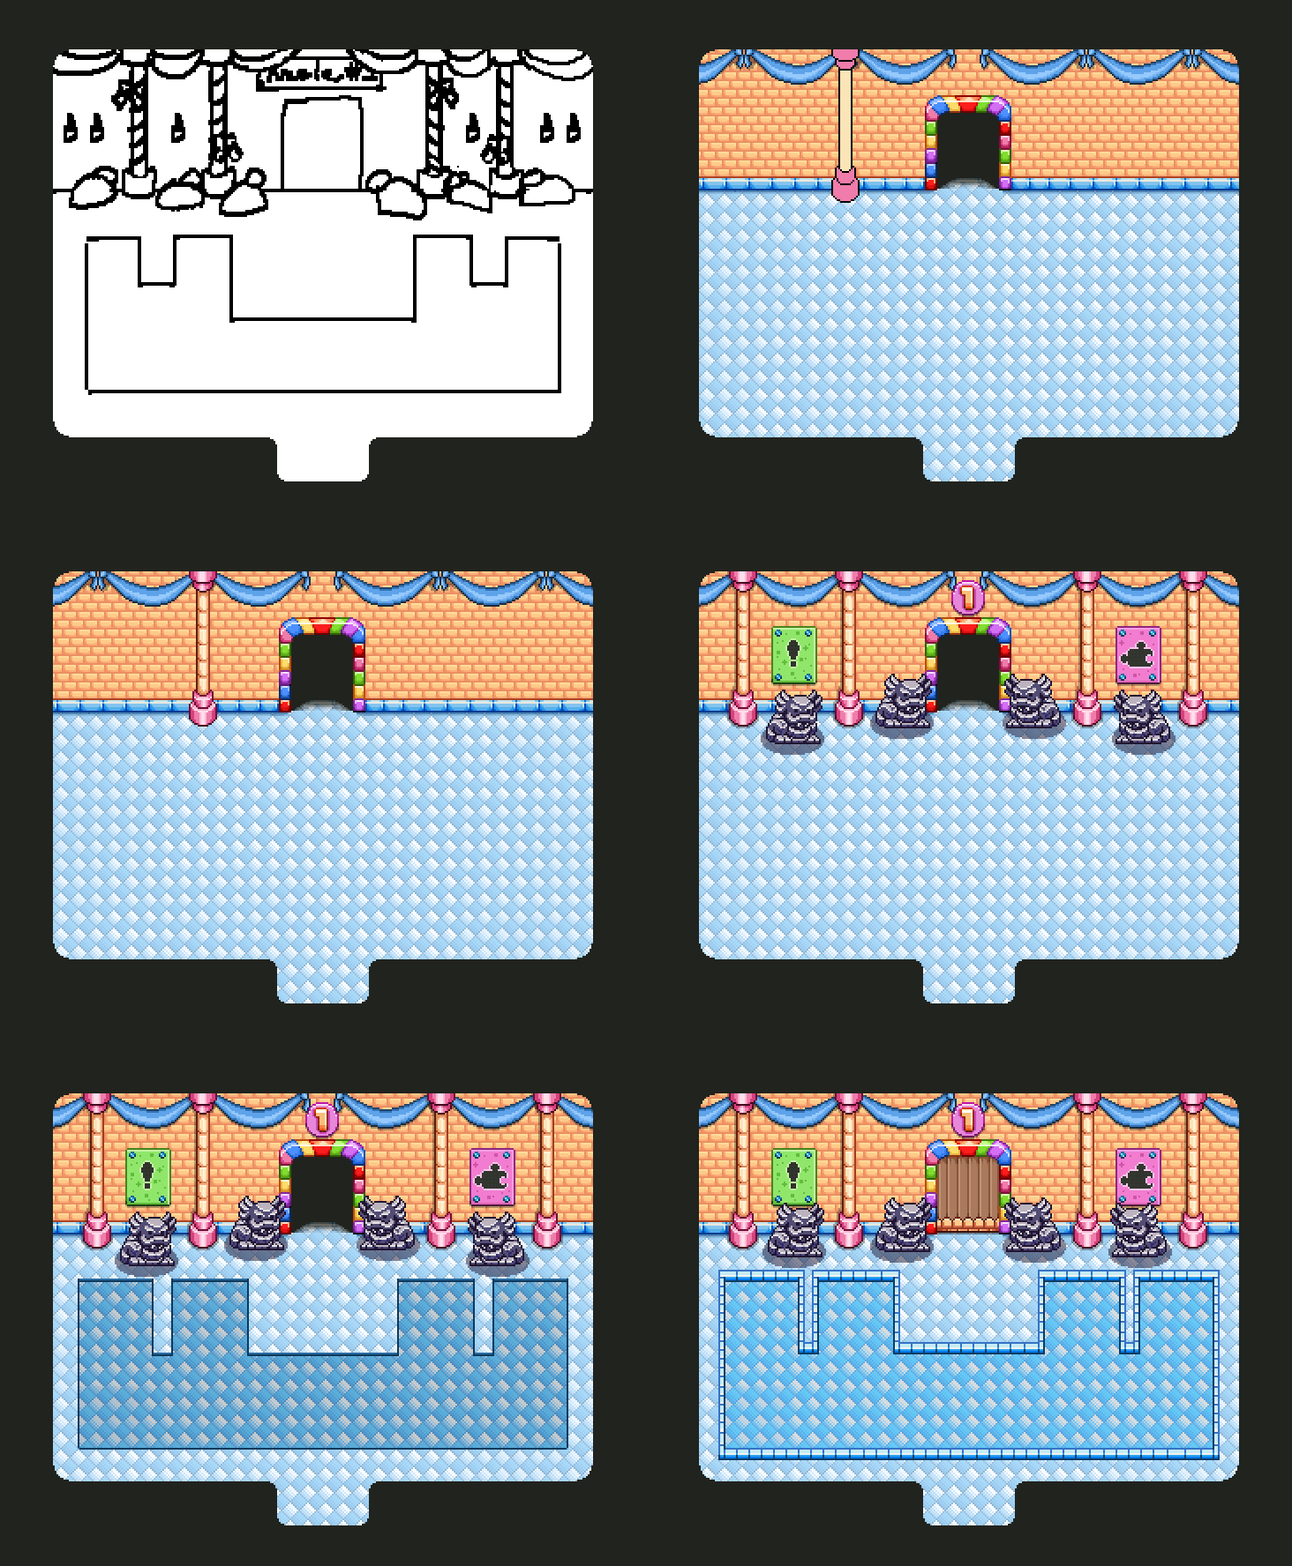
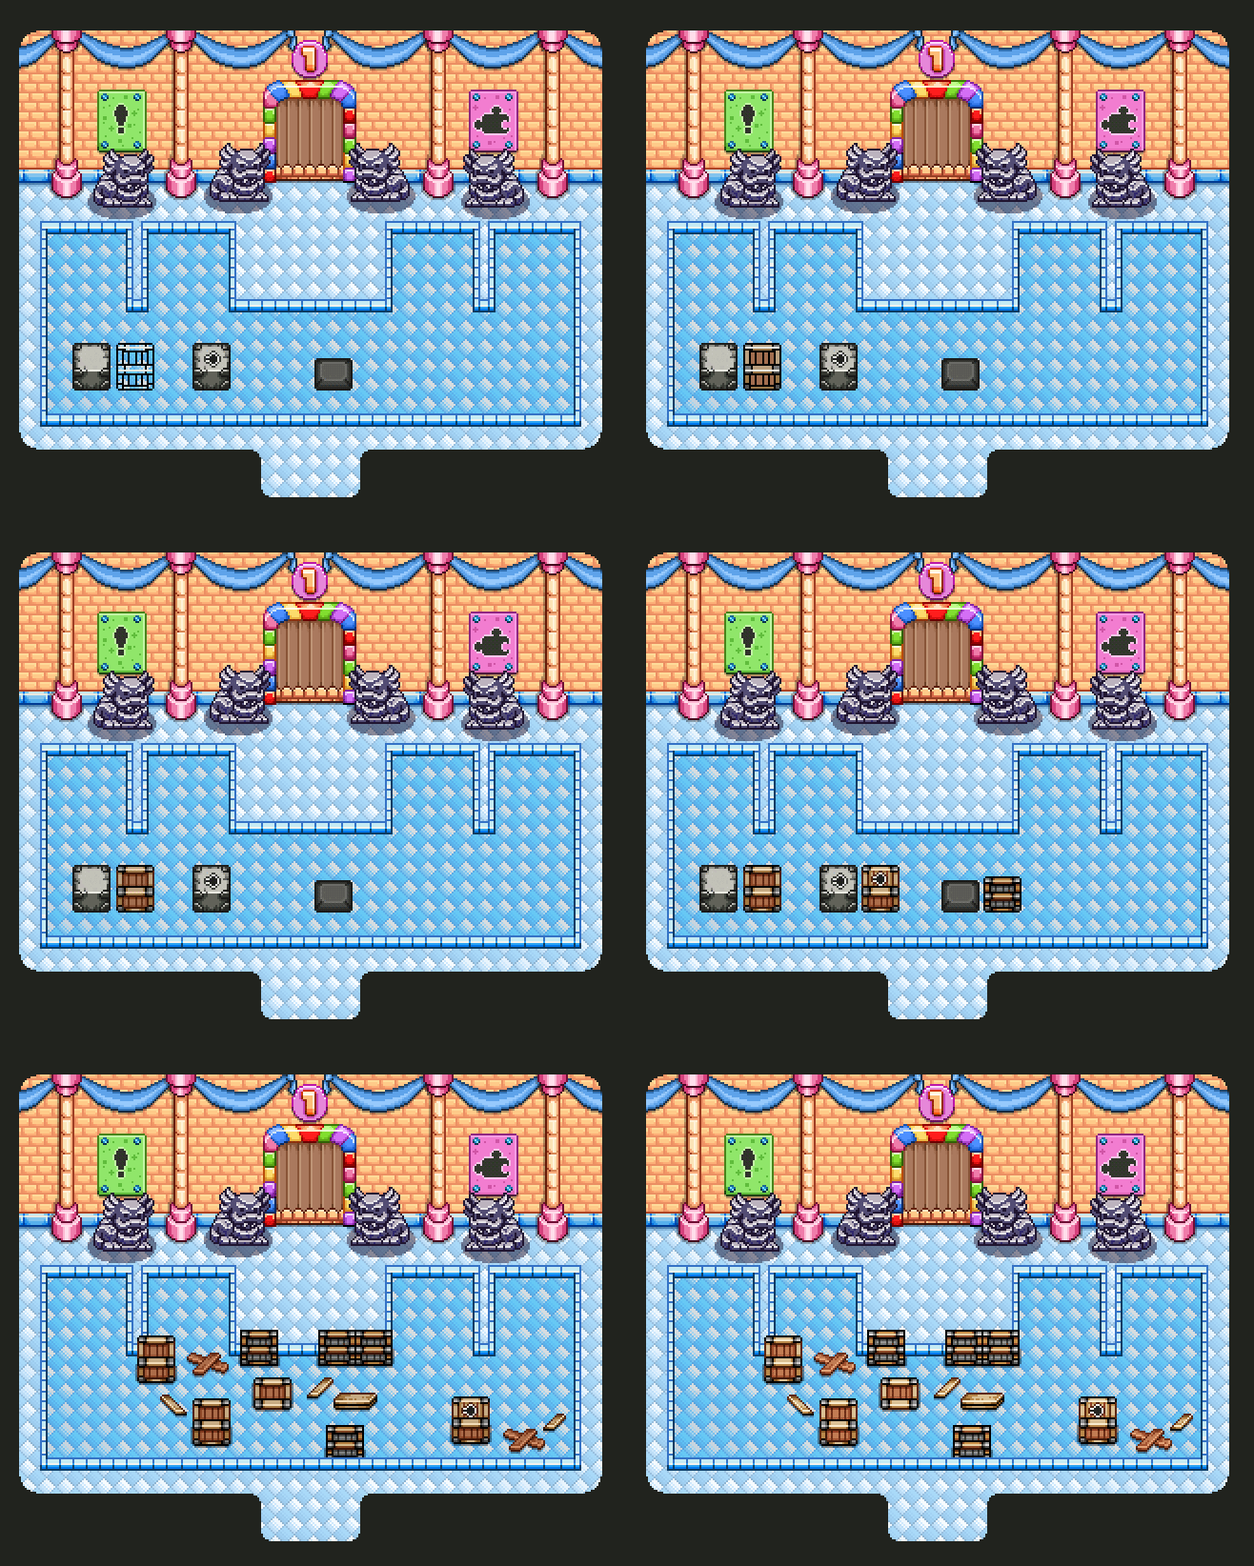
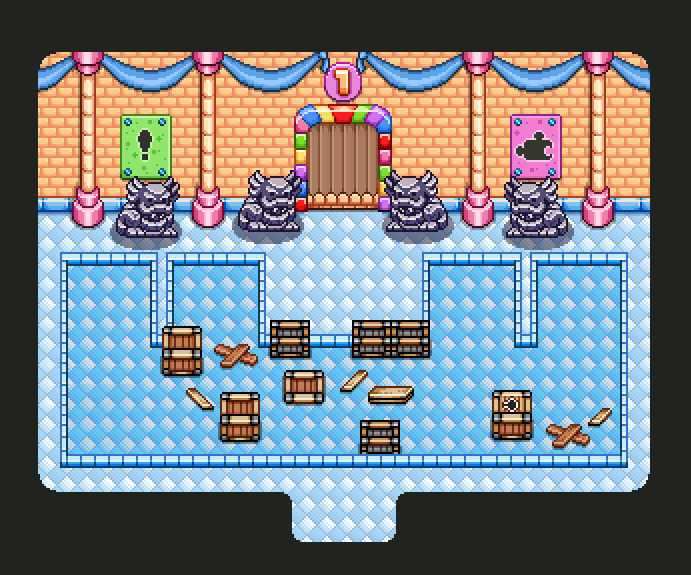
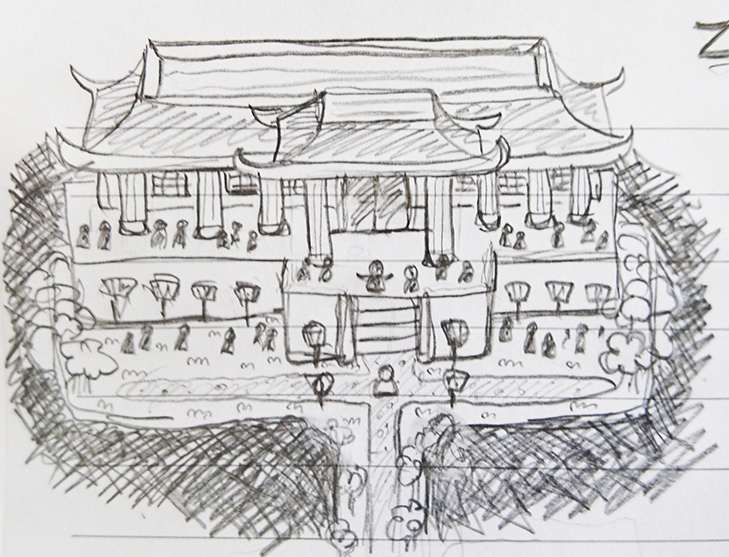
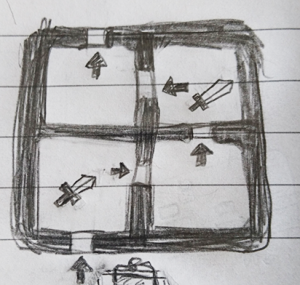
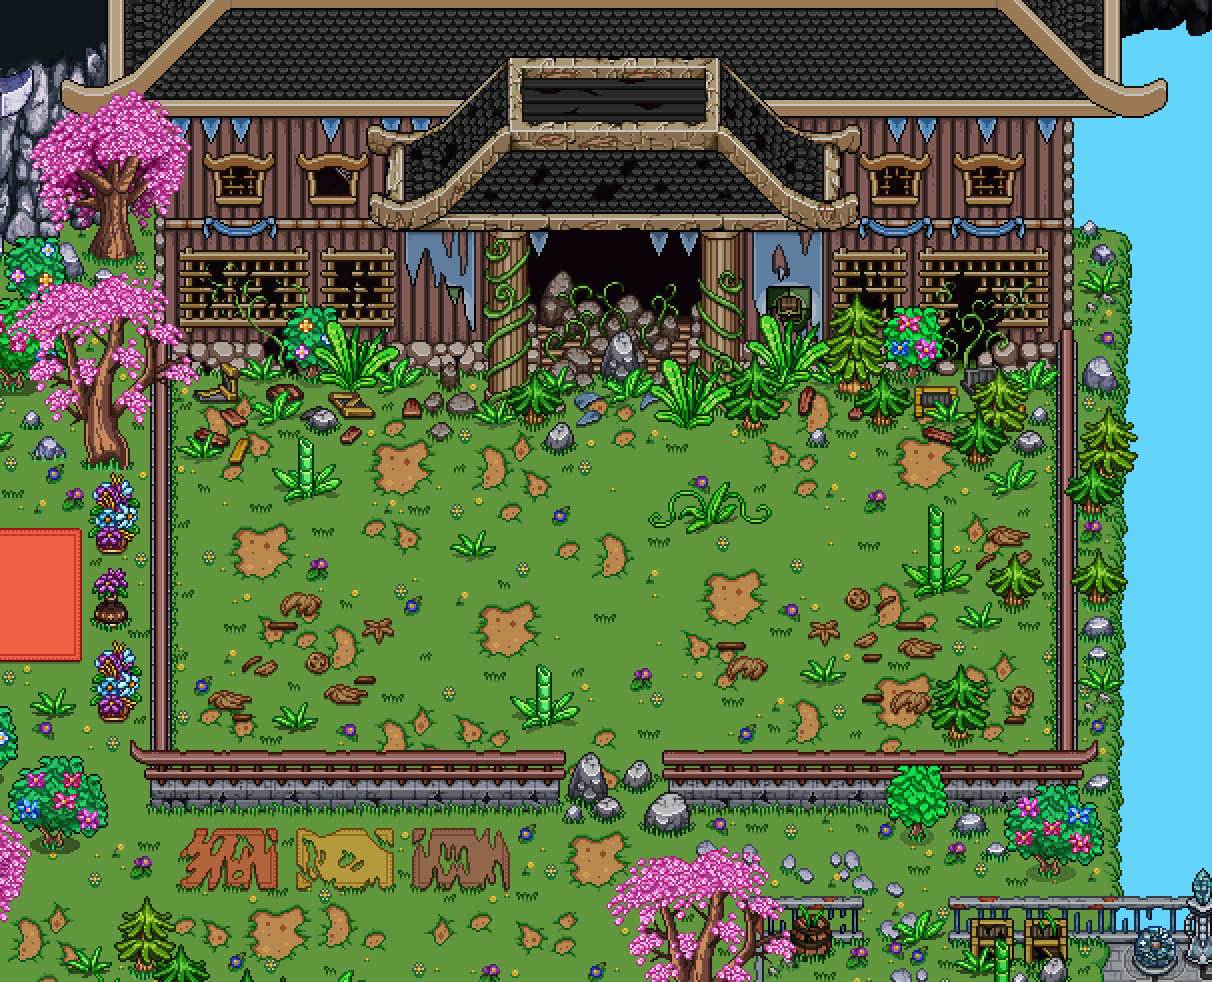
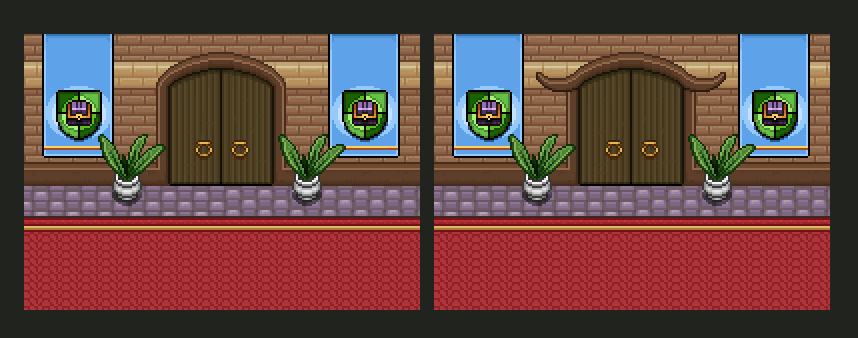
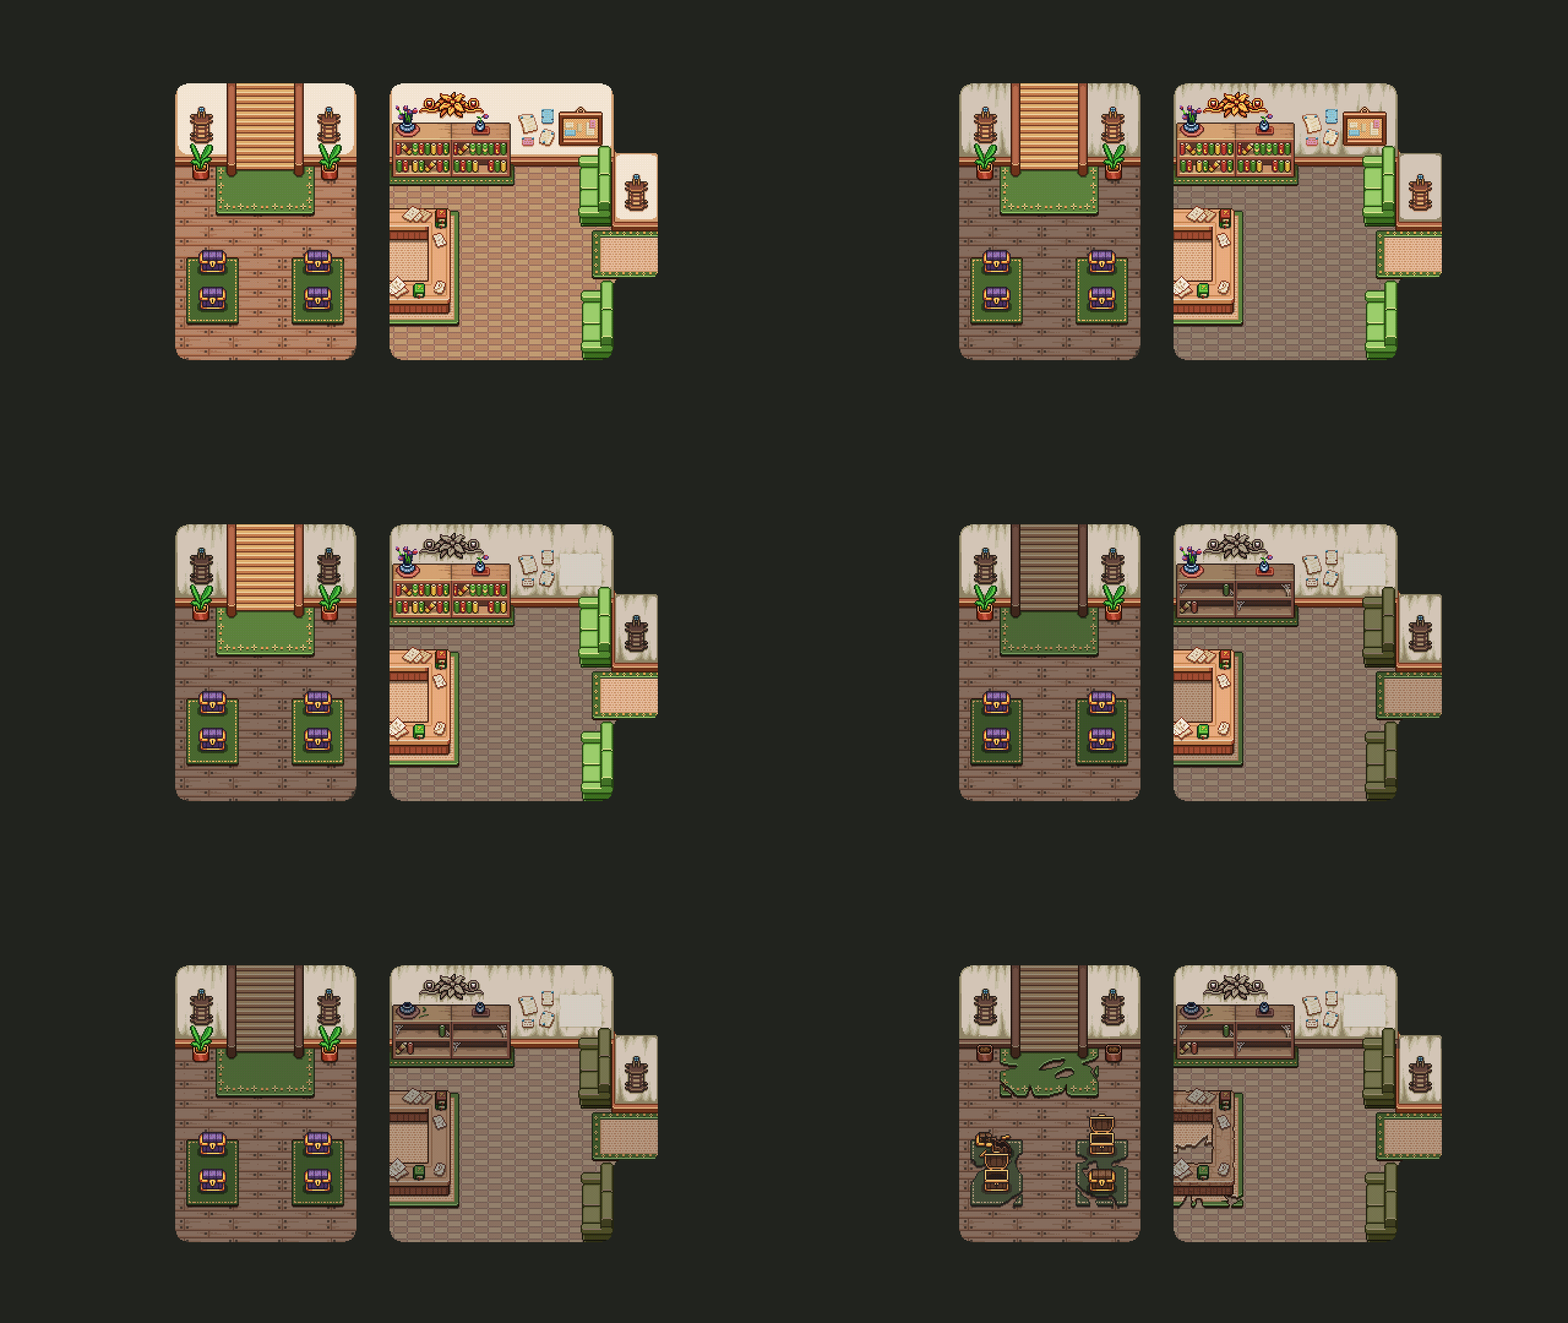
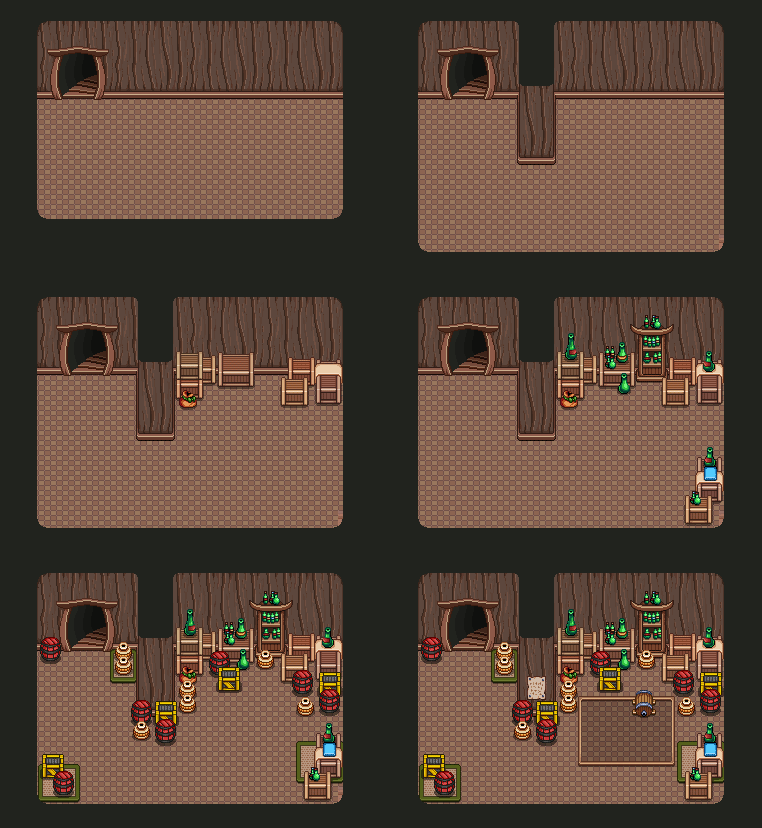
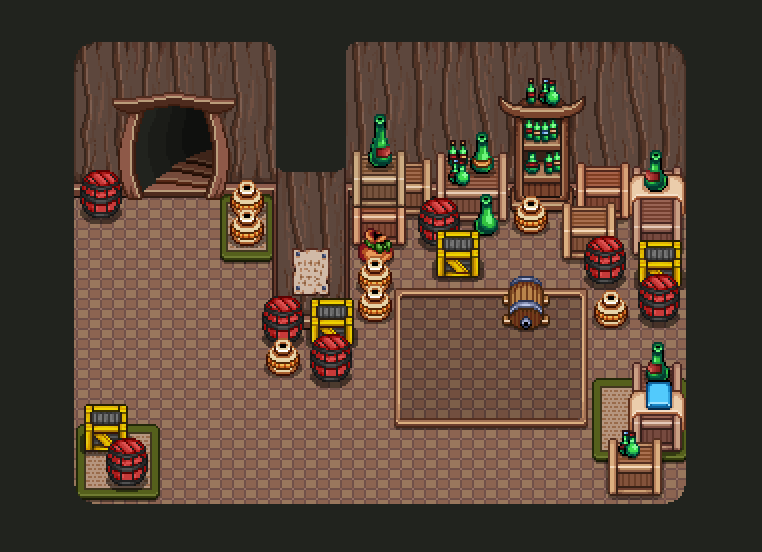
Now, the battle room! As you might guess from the name, this is where a bunch of battles will take place, likely an encounter with several waves (though we haven’t decided on any specifics yet):
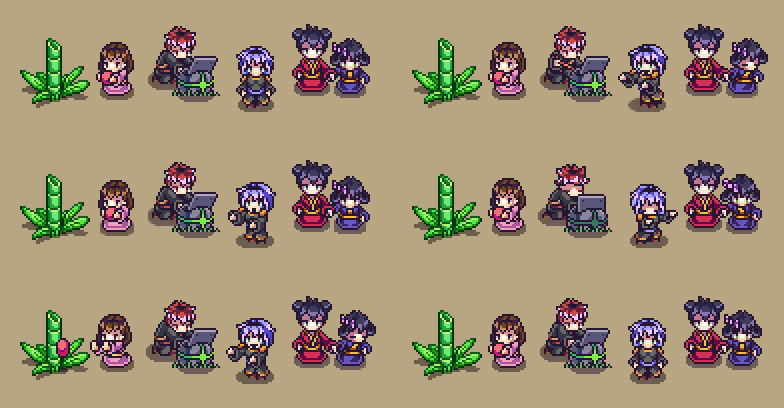
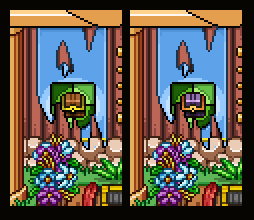
For this room, I kind of wanted to add a mascot of some sort. A lot of theme parks use mascots here and there for decoration, and I thought this place shouldn’t be no different. And what better shape than a puzzle piece? Perhaps I should add some more, maybe of different shapes and colors, to other rooms!
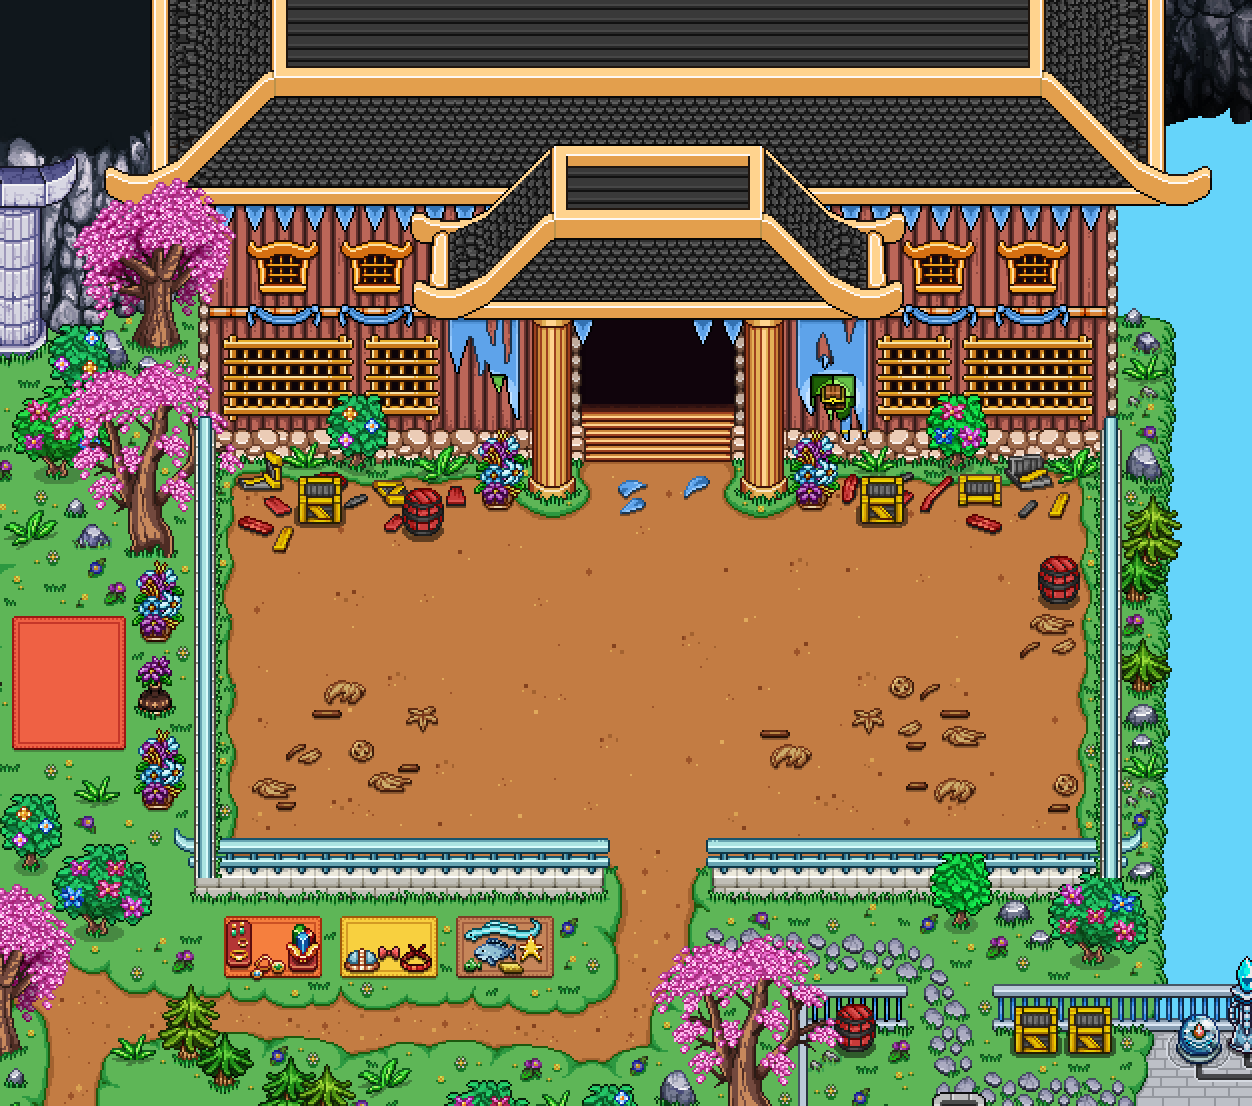
The floor is kind of bare in this room, as it’s a fighting room and we don’t want you to run into a bunch of colliders as you battle (cause that’s super annoying). I did add some boxes to the corners though, since I didn’t want the room to look completely empty. Since this place was never really finished, I think it makes sense that boxes with supplies for the continued development of the theme park still remain here and there.
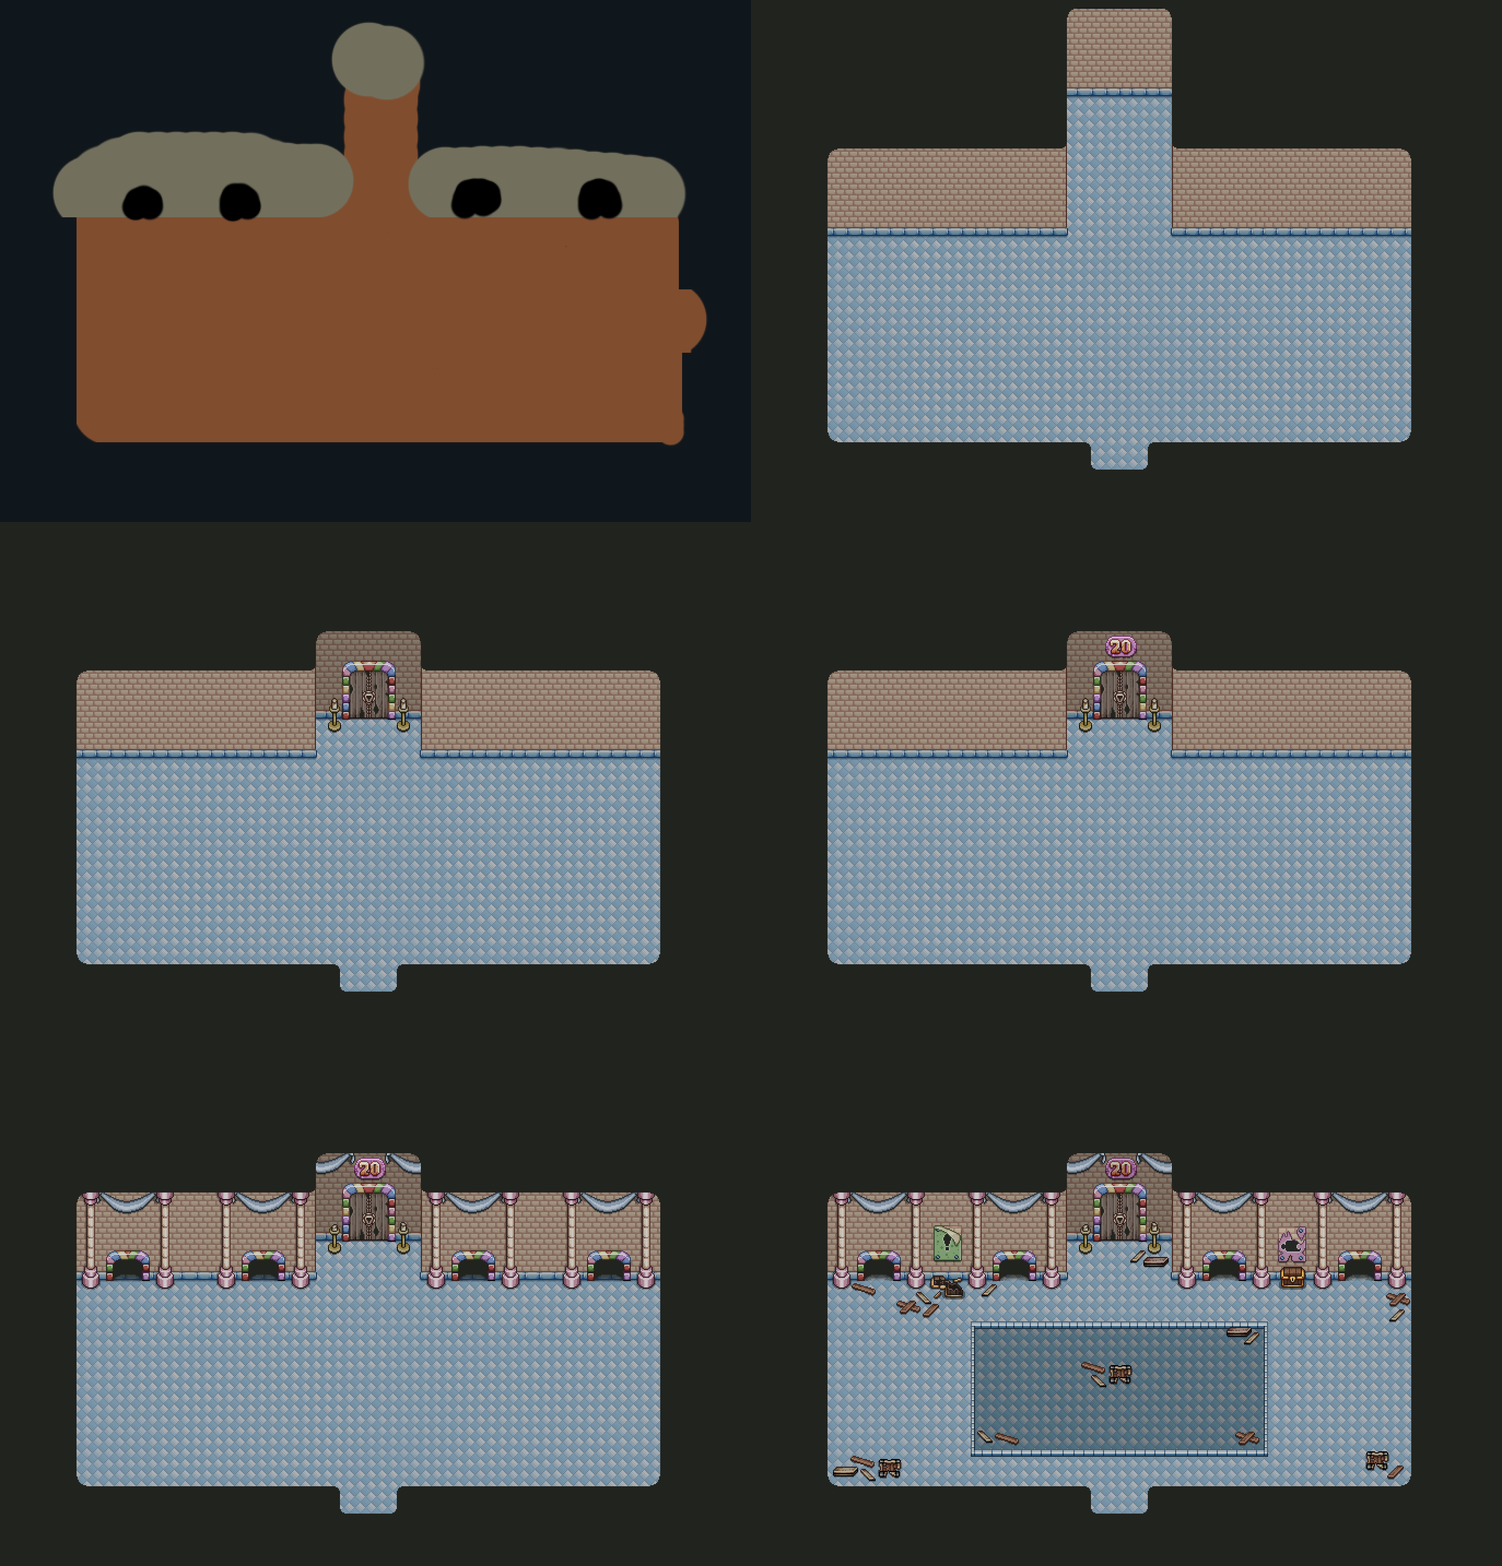
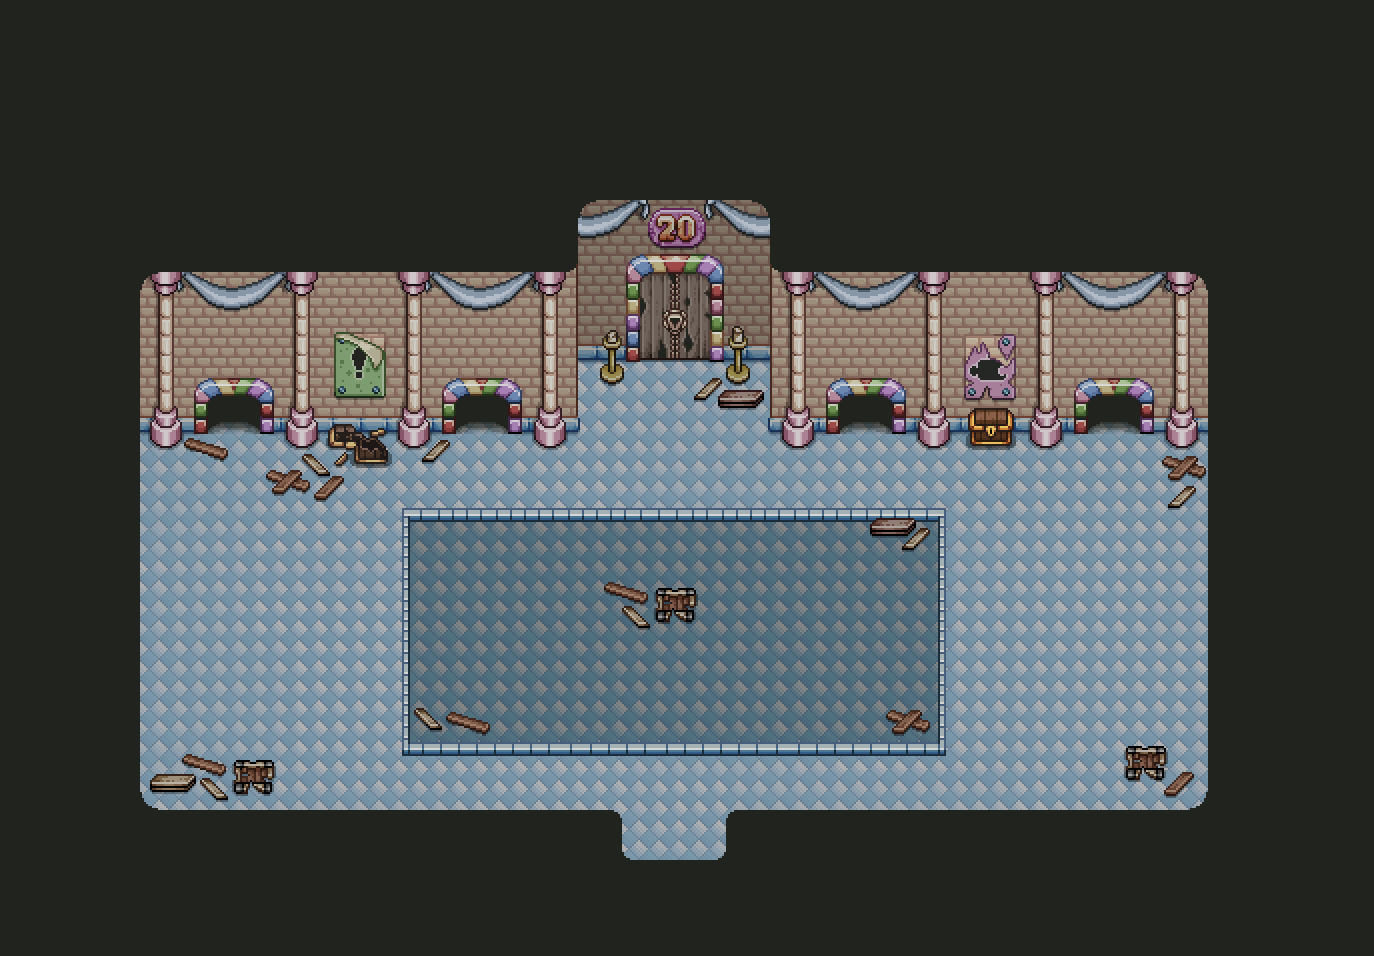
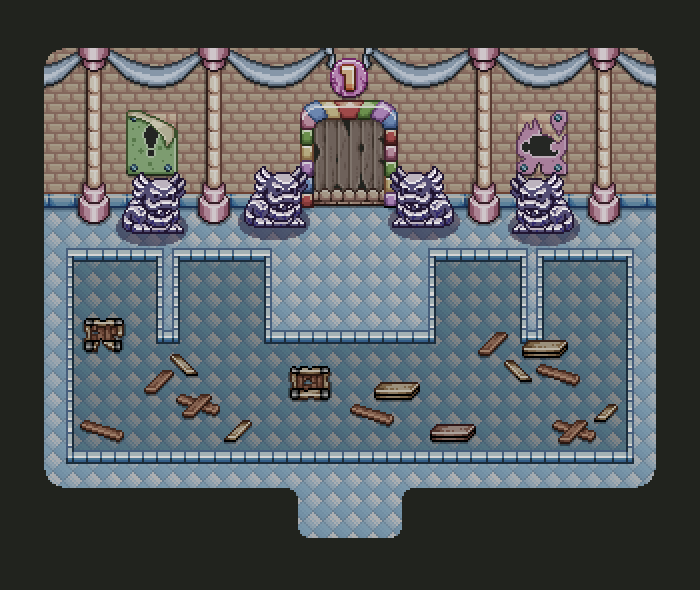
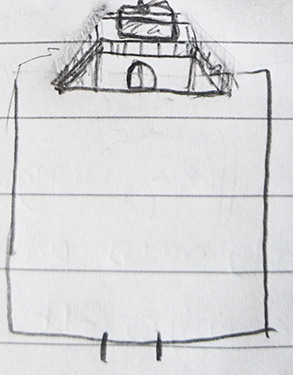
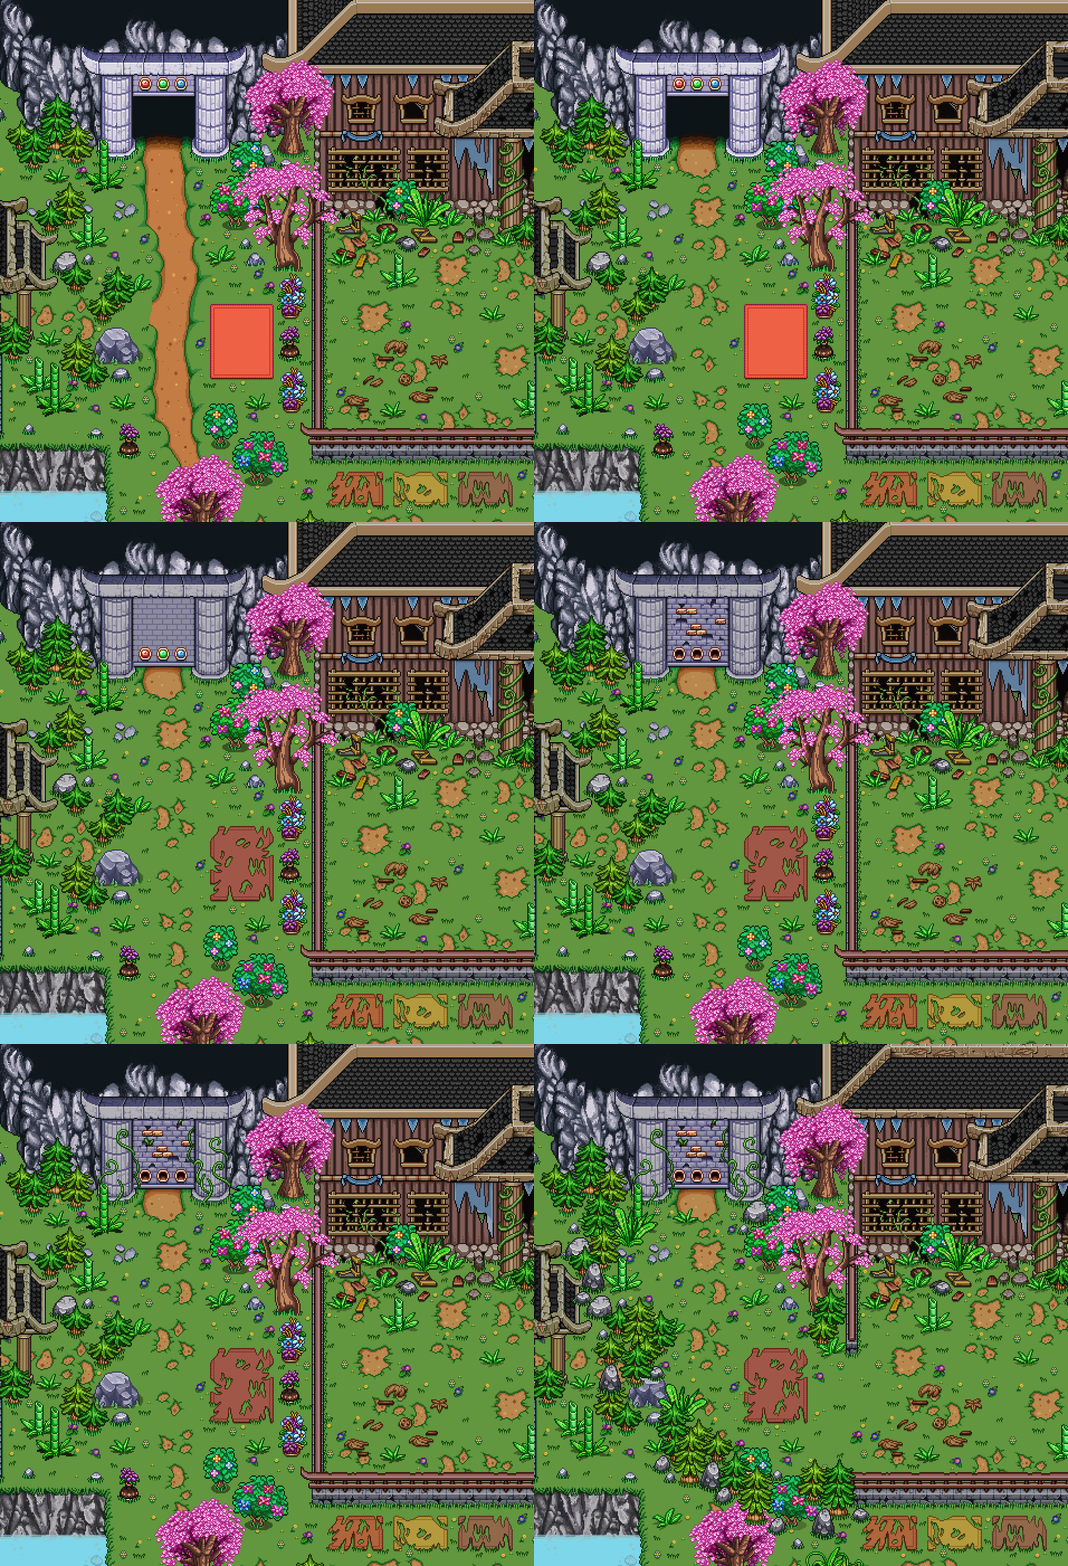
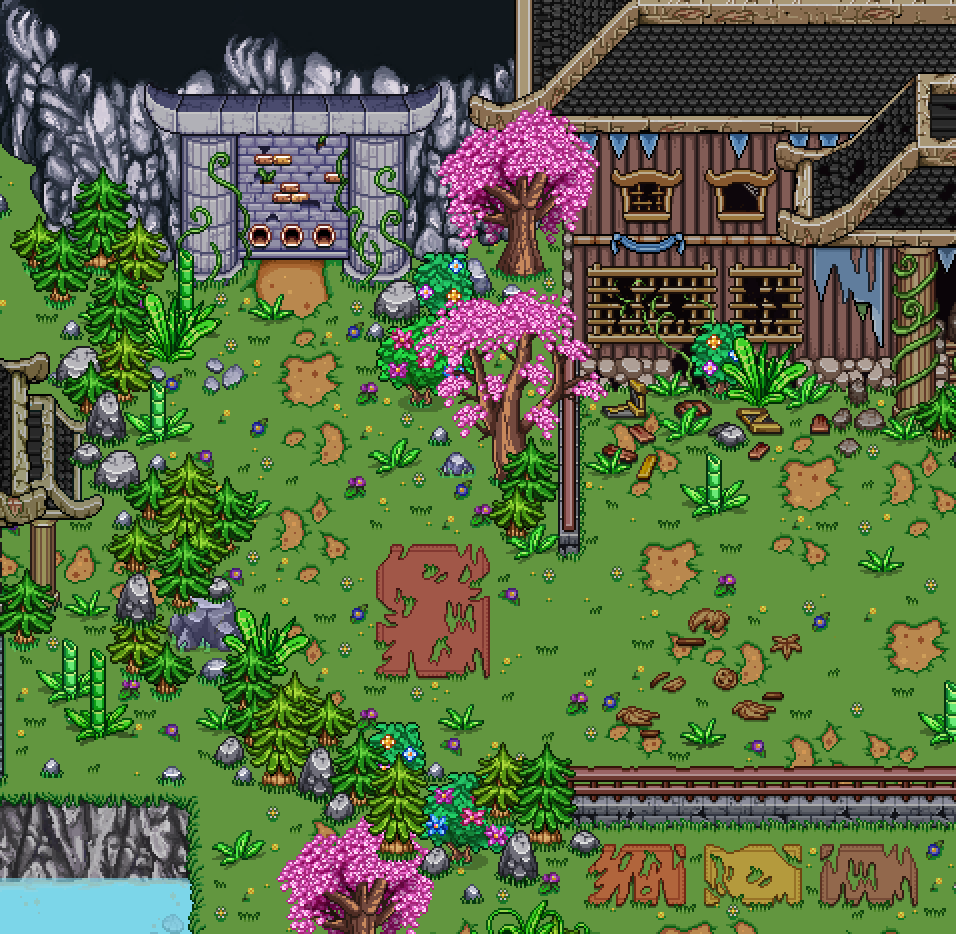
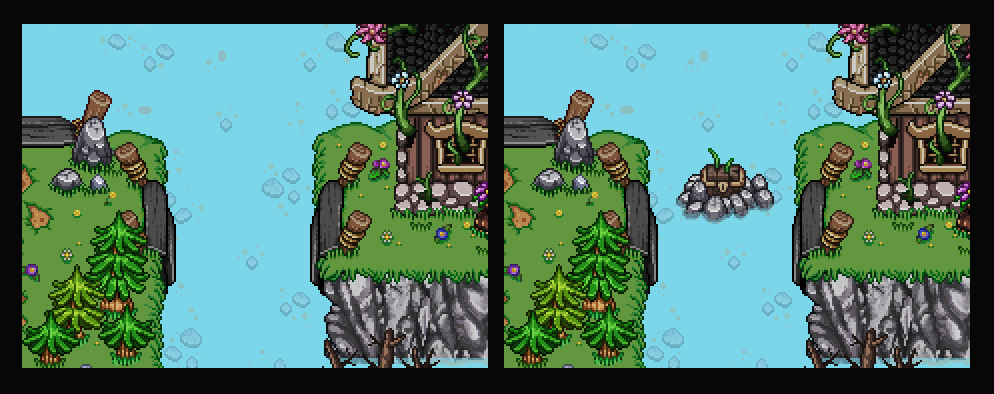
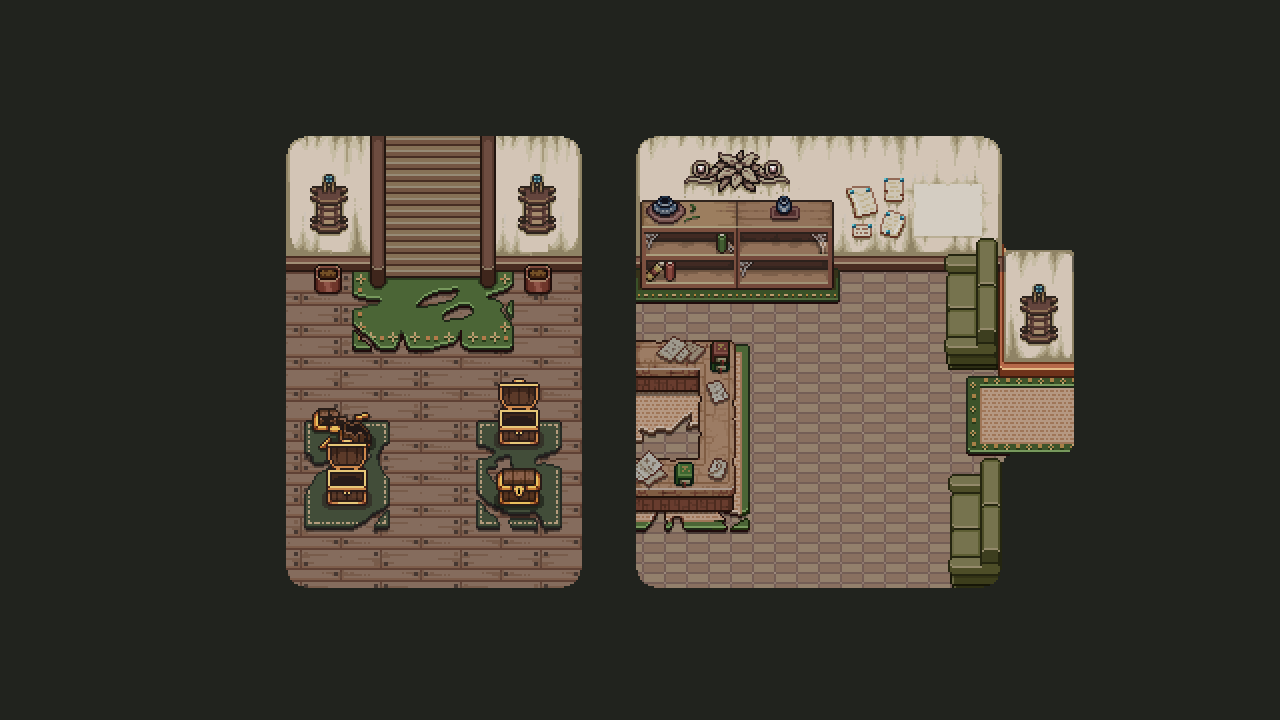
Next room is the monkey challenge room, which has been previewed in a previous post. Here, the player will try to steal back a key from a gang of annoying monkeys, intent on keeping the key to themselves!
As with the fighting room, the key to this room is to keep the floor as clean (from colliders) as possible, since you’ll spend your time in here trying to beat up and chasing enemies back and forth. Since we had a prototype for this room already, I kept the same size as in the test. It worked well enough when we tried it, so no point changing a size that already works!
I did shorten the distance to the exit though: such a long corridor didn’t make a lot of sense, and would – in my opinion – only look visually worse than the shorter distance :)
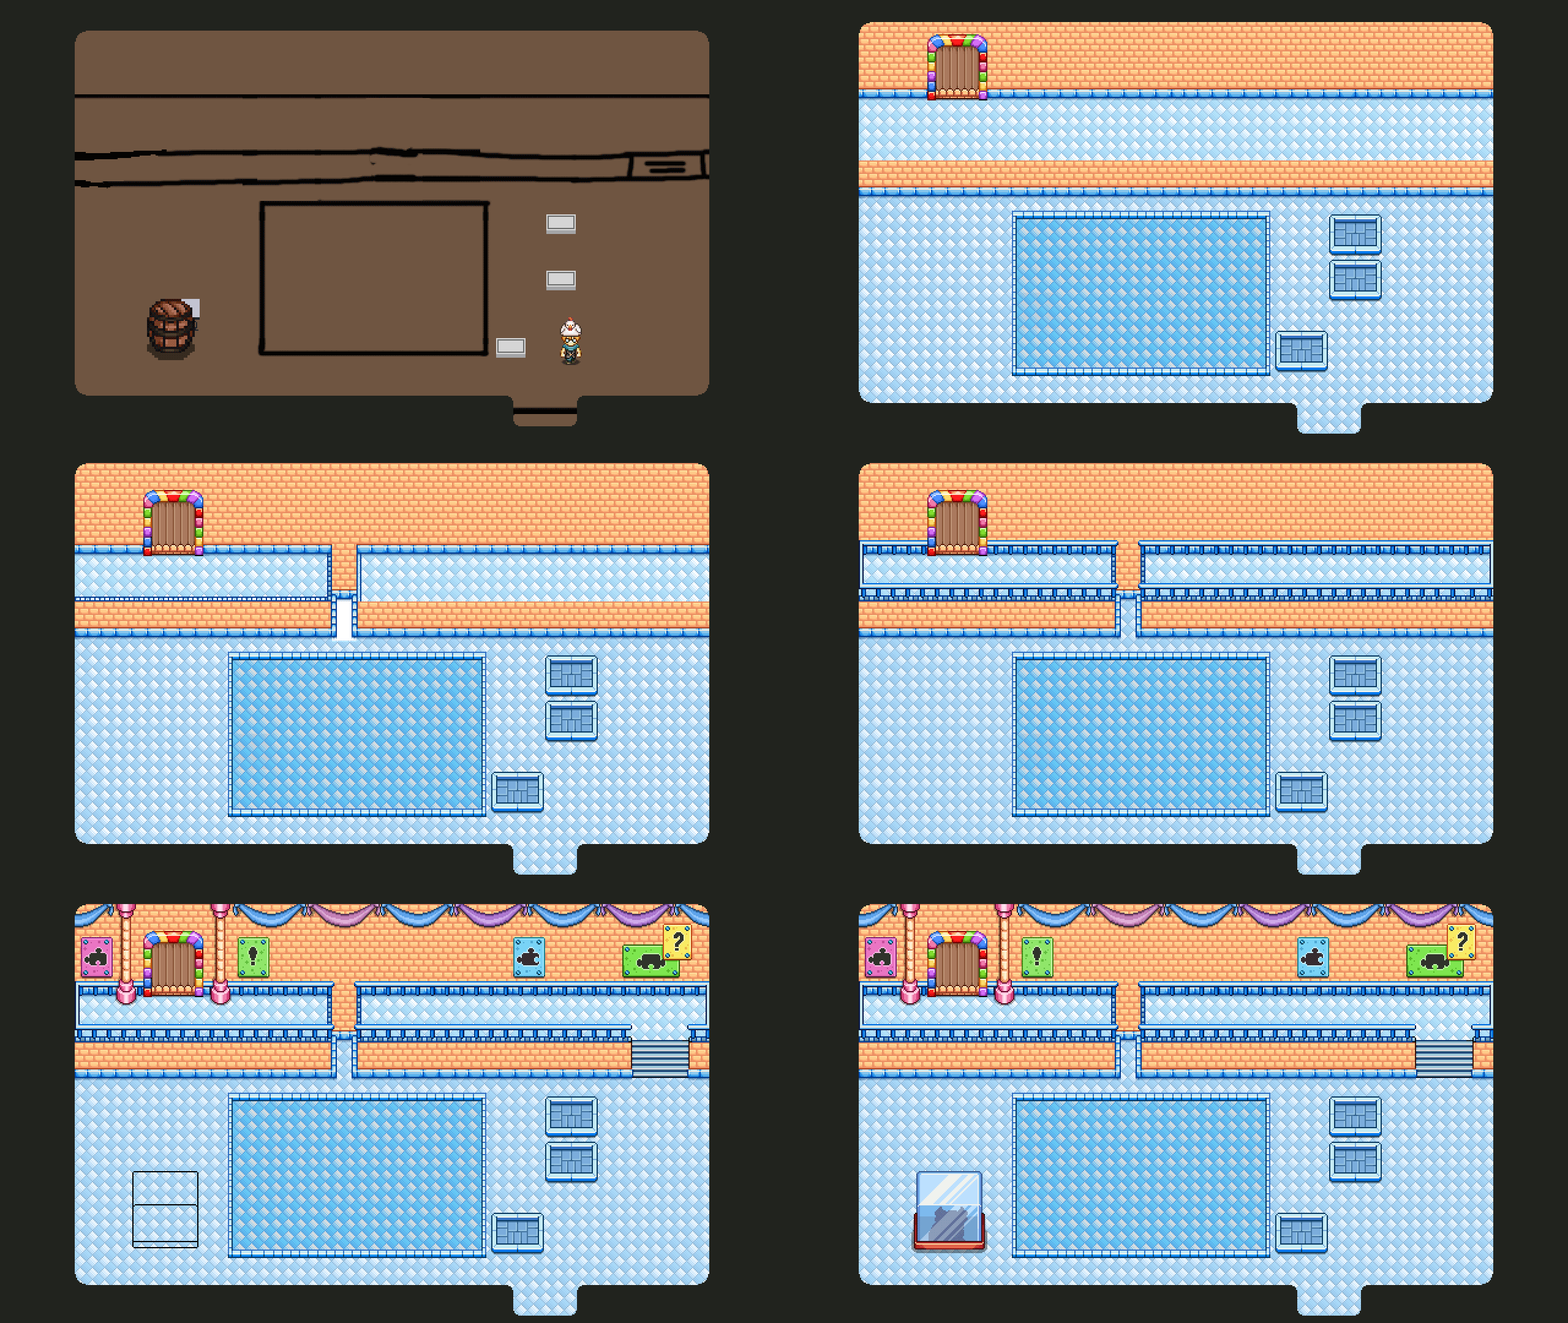
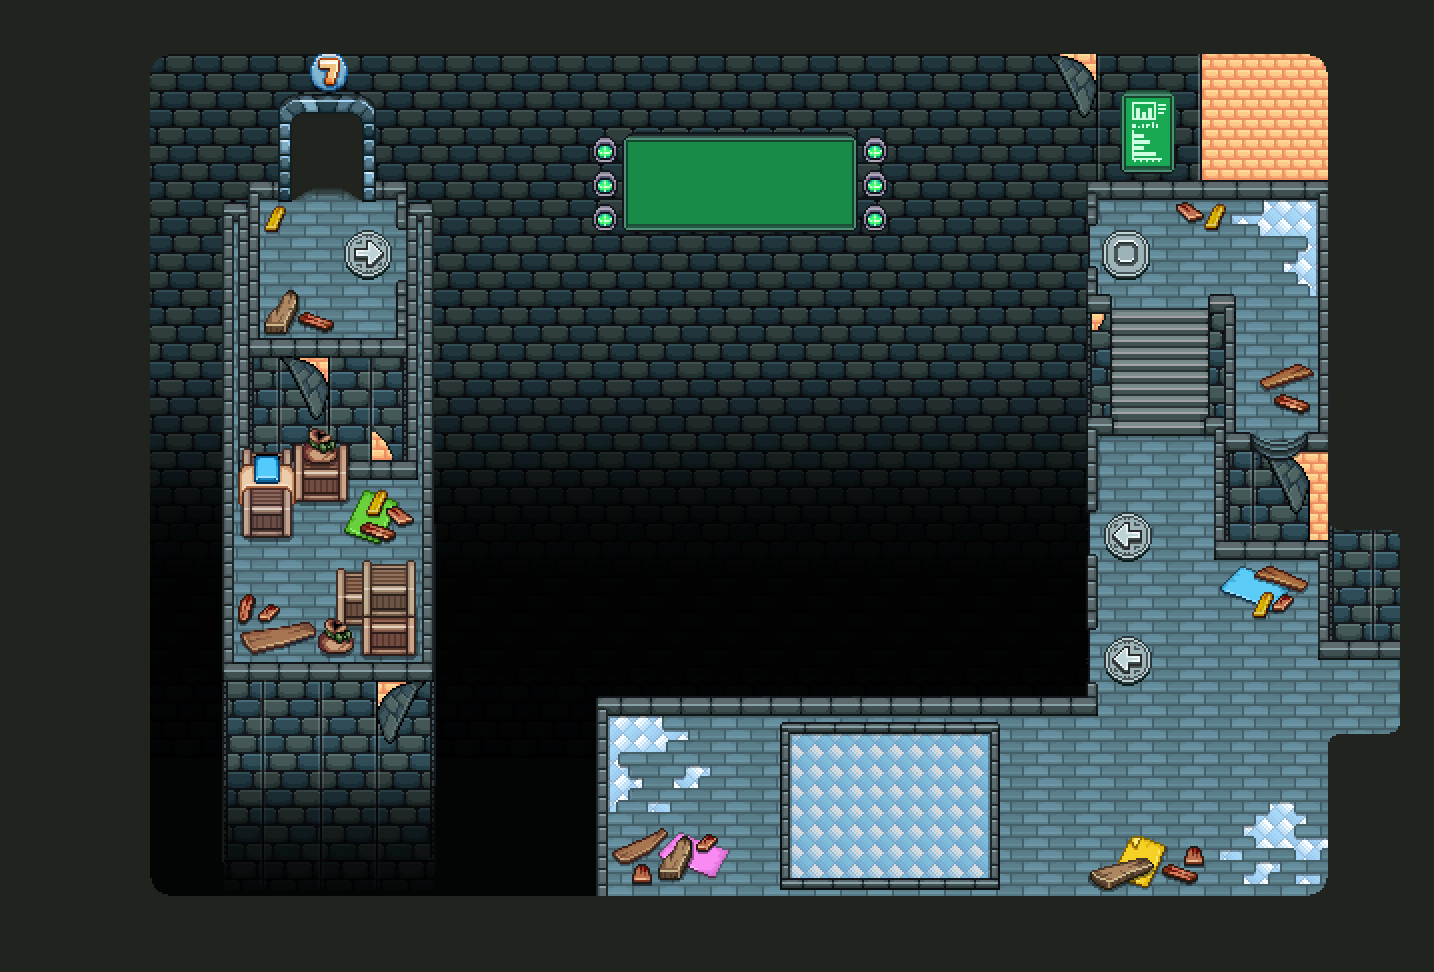
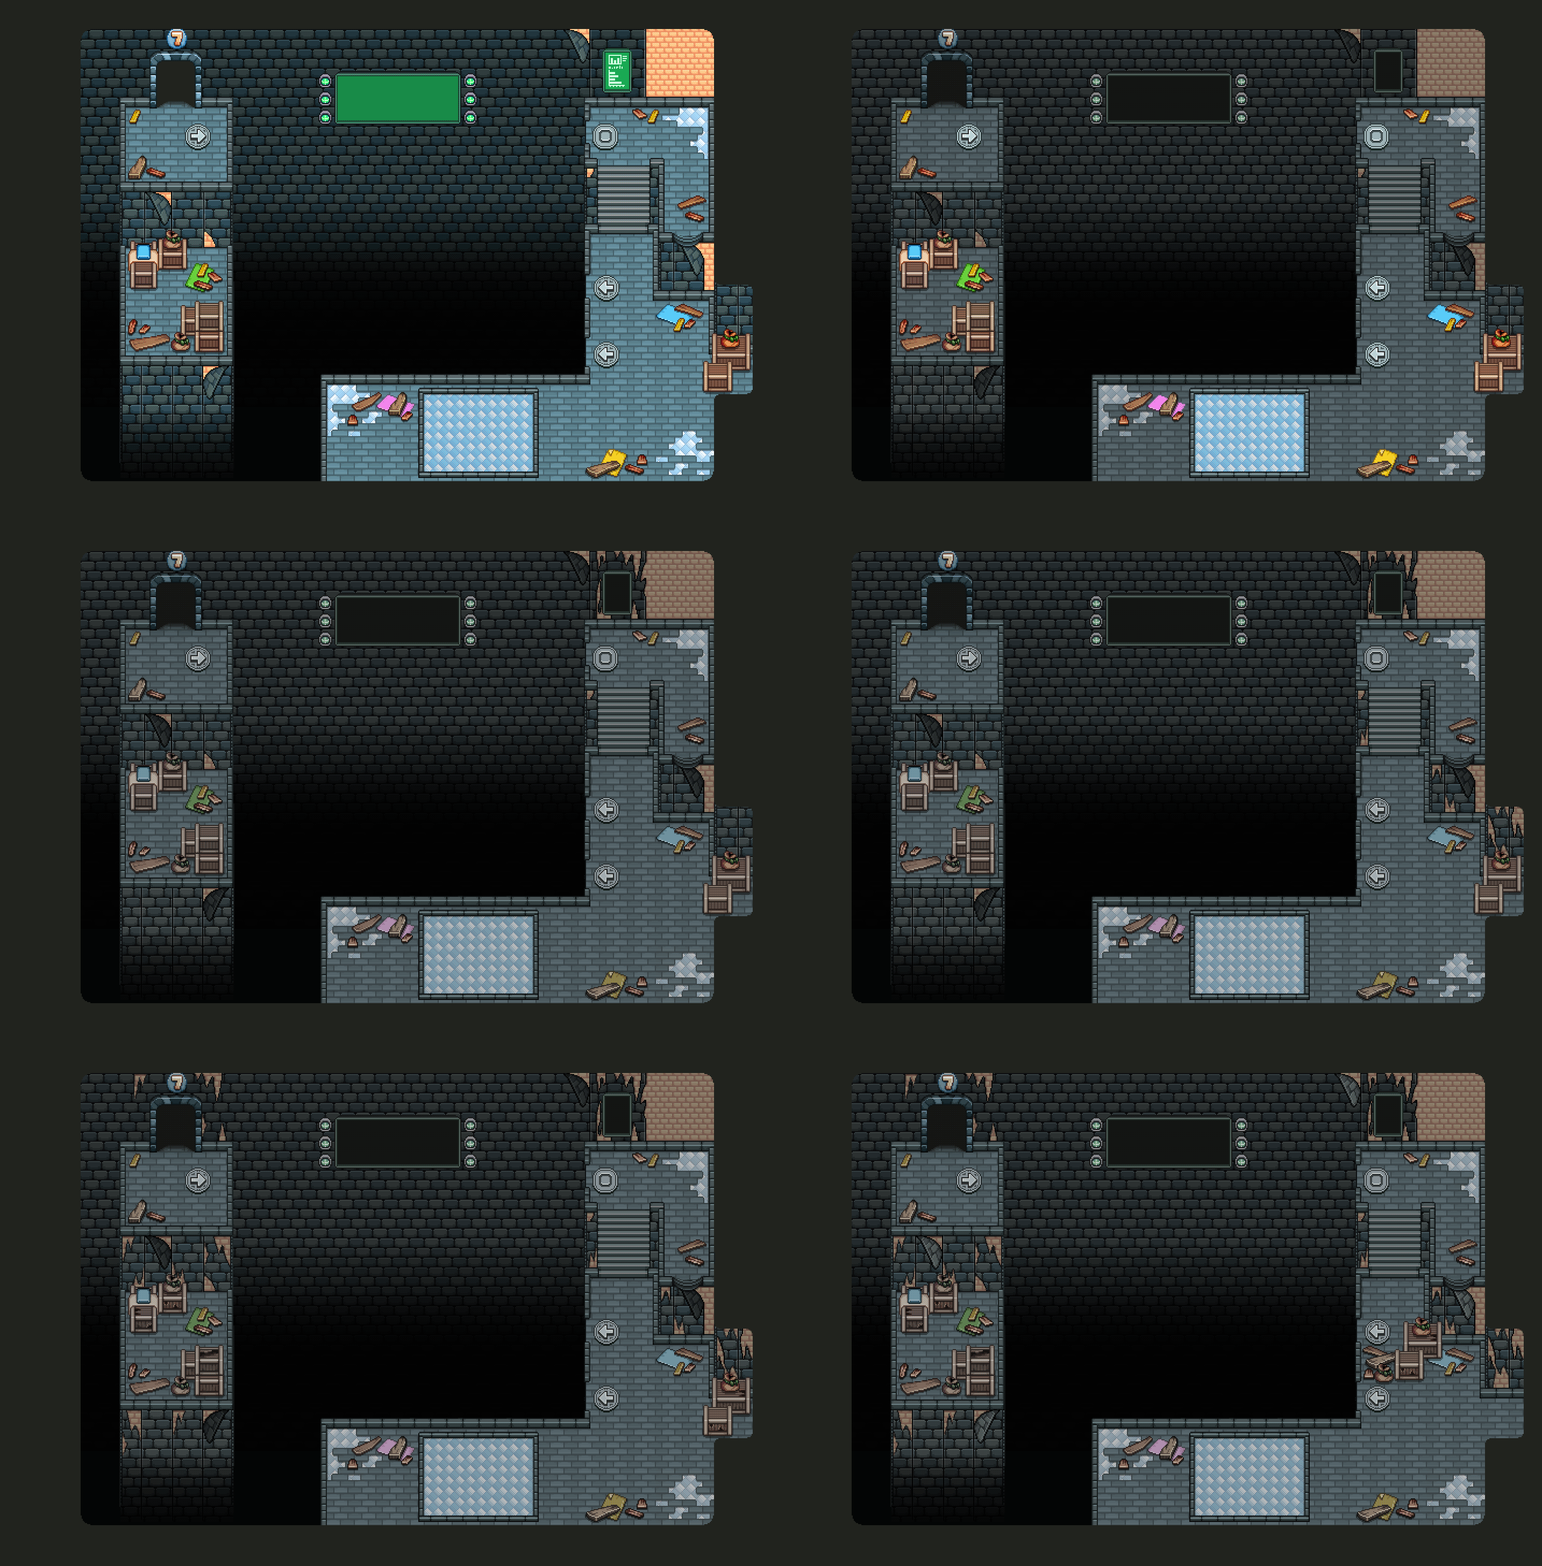
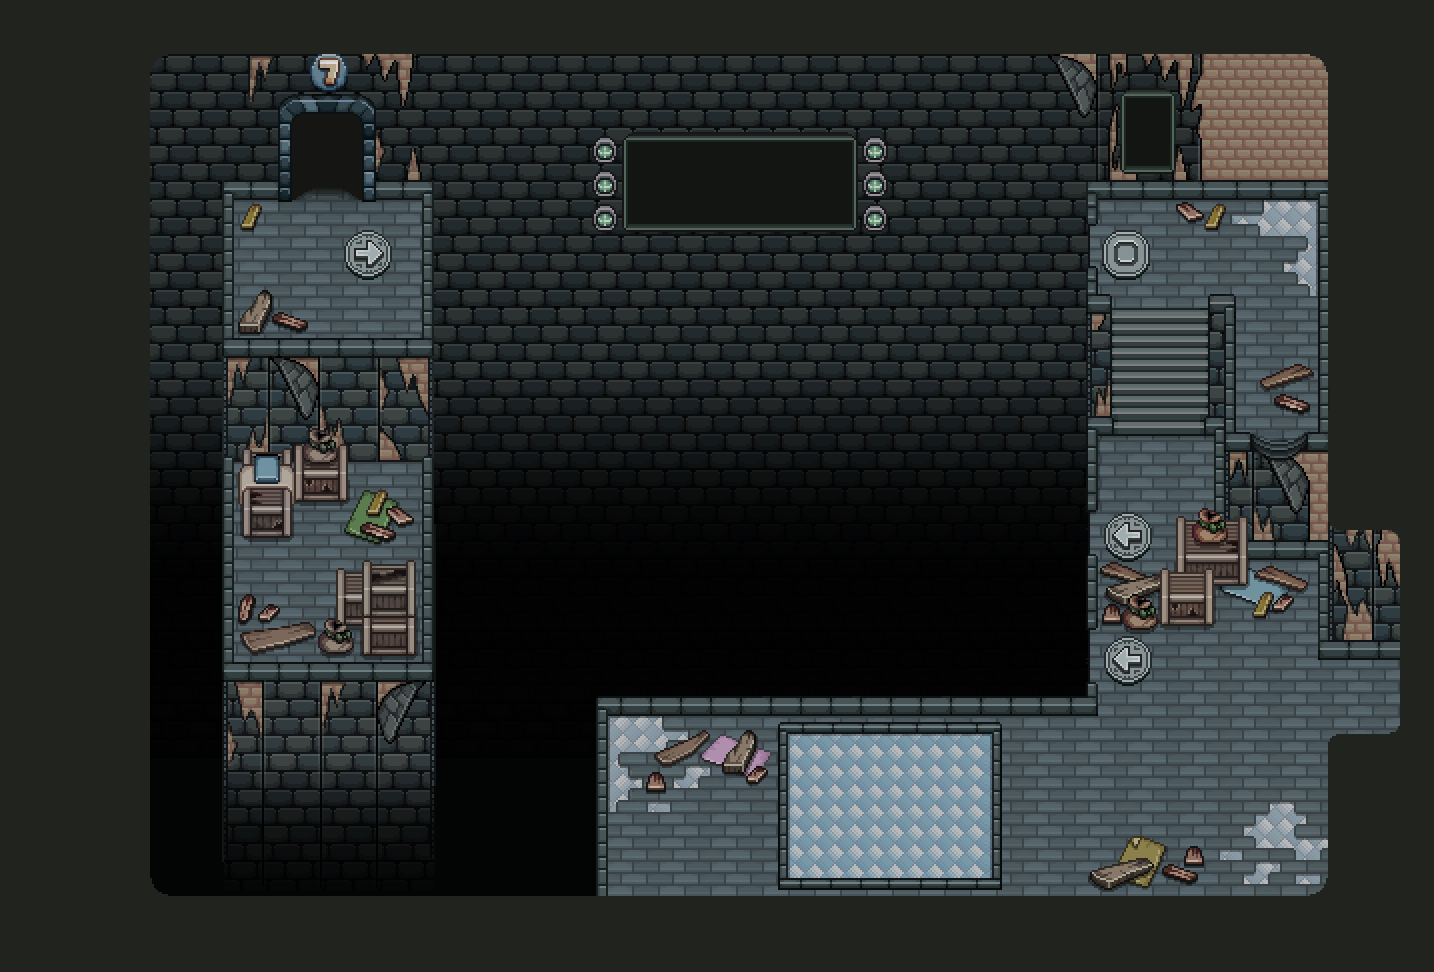
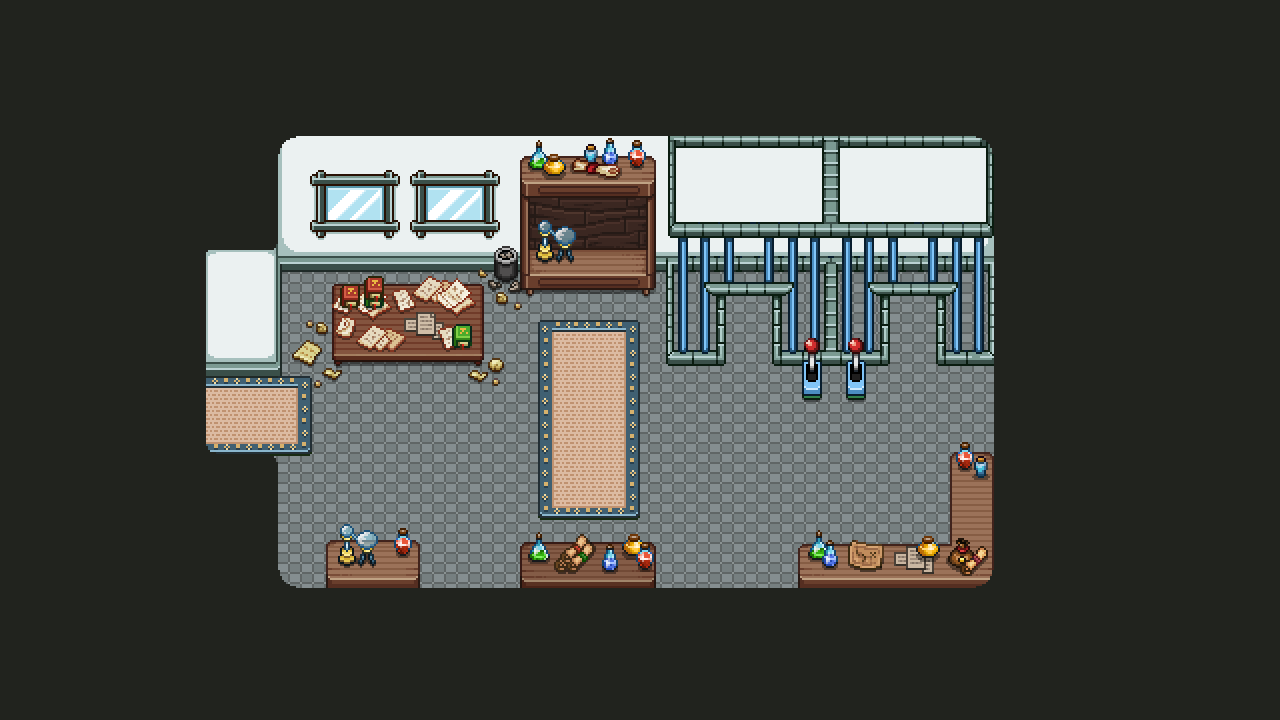
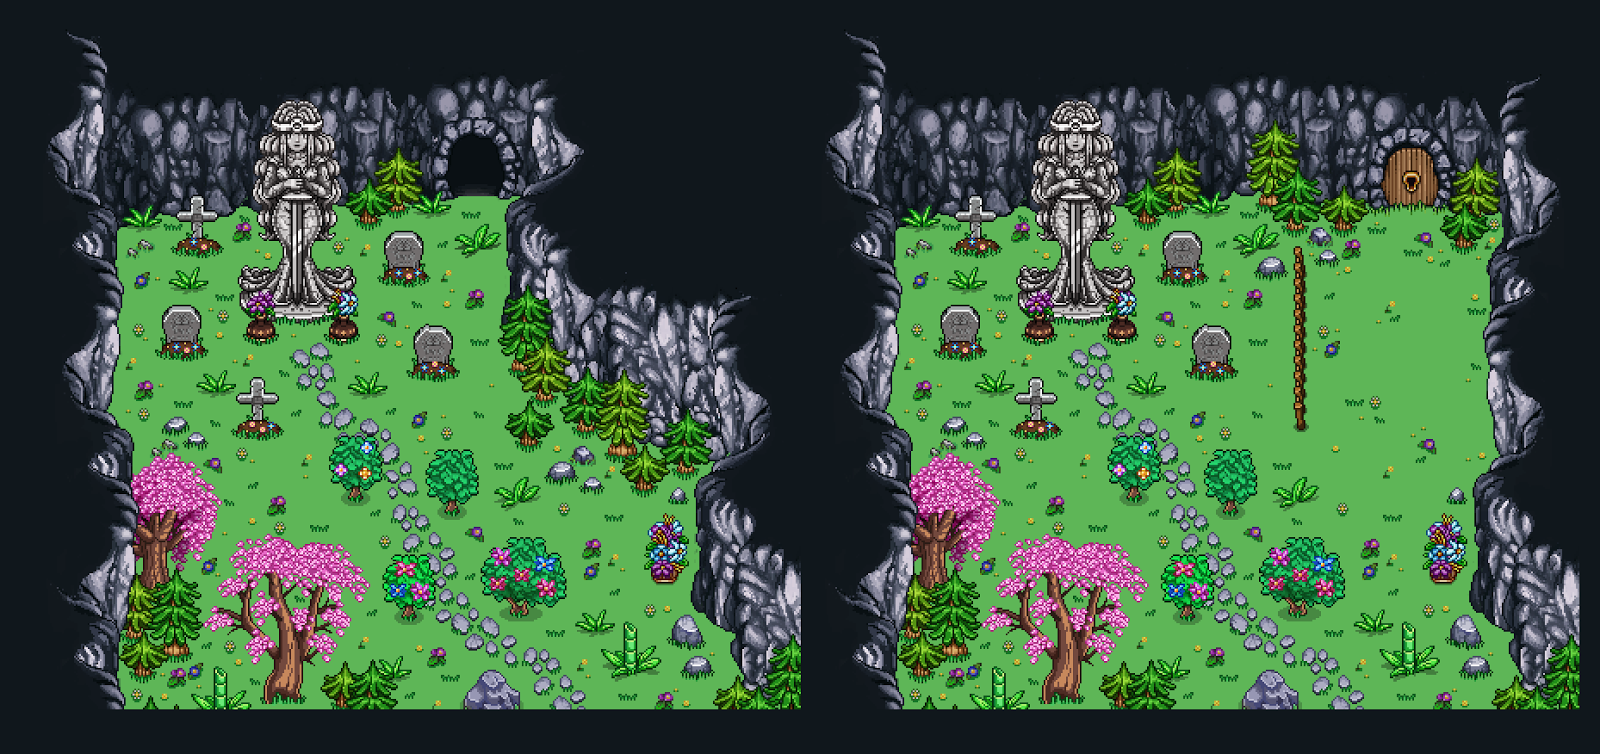
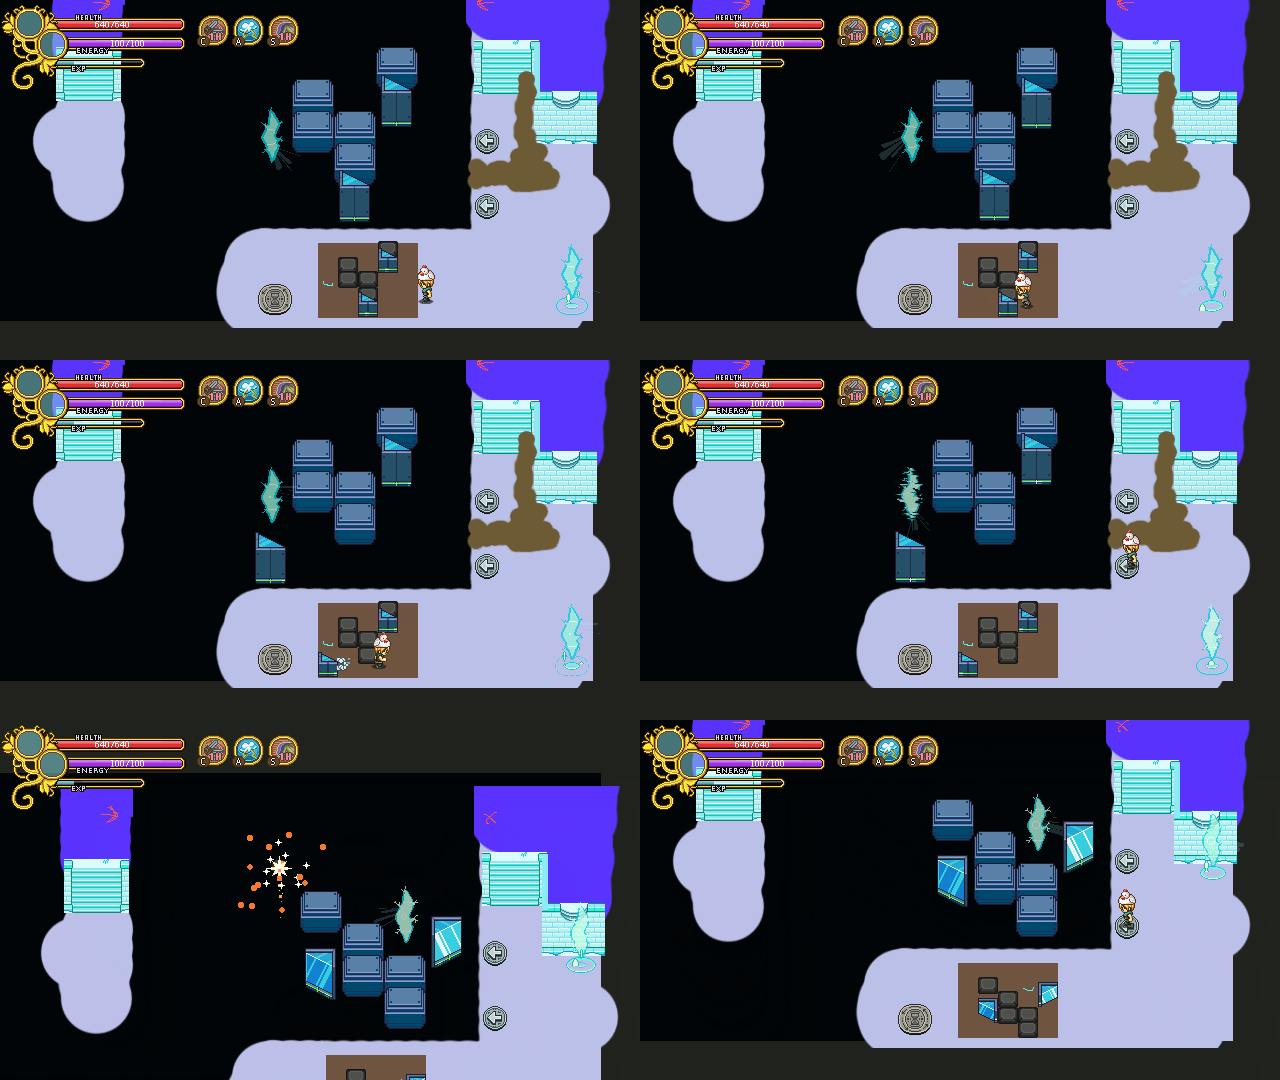
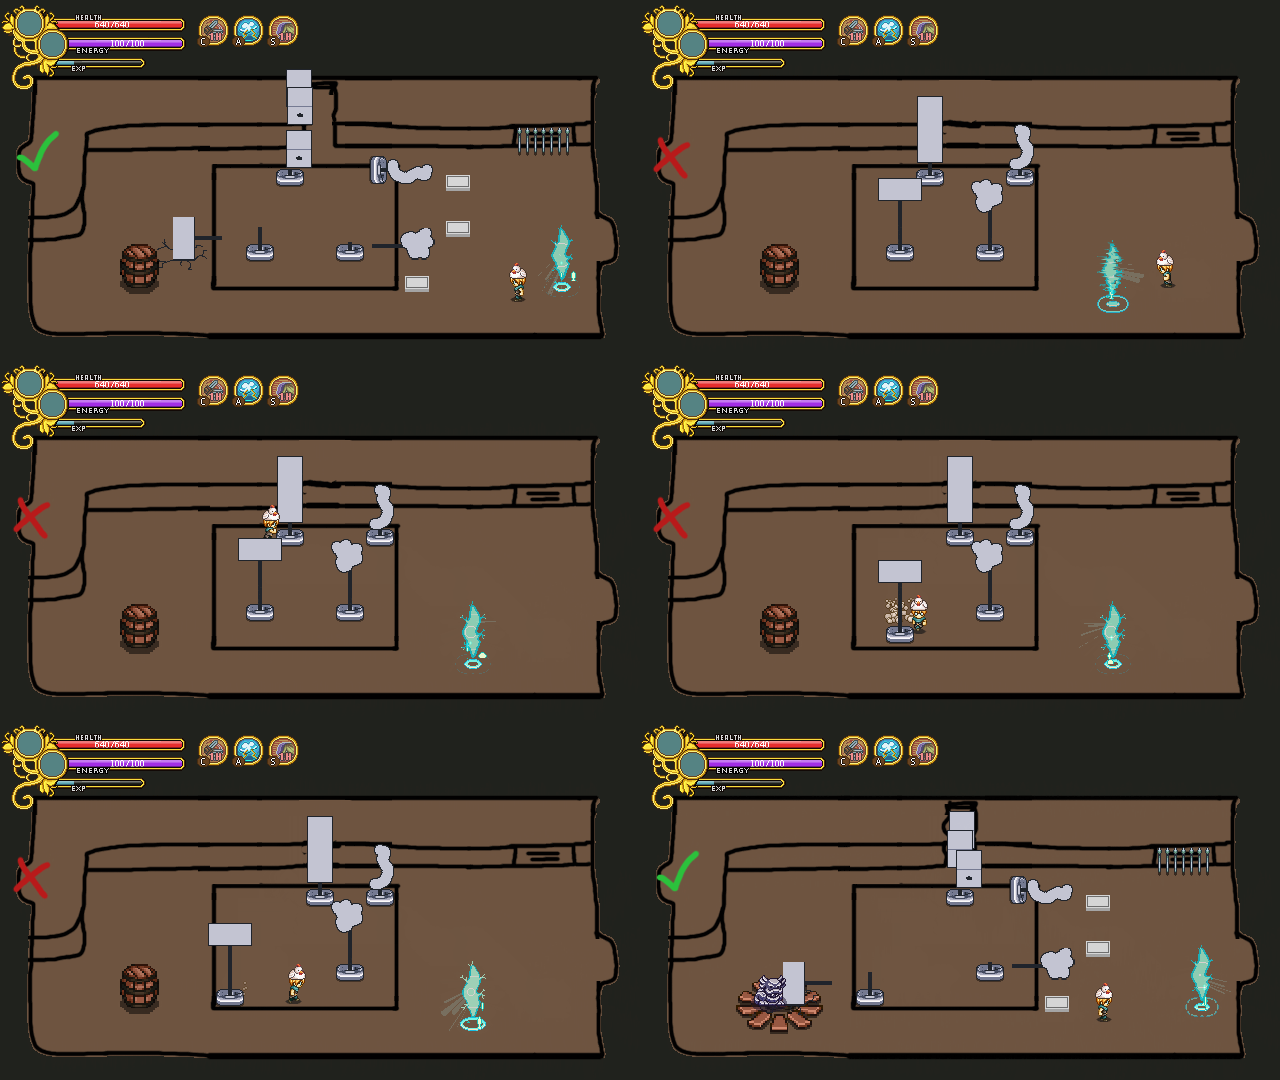
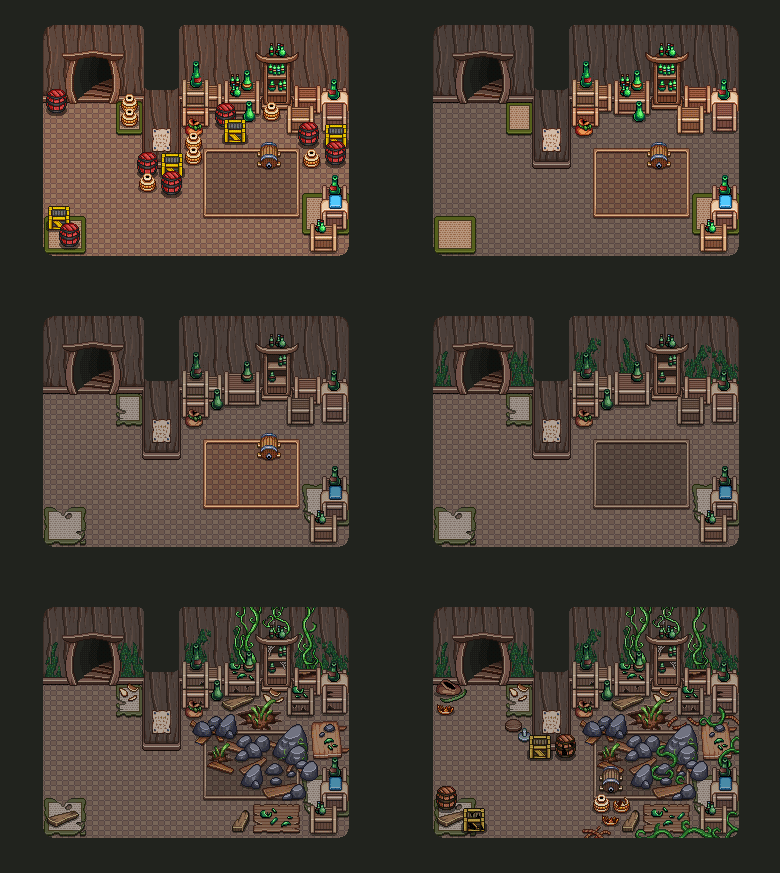
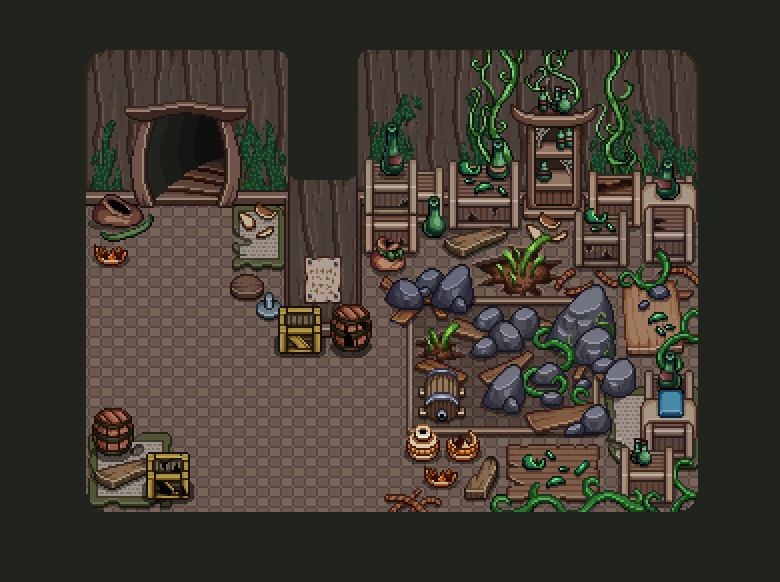
And now, the final Puzzle World room!! This one is the Path Puzzle room, where you have to move a set of statues around in the past so that they are at the right place in present day…
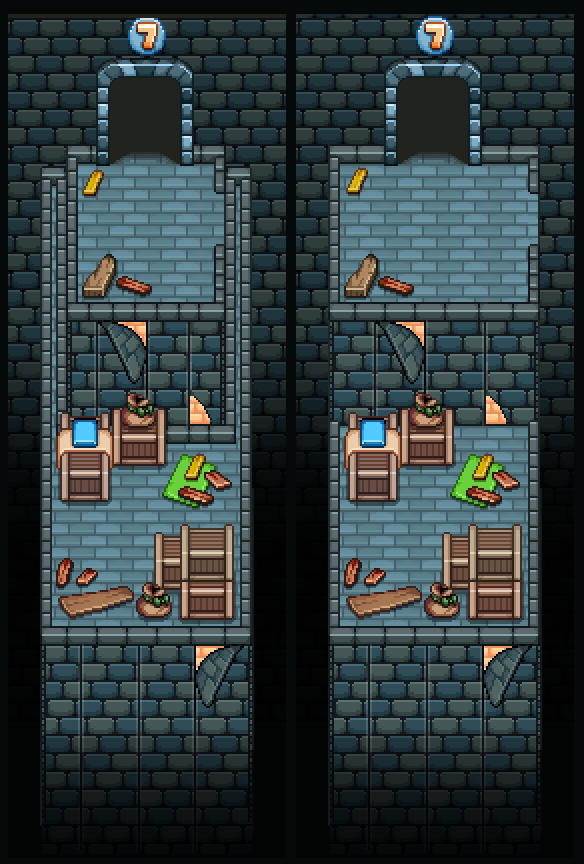
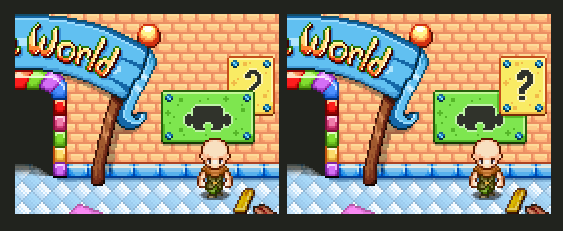
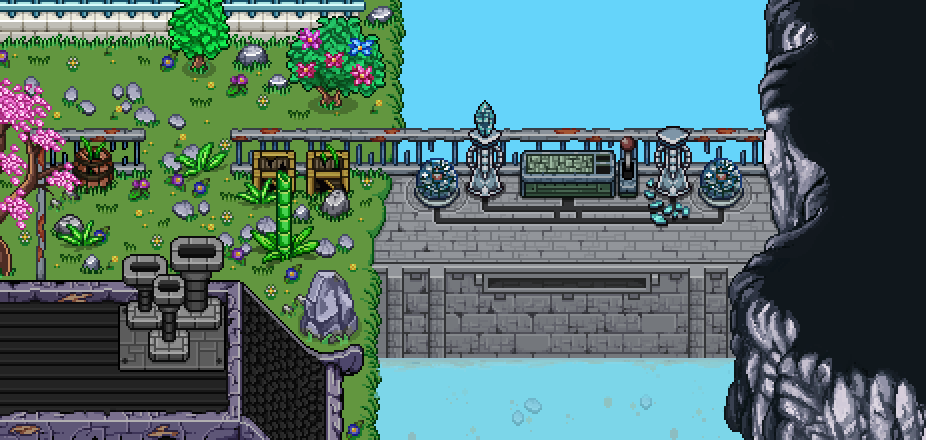
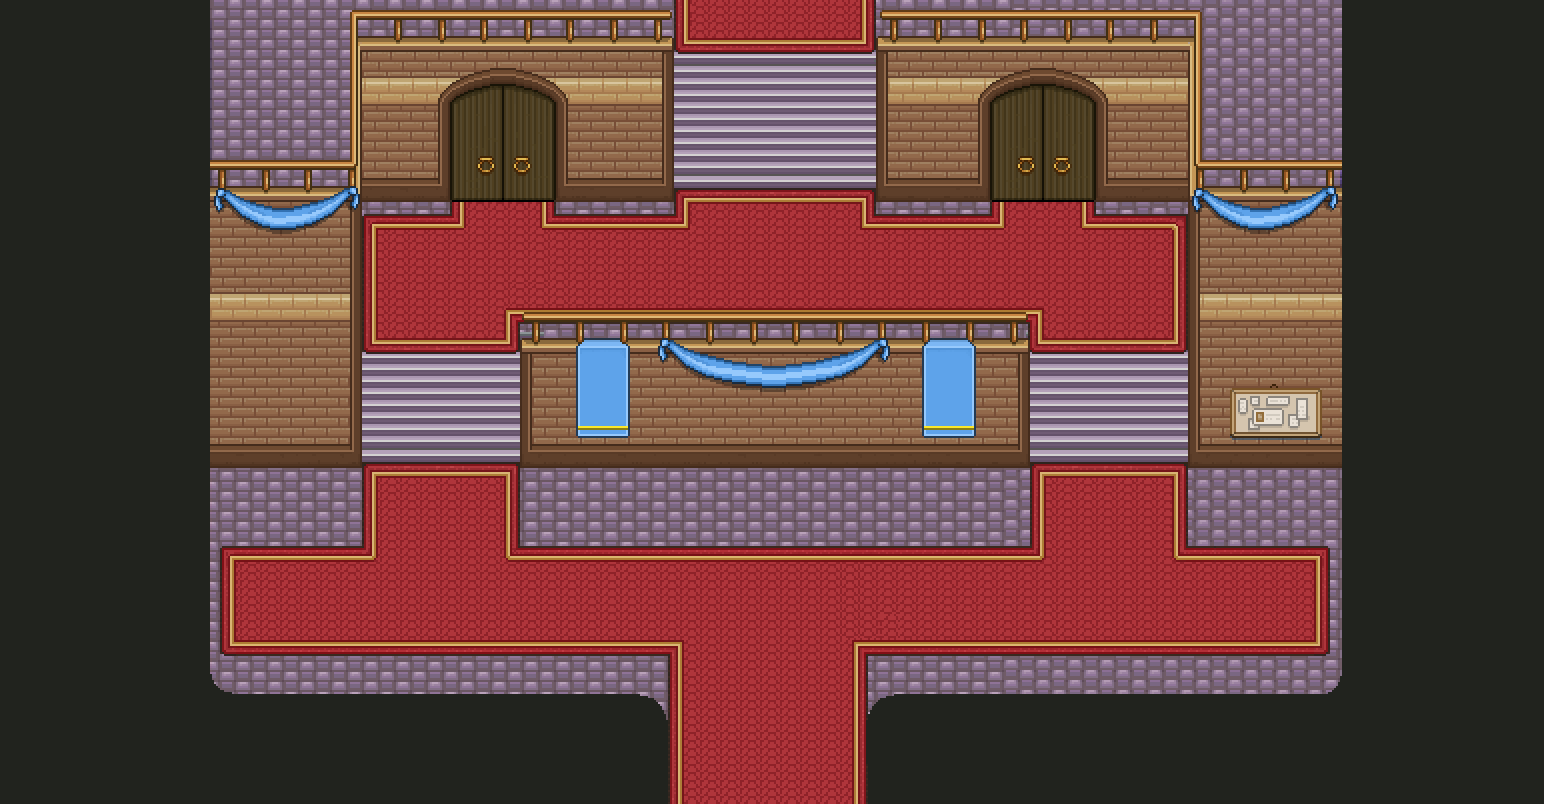
While a lot of these graphics were already made and reused from previous rooms, I had to do some pretty cool new stuff for this one! For one, this room needed two levels, which meant I had to make a railing of sorts to make it easier to tell the levels apart:
I also had to make that big glass thingy, containing something you need to figure out how to get out of there! And it was a lot of fun: shiny things are the best to make!
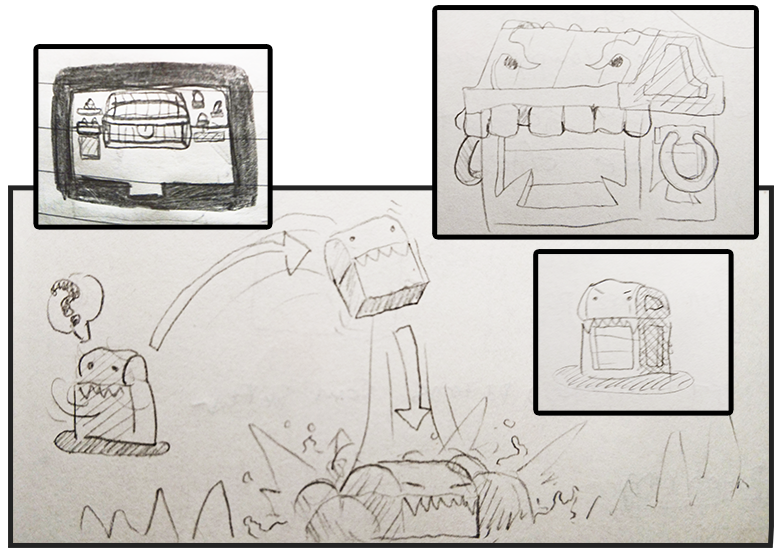
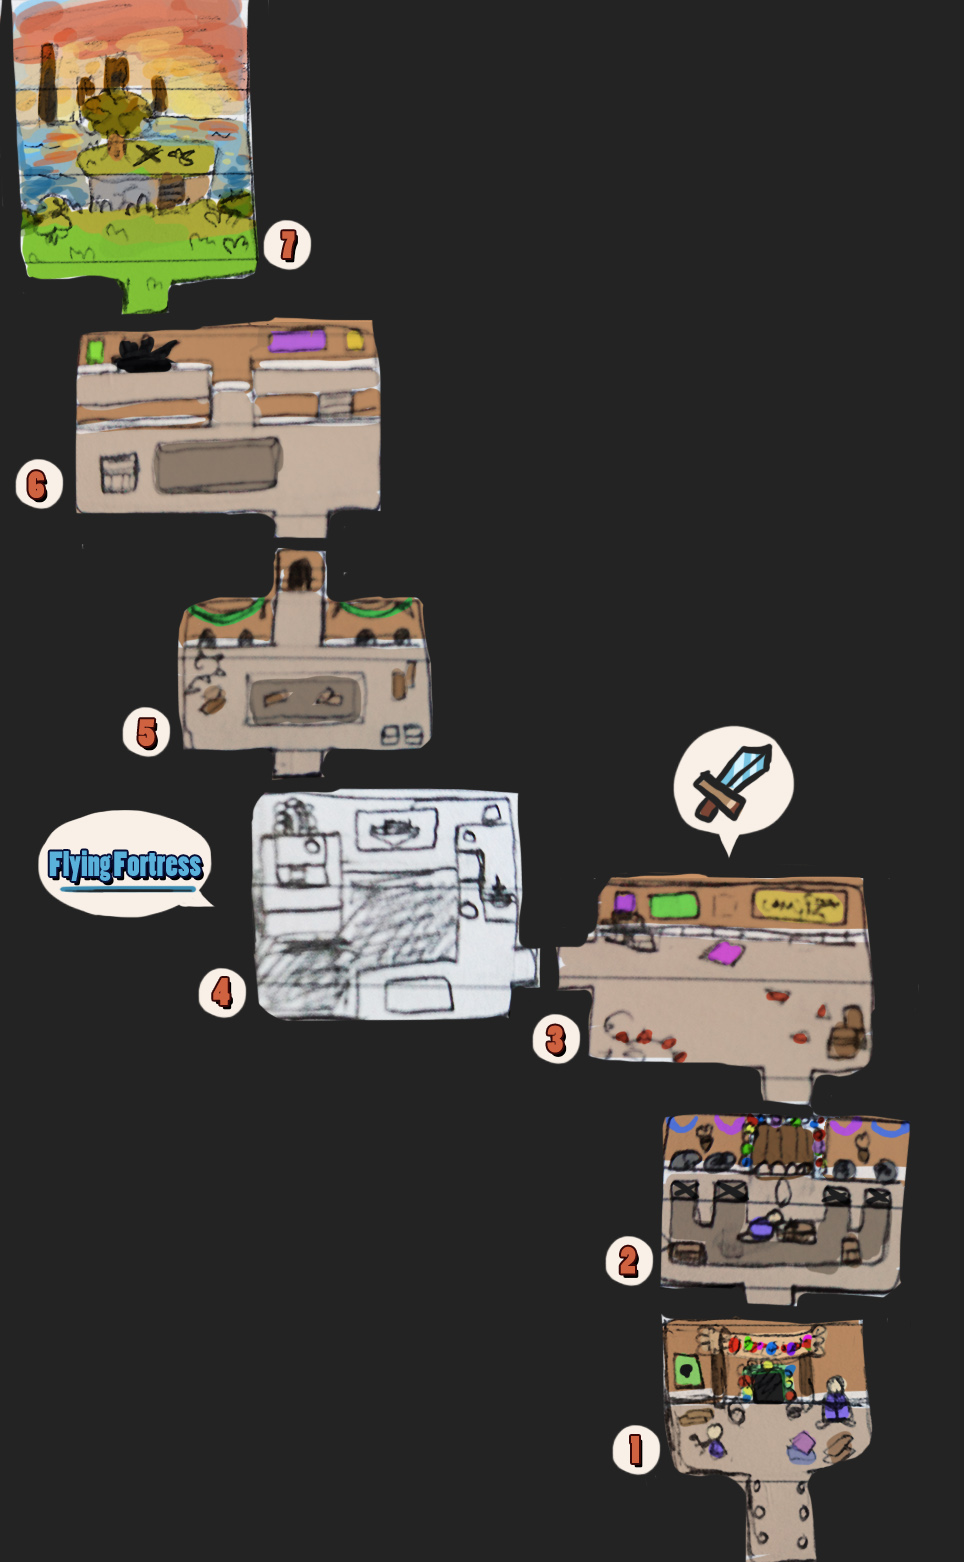
Now, as the third zone of Tai Ming – and the final challenge(s) of the dungeon – draws near, we decided it was time to have a meeting to flesh out the final boss of the dungeon: an ancient Mimic!
Pretty much since we started developing Grindea, we’ve known we wanted a boss mimic somewhere in the world, and once we knew the third “temple” would be an ancient town where time travel is the focus, we couldn’t think of a better place for our Mimic!
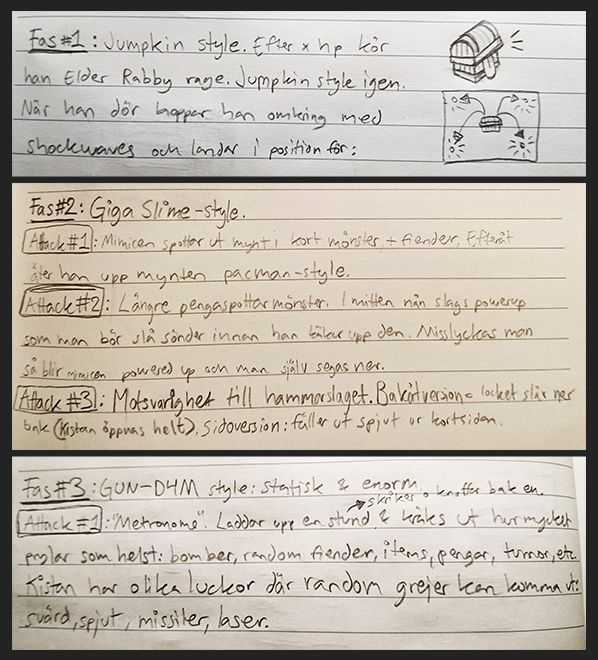
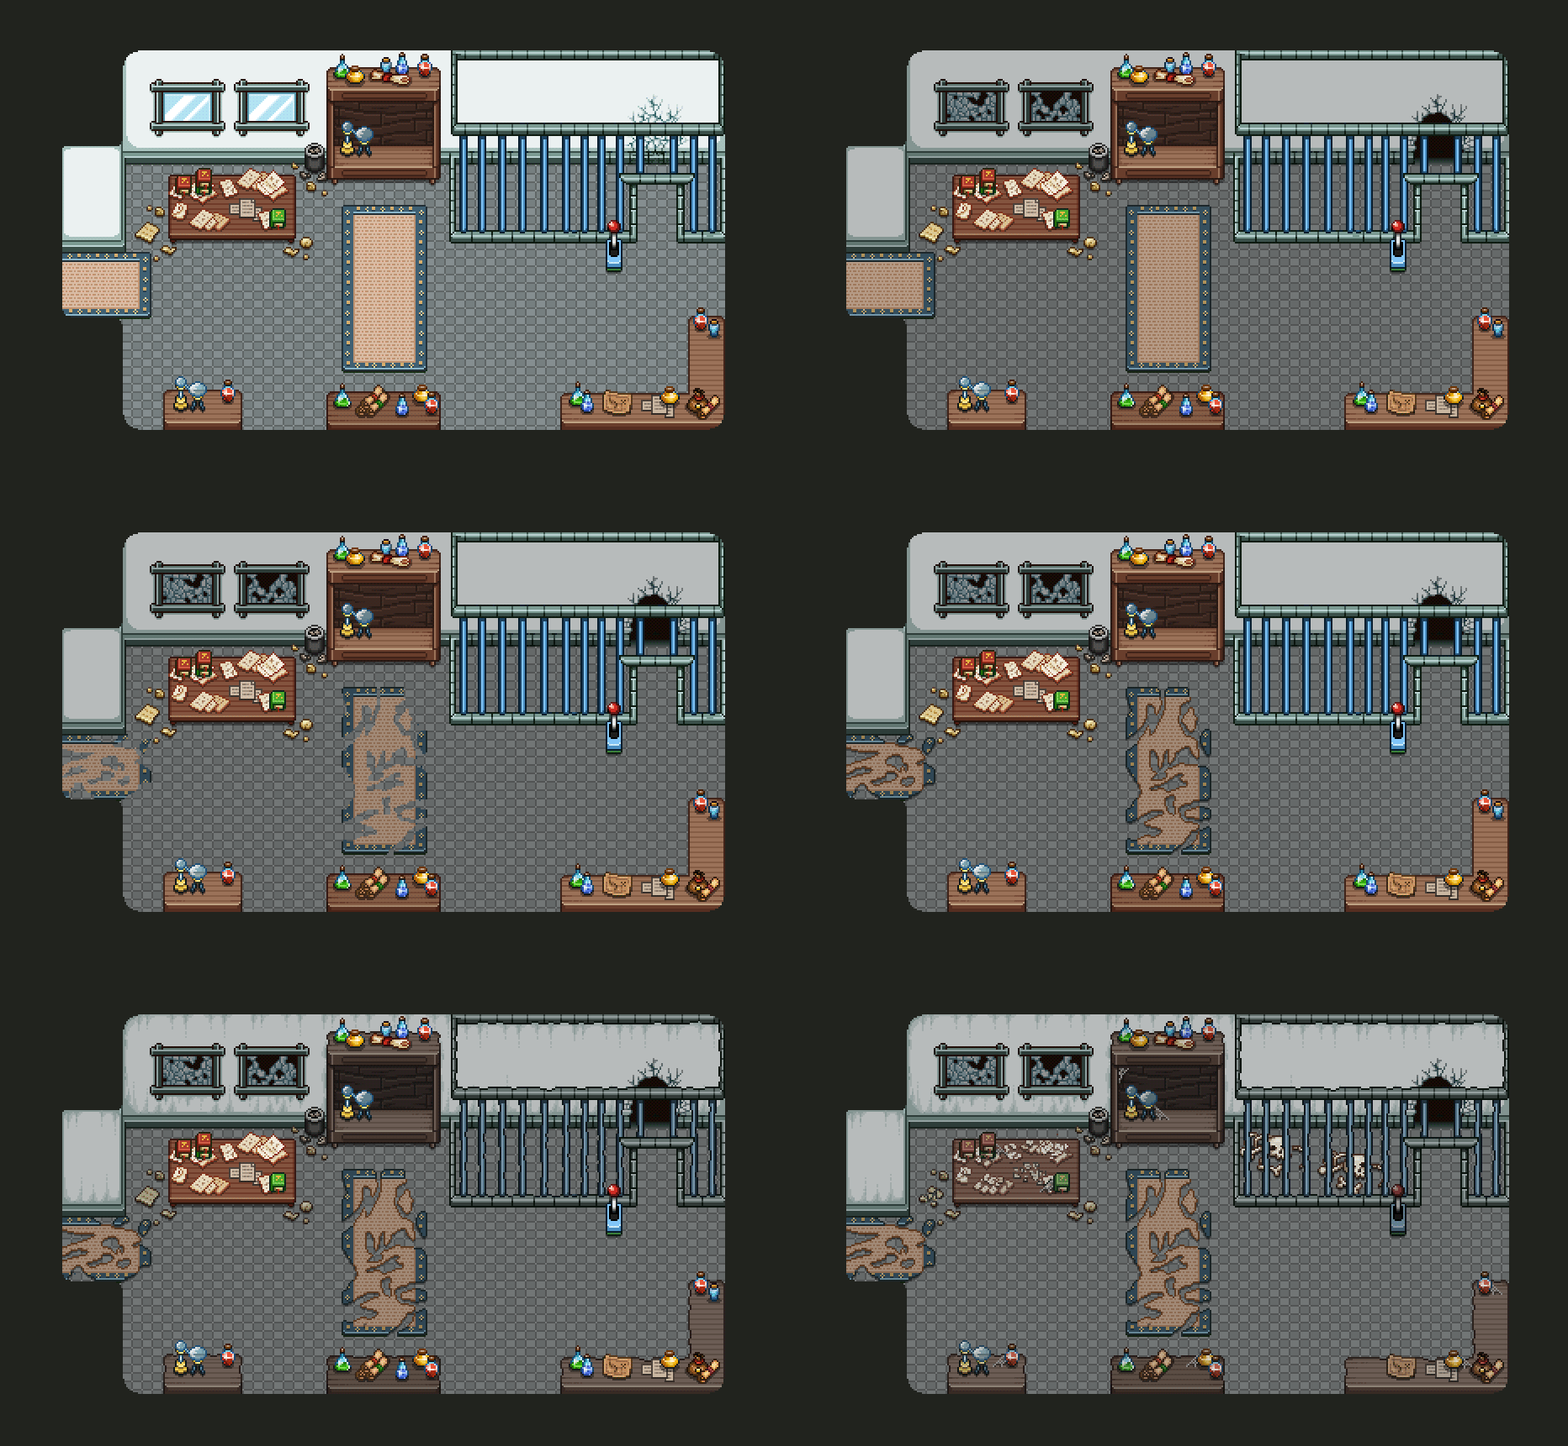
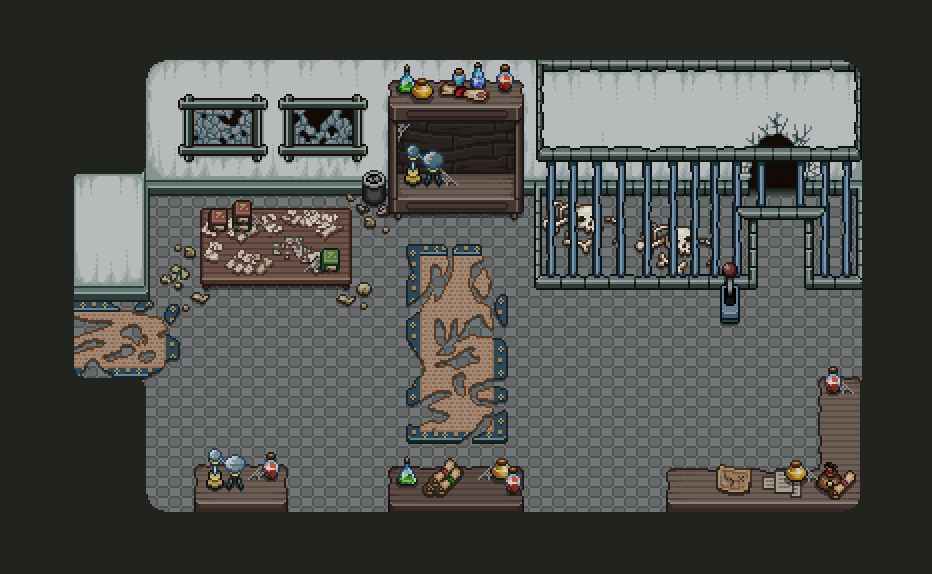
The time travel aspect of this place helped us come up with one of the key features of this boss battle: it will be divided into three phases, where each phase ends with a time shift, during which the Mimic gains strenght. Basically, you start the battle in the past, and once you’re close to defeating the first, young, version of the mimic, you’ll get sent forward in time, where a bunch of years have passed. The mimic, unaffected by your time jumping, will have grown in size and power over the years, and poses a bigger challenge…
During the first phase, the mimic is little more than a jumpkin – but in the shape of a chest. It will have one or two special attacks, but this is definitely the easiest stage, and should be over pretty quickly.
In the second phase, the mimic has grown to the size of Giga Slime (roughly). The battle will remind you of that boss as well, as the mimic jumps around the battlefield, doing damage with its massive body. It also has a series of special attacks where it spits a ton of coins on the ground in different patterns – which may hurt you as they land – and goes to eat them up straight away, dealing damage to anyone in its path. Sometimes, it will spit out a powerup of some sort as well – and if you fail to destroy it before the Mimic eats it up again, it will gain a powerboost against you. Like Giga Slime, the Mimic will also have an attack resembling the hammer-attack of Giga Slime; basically a regular attack it can pull if you stand too close to it for too long. Only instead of producing a slime hammer, it will use any of the weapons inside of it (or its tongue)!
In the third phase, the boss has grown to a massive size, and is now static. It will attack you using any of its many hatches to send out weapons of various kinds against you. It also has a special attack where it blows you to the opposite end of the screen and sends out a ton of things from its inside! These things might be enemies (from anywhere in the game), barrels, crates, items, money – basically anything you can think of.
This is one ancient mimic, and it’s been stuffed with things over the years!
Since the boss is divided into three different phases, we haven’t given each phase too many attacks. As we start prototyping this battle, it’s possible we’ll add more, but I think this is one of those bosses where the battle might be challenging enough even without 500x different attack patterns! I guess we’ll see – either case I’m very excited to see this in the game.
No game set in a fantasy world is complete without a mimic, right? :)


